3 auto tdr testing – EXFO CableSHARK P3 VF/DSL Cable Qualifier User Manual
Page 101
CableSHARK P3 User Guide
89
Cursor position =
Marker position =
Cursor / Marker Delta =
0.0
1250.0
2500.0
5000.0
3750.0
ZOOM IN
VERT
MAIN
MENU
E
F
CHG
-1.000
-0.750
-0.500
-0.250
0.000
0.250
0.500
0.750
1.000
2500.0
2195.3
304.7
Pulse Width:
ft
ft
900 ns
ZOOM IN
HORIZ
SELECT
MARKER
MORE
AUTO
REPEAT
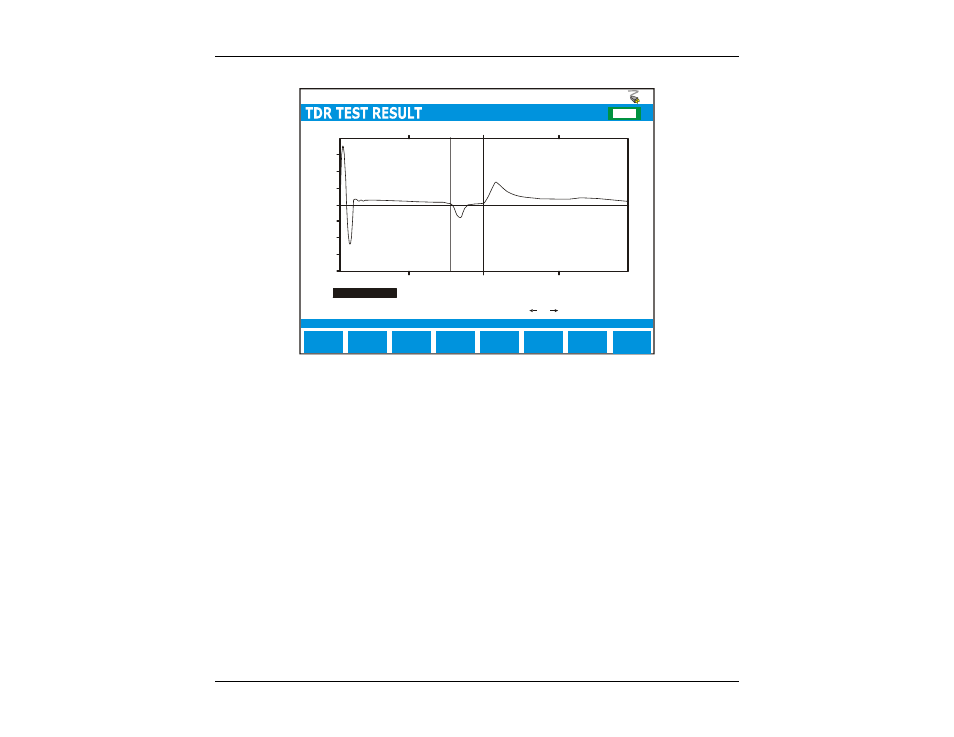
Reflections at ft(dBRL): 2195.3 (24.2-), 2500.0 (32.1+)
Cursor position =
Press or to move cursor
F
IGURE
8.2.2.1C
-
R
UNNING A
M
ANUAL
TDR
T
EST WITH A
C
ABLE AND
B
RIDGE
T
AP
B
RANCH
Note: When using a manual TDR test, be sure to use the CableSHARK’s zoom function to amplify the result.
Often, the reflected pulse is difficult to see, so by using the vertical/horizontal zoom function, the faults can
be seen easily.
8.2.3 Auto TDR Testing
The Auto – Cable End and Auto – Bridge Tap TDR functions of the CableSHARK allow a user to do a quick
test without having to worry about what graph scaling to use or what the correct pulse width should be.
Based on line conditions, the CableSHARK calculates what the best pulse width to use as well as what the
best pulse shape is to use. Using Auto TDR mode, the CableSHARK should be able to locate any reflection
from 500 feet (150 meters) up to 20,000 feet (6000 meters) of AWG 24 cables (lab conditions). Results can
be displayed in units of feet, meters and nanoseconds.
Once the AUTO TDR finds any valid reflection, (up to four reflections), the CableSHARK will place the cursor
onto the first reflection and adjust the Graph Scale automatically if necessary so that the first reflection is
within the display screen. If the AUTO – BRIDGE TAP test is selected, only the bridge tap will be shown, not
the end of the cable.