Remove your own custom toolbar item, Tooldrawer, Ge 393 for a thor – Nisus Writer Pro User Manual
Page 413
Customizing & Automating Solutions
393
!
Beware, that if you assign an icon to a file on the Currently Open, Recently Opened or Recently
Saved submenus of the menu File > Open from Document Manager, that file must appear on the
list. You are probably best served by assigning such files to a special group such as “Current Projects”
and linking the icon to the file’s name in that submenu. The Document Manager is explained in detail
beginning on page 55.
Remove your own custom Toolbar item
If you find that you no longer need or want a particular icon on the Toolbar you can remove it.
1. press 6 or “right click” your mouse or “secondary click” your trackpad on that item on the
Toolbar
2. Choose Remove Item from the contextual menu that appears.
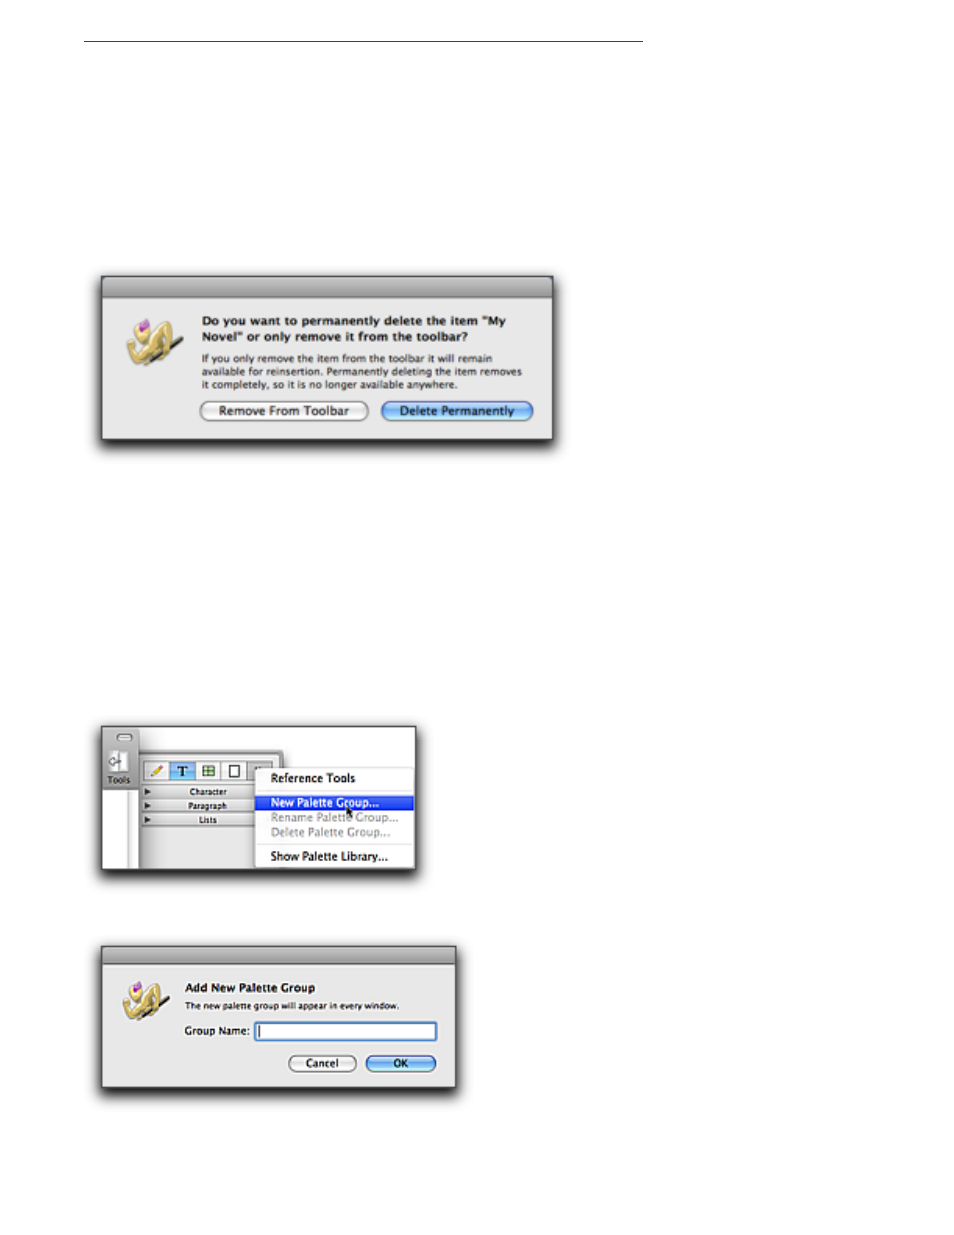
Figure 420
The remove icon from toolbar dialog
▶
Click Remove From Toolbar to remove the item but keep it available to restore in the
Customize Toolbar sheet.
▶
Click Delete Permanently to completely remove the icon from your version of the
application.
Create Your Own Group of Palettes for the Tooldrawer
In addition to the ability to remove palettes from the Tooldrawer and move them around within the
various groups supplied by Nisus Writer Pro as explained on page 16, you can add groups as well as
rename or delete groups of palettes.
1. Choose the menu command View > Show Tooldrawer.
2. Click the fifth icon (the right pointing chevrons), the “More Palette Groups” menu’s button at
the top of the Tooldrawer and choose New Palette Group… from the menu that appears.
Figure 421
The More Palette Groups menu
Figure 422
The Add New Palette Group dialog
3. Enter the group name you want to use and click OK.