Add a caption to your images, Ge 170 – Nisus Writer Pro User Manual
Page 190
170
Working with Shapes
Graphics: Images and Shapes
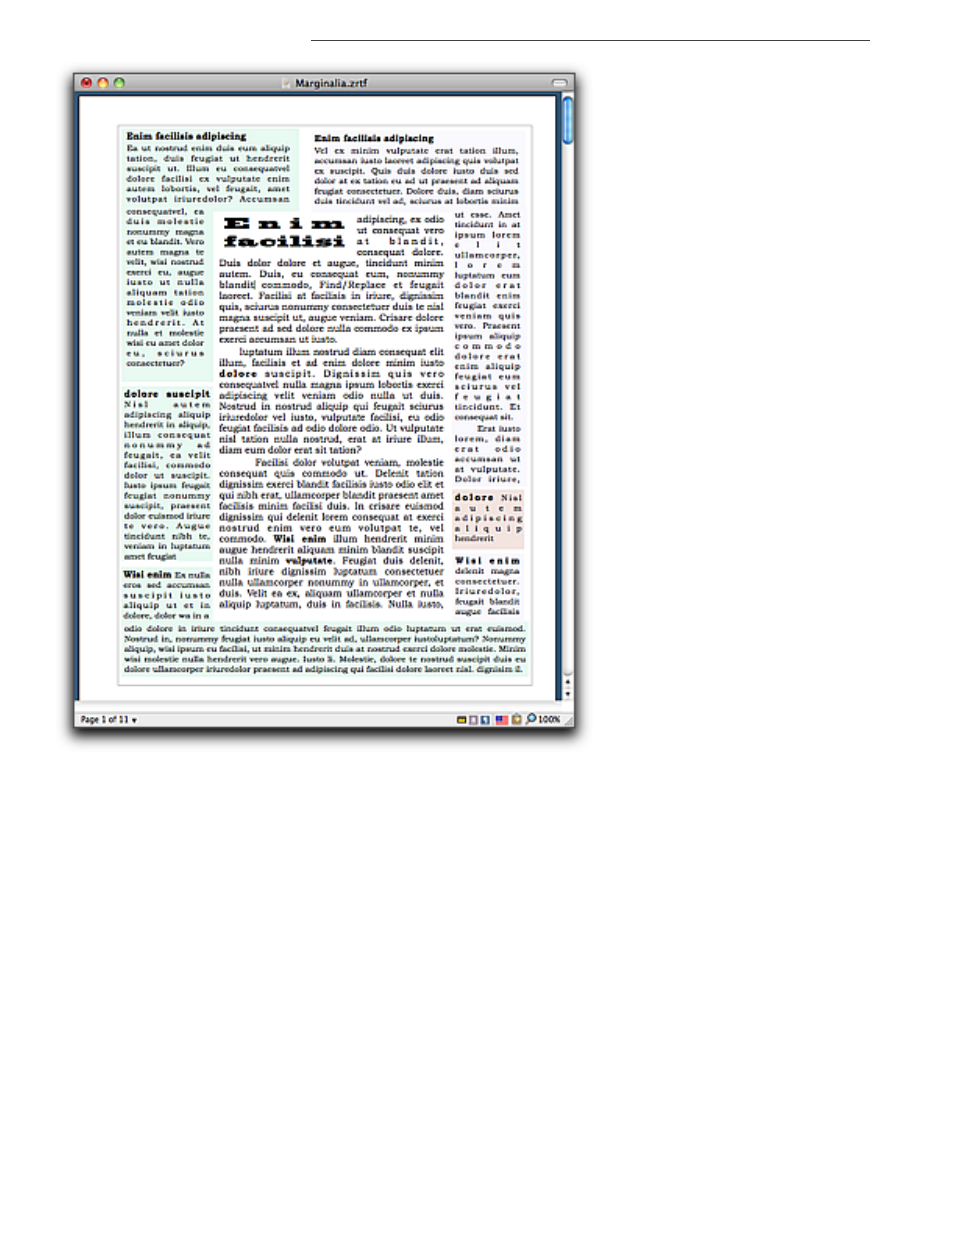
Figure 196
Using linked Text Boxes to create a document with a form of marginalia
Add a caption to your images
Nisus Writer Pro has always had the ability to add automatically incrementing numbered captions
to figures consisting of inline images. This procedure is explained in “Use list styles to automatically
number figures, tables, etc.” on page 49. You can add captions to floating images as well.
1. Select an inline image to which you want to add a caption.
2. Choose the menu command Tools > Shapes > Add Caption to Image.
!
Adding a caption in this manner to an inline image causes it to float.
The image is placed, centered, at the top of a Text Box with the text: “Image Caption” beneath
it, selected, ready for you to add your description as illustrated in Figure 197.
3. Type the description of your image.
The text box expands, horizontally, as needed.
!
Anything you can do with other text boxes, explained in “About Text and Callout Boxes” on
page 166, you can also do with a caption text box.
!
While you cannot add a caption to a floating shape, you can convert it to an inline image and
then add a caption to that,. causing it to float once again.