Align a floating image, Image alignment – Nisus Writer Pro User Manual
Page 179
159
Figure 180
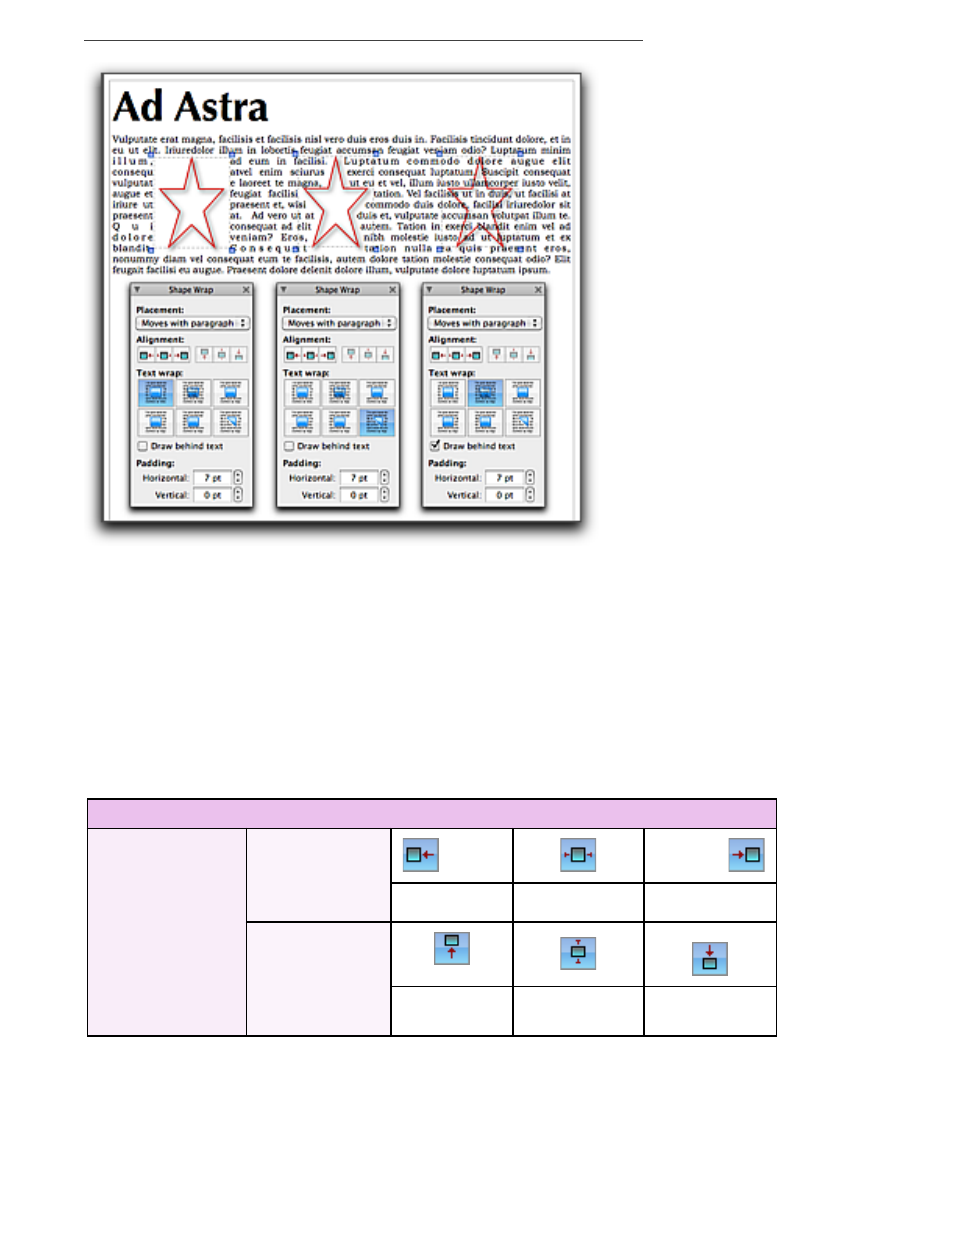
The Shape Bounding Box with shapes selected and text wrapped around the bounding box, wherever it is transparent, then
text behind shape
Align a floating image
You can nudge a selected floating image one pixel at a time, using the arrow keys on the keyboard,
so that it appears where you want it. You can also align floating images horizontally and vertically.
While you can set the basic alignment of an image using the buttons of the Shape Wrap palette, as
soon as you adjust the image by nudging it using the arrow keys or drag it using the mouse or
trackpad, the Alignment buttons indicate that it is no longer considered “set” as far as the
Alignment buttons are concerned.
1. Select the image you want to align.
2. Click the Alignment option that represents what you want from the buttons in the Shape Wrap
palette as explained in Table 4 below.
Table 4
Floating image alignment options
You can mix the options available so that an image is in the bottom right corner as illustrated
in Figure 177 on page 157.
The alignment buttons on the Shape Wrap pallet correspond to the commands Align Left,
Align Center, Align Right; Align Top, Align Middle, the menu Tools > Shape Metrics > Align
Bottom.
Image Alignment
Horizontal
Vertical
(available only
with Position on
page of ¶)
left
top
center
center
right
bottom