Insert/create a table, Table – Nisus Writer Pro User Manual
Page 216
196
Insert/create a table
1. Put your insertion point where you want the table to appear.
2. Either click the Insert Table button on the Toolbar
Figure 220
The Insert Table button
▶
Or, Choose the menu command Table > New Table….
When you insert a table Nisus Writer Pro creates a new style in your document (if one does not
already exist in your Nisus New File) called Table Cell. If the table you insert has either a column
header and/or a row header, Nisus Writer Pro creates a style called Table Header. The Table Cell
style is based on the Normal style in your document and the Table Header style is based on the
Table Cell style. You can modify these styles using the Style Sheet view of your document.
Determine the size (number of rows/columns) of a table
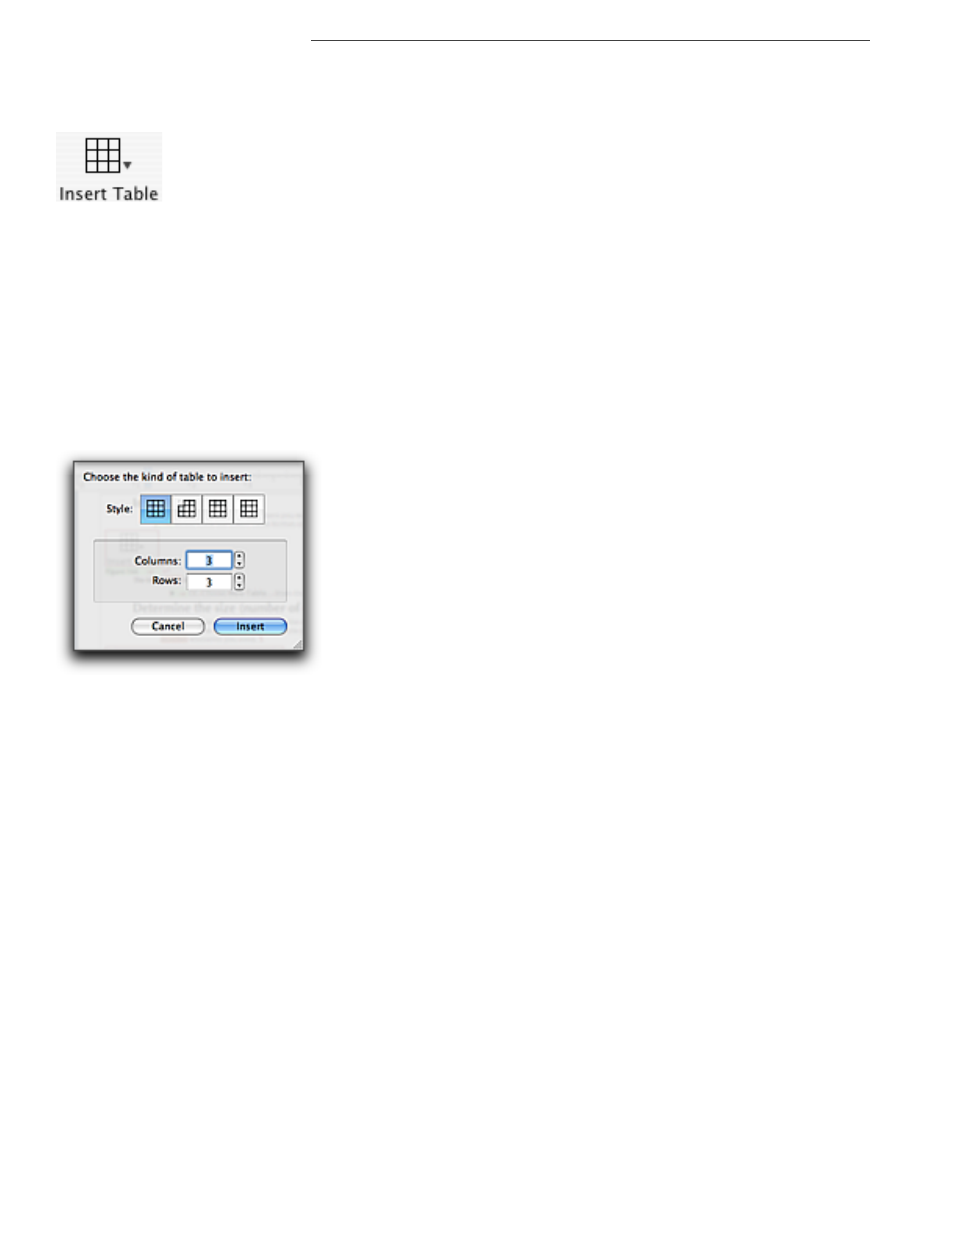
When you choose New Table… from the menus Nisus Writer Pro presents a sheet in which you
determine how many rows and columns your table will have. You can increase and/or decrease the
number whenever you need.
Figure 221
The Insert Table sheet
1. Choose the menu command Table > New Table….
2. Click to choose the type of table you want from the options at the top of the dialog:
•
no headers
•
row and column headers
•
column headers only
•
row headers only.
3. Type the number of columns you want, or, use the “stepper” to the right of the number of
Columns field to increase or decrease the number.
4. When you are satisfied with the number of columns you want press
@
or click in the number
of Rows field.
5. Type the number of rows you want, or, use the “stepper” to the right of the number of Rows
field to increase or decrease the number.
6. When you are satisfied with the number of columns and rows you want press
T
or
<
or click
Insert to confirm your choice and display the table in the document.
Or
1. Click the Insert Table button on the Toolbar.
2. Drag your pointer in the Style area to choose the type of table you want
•
no headers
•
row and column headers
•
column headers only
•
row headers only
3. Continue to drag your pointer in the Size area to increase or decrease the number of columns
and rows.
Your pointer (in a left to right environment) indicates the lowest right cell of the table.