Using the shape shadow palette – Nisus Writer Pro User Manual
Page 199
179
Figure 205
The Shape Fill palette
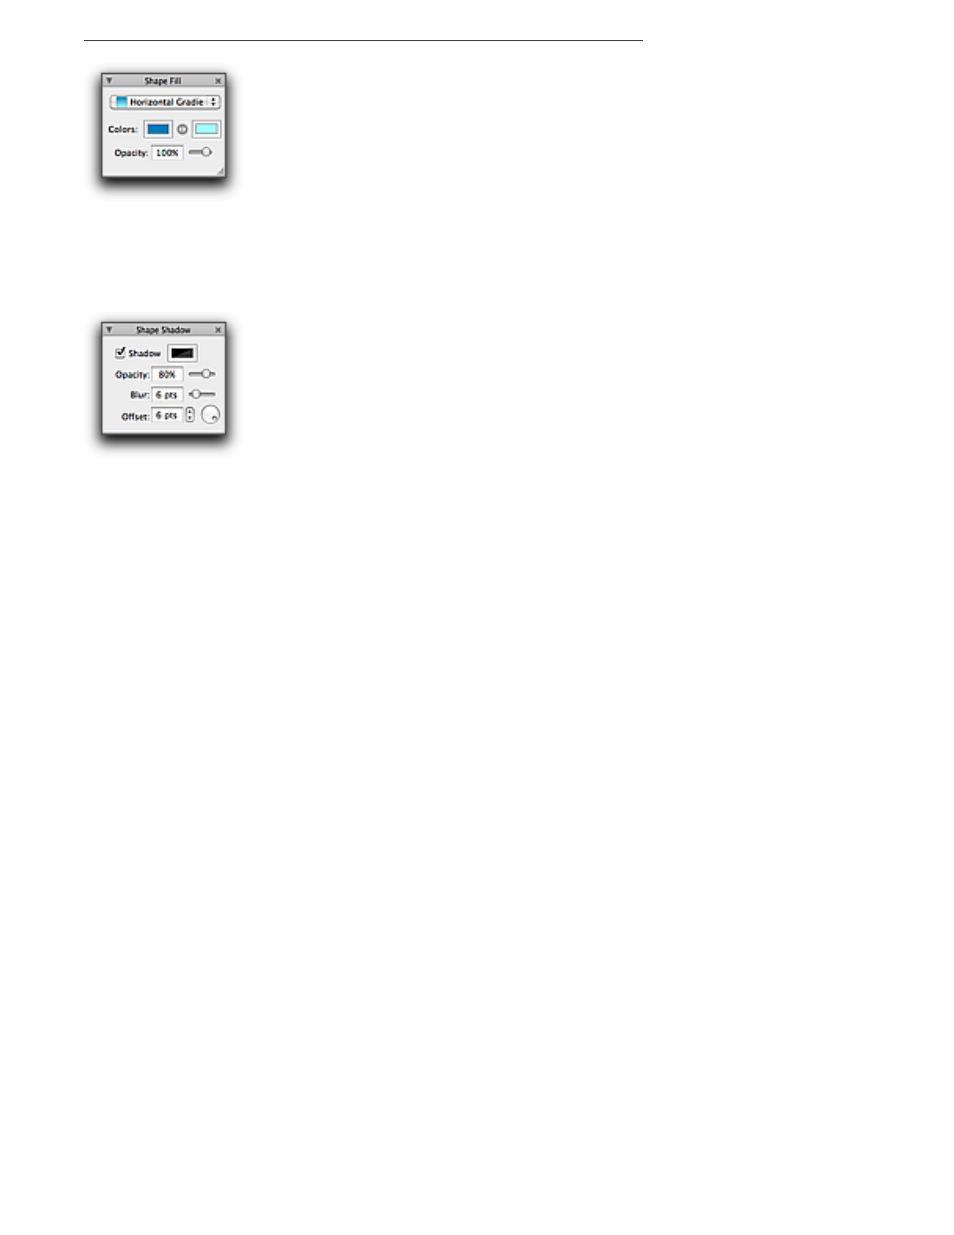
Using the Shape Shadow palette
Every shape can have a shadow, as illustrated in Figure 204 on page 177 using the Shape Shadow
palette illustrated in Figure 206.
Figure 206
The Shape Shadow palette
1. Select the shape(s) you want to have a shadow.
2. Check (turn on) Shadow in the Shape Shadow palette.
3. Click the color swatch to open the Colors panel if you want a shadow in a color other than
black.
4. Drag the Opacity slider in the Shape Shadow palette or enter the percentage of opacity you
want.
The less opaque (the lower the percentage), the less visible the shadow.
5. Drag the Blur slider in the Shape Shadow palette or enter the amount of blur (in points) you
want.
The slider only goes up to 50 pts, but you can enter higher numbers using the keyboard. The
higher the number, less visible the shadow.
6. Determine the Offset by using the stepper or entering a value using the keyboard.
The higher the number the further the shadow is from the shape.
7. Set the “light source” by turning the dial.
The little circle in the dial indicates the point opposite the light source.
As an alternative, you can choose commands from the menu Tools > Shape Fill > Shadow to
set the shadow of selected shapes. The available options are limited to None, Glow, Normal
and Hard.
!
If you give your group a solid fill or stroke, you can give it a shadow too.