Modifying shapes, More tools on the shapes palette – Nisus Writer Pro User Manual
Page 194
174
Working with Shapes
Graphics: Images and Shapes
The pointer changes to a cross hair
when over the handles and the margin mover
or
when over the perimeter lines. As you change the shape’s size the four resize handles are
hidden.
!
If you resize the shape, you can press
1
when you continue, the shape's current proportions
will always be maintained.
!
If you change the proportions and want to restore them
6
Click, or Right-Click the shape
and choose Restore Original Proportions from the context menu that appears.
4. Move the shape wherever you want on the text portion of your document.
The pointer changes to the grabbing hand
when it is over the interior of the shape.
!
When you create a shape, its initial Placement is set to Position on Page of ¶ and it is set for
the text of the document to wrap around it as illustrated in Figure 210 which shows a
Canvas.
Modifying shapes
Once you have created a shape in your document, there are a wide variety of things you can do
with it. When you select a shape the drawing tools palette group becomes active (if you have the
Tooldrawer open and have not changed the preferences).
The drawing tools palette group has all the controls available for manipulating shapes in Nisus
Writer Pro. It consists of five palettes:
•
Shapes, explained in “Using the Shapes palette” beginning on page 165 and “More tools on the
Shapes palette” below
•
Shape Wrap, explained on page 148 and in detail in the section “Using the Shape Wrap palette”
beginning on page 156
•
Shape Stroke, explained on page 171
•
Shape Fill explained on page 178
•
Shape Shadow explained on page 179
•
Shape Metrics explained on page 180
Each of these has commands that match commands on the Tools menu. However, because some
controls are unique to the palettes the following instructions will refer to them, with some reference
to the commands if their names differ and when additional commands are available on the menus.
More tools on the Shapes palette
The Shapes palette, illustrated in Figure 189 on page 165 has three pop-up menu buttons that
enable you to draw shapes such as Text or Callout Boxes, geometric type shapes and arrows. The
five buttons in the Tools section of the palette enable you to manipulate those objects.
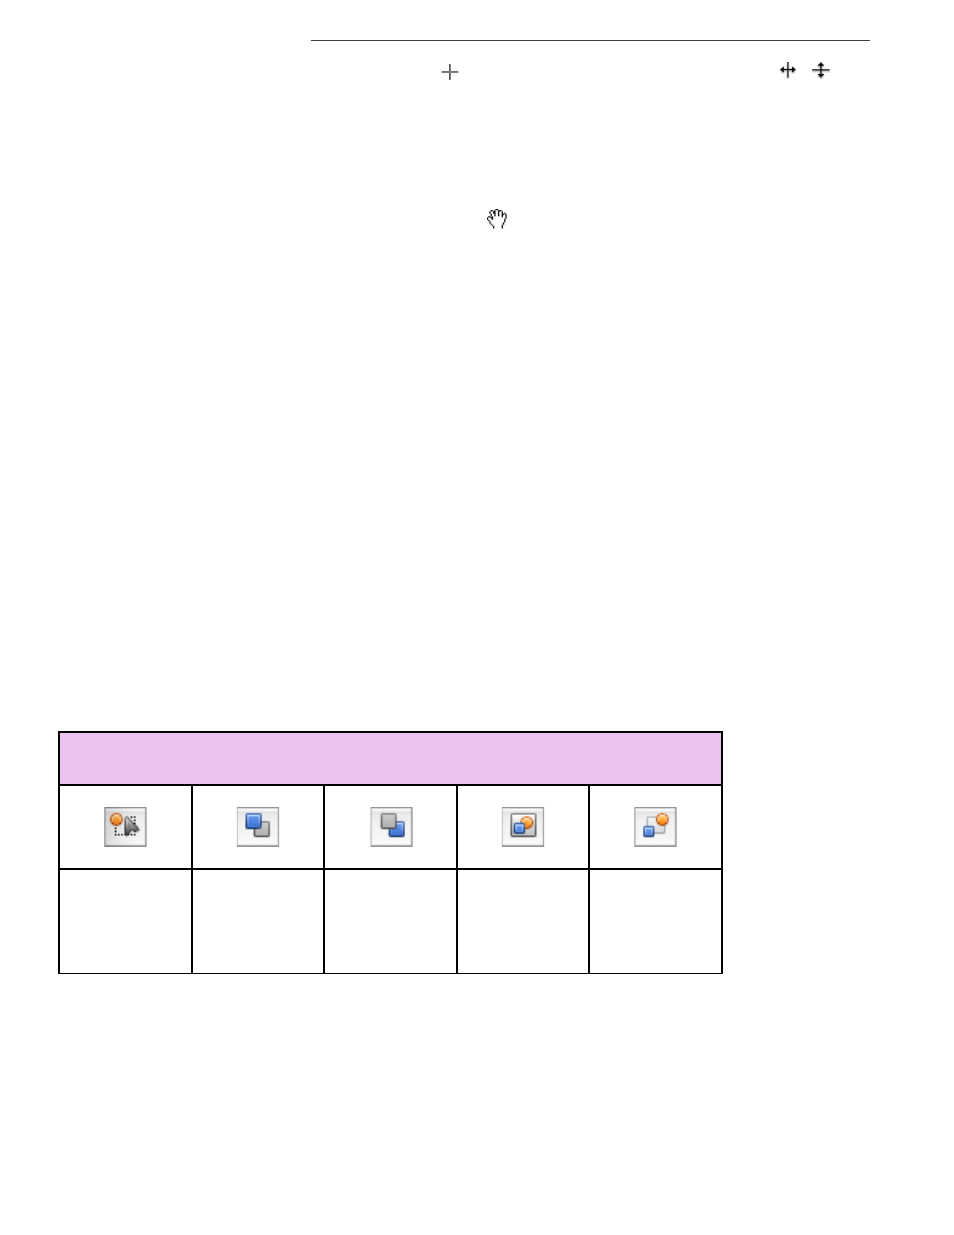
Table 6
The Tools buttons on the Shapes palette
From left to right:
•
Enter floating shape selection mode.
This is the same as choosing the menu command Tools > Shapes > Enter Shape Selection
Mode.
Similar to when you insert a shape or a Text or Callout Box, Nisus Writer Pro enters a mode in
which:
•
a banner appears across the top of your document instructing you to “Click and drag to
select shapes.”
Enter\Exit
shape selection
mode.
Bring selected
floating shapes
to the front.
Send selected
floating shapes
to the back.
Group together
selected
floating shapes.
Ungroup
selected
floating shapes.