Nisus Writer Pro User Manual
Page 382
362
Add a “watermark” to your document
Printing Documents
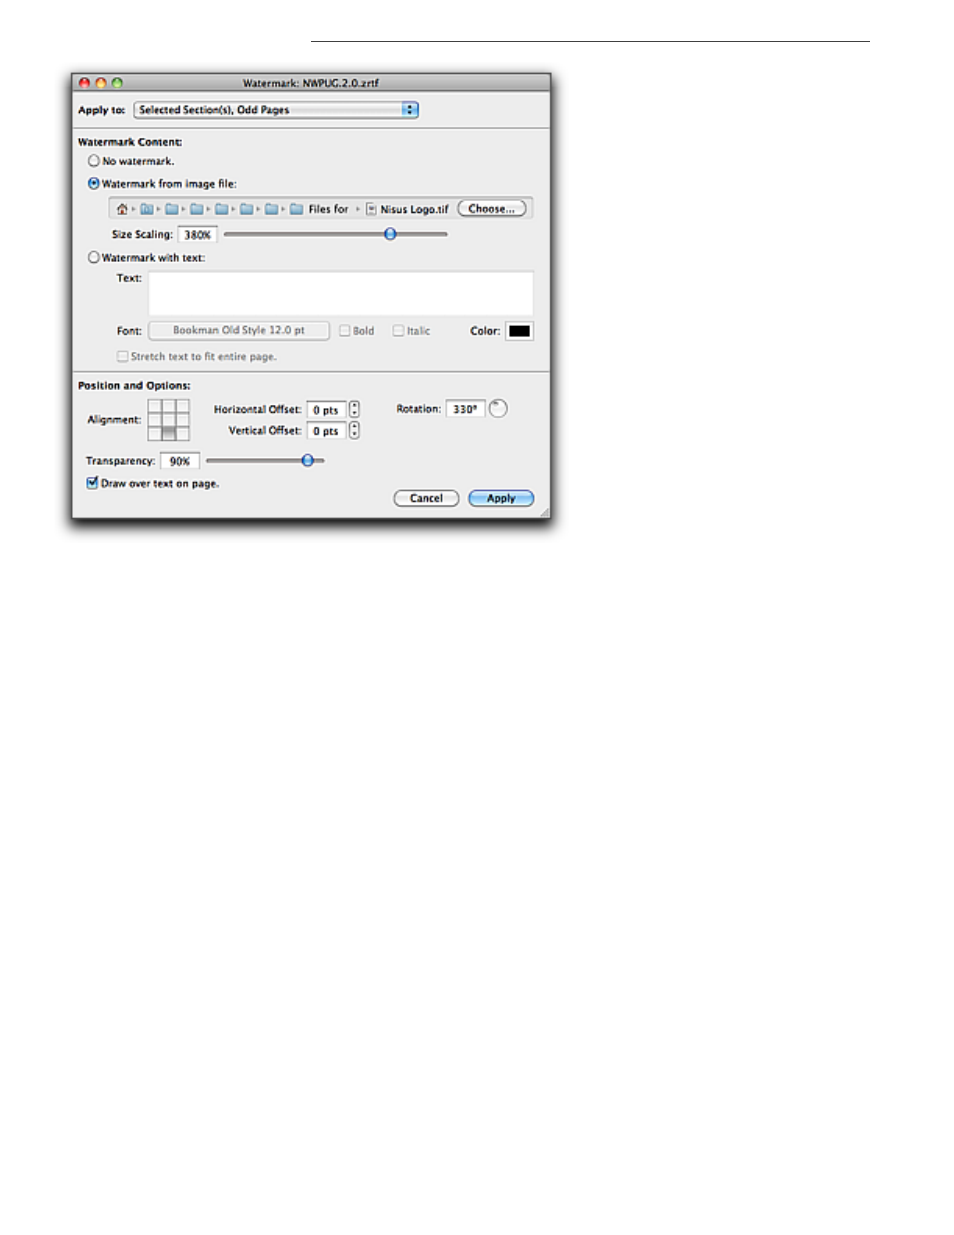
Figure 398
The watermark dialog with settings for the watermark on the Disclaimer/Acknowledgements/Copyright page of this document
2. Determine in what portion(s) of your document you want to have the watermark appear. You
can apply a watermark to the:
•
Entire Document
•
Selected Section(s), All Pages
•
Selected Section(s), First Page
•
Selected Section(s), All Pages Except First
And, if you have Use Facing Pages set in the Section palette:
•
Selected Section(s), Odd Pages
•
Selected Section(s), Even Pages
!
“Selected Section(s)” refers to any section(s) of your document in which you may have made a
selection before choosing the Watermark… command. You may need to move the dialog so that it does
not obscure the document.
3. Decide whether you want to put an image in the background as the watermark or use some
text.
4. If you want an image as the watermark, click Watermark from image file:
The the Choose… button becomes enabled.
a.
Click the Choose… button.
b. A variant of the Open dialog appears. Navigate to the image file you want to use and click
Open. The field to the right of the choose button displays a visual representation of the
path to the inserted image file.
c.
Set the size of your image using the Size Scaling text box or drag the slider till you see the
image in the size you want it.
5. If you want text as the watermark, click Watermark with text:
a. Type or paste the text you want into the text edit field that becomes enabled.
In the text edit field, you can:
•
type Returns to have multiple lines of text break where you want.
•
undo and redo actions.
•
check your spelling by pressing
6
or “right clicking” your mouse or “secondary
clicking” your trackpad.
b. Click the Font button of your text.
The button displays the current font’s name and size.