Insert a table of contents into your document, Your document – Nisus Writer Pro User Manual
Page 249
Tables of Contents
229
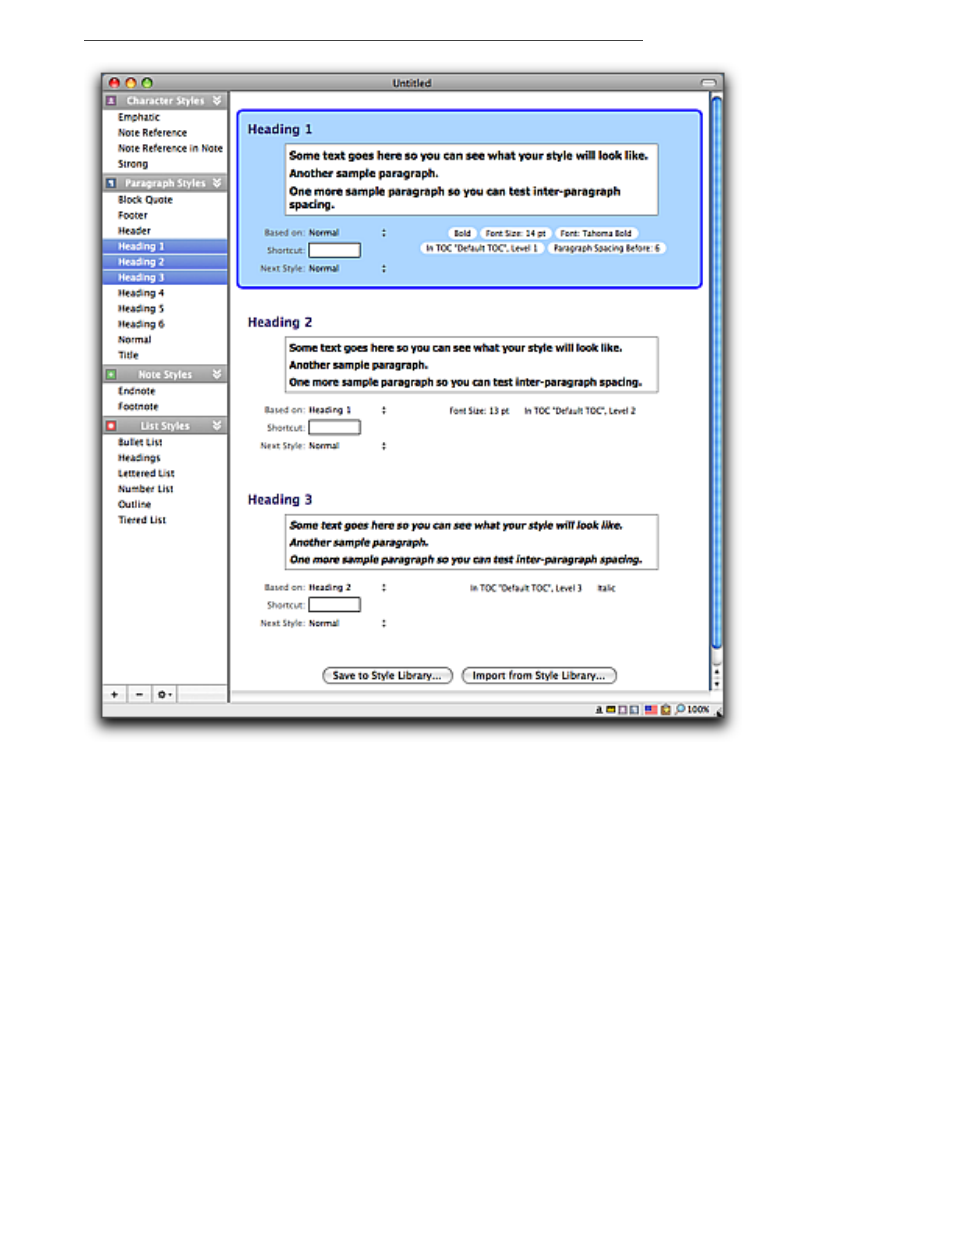
Figure 259
Heading styles indicating that they are automatically included in the table of contents “In Default TOC, Level #”
Insert a table of contents into your document
1. Put your insertion point where you want the table of contents to appear.
2. Choose the menu command Tools > Table of Contents > Insert TOC.
Update the table of contents you have inserted into your document
When you insert a table of contents into your document you can see at a glance the overall
structure of your document. The table of contents you have displayed in your document is not
“live”. You might, change sections, either modifying the text of your headings or moving portions of
your text to a different location in the document. When this happens the information in the
displayed table of contents is no longer accurate.
1. Select any of the text of the inserted table of contents.
2. Choose the menu command Tools > Table of Contents > Rebuild TOC… or from the
contextual menu that appears when you press
6
or “right click” your mouse or “secondary
click” your trackpad in the table of contents area.