The shape bounding box – Nisus Writer Pro User Manual
Page 178
158
Working with Floating Images
Graphics: Images and Shapes
•
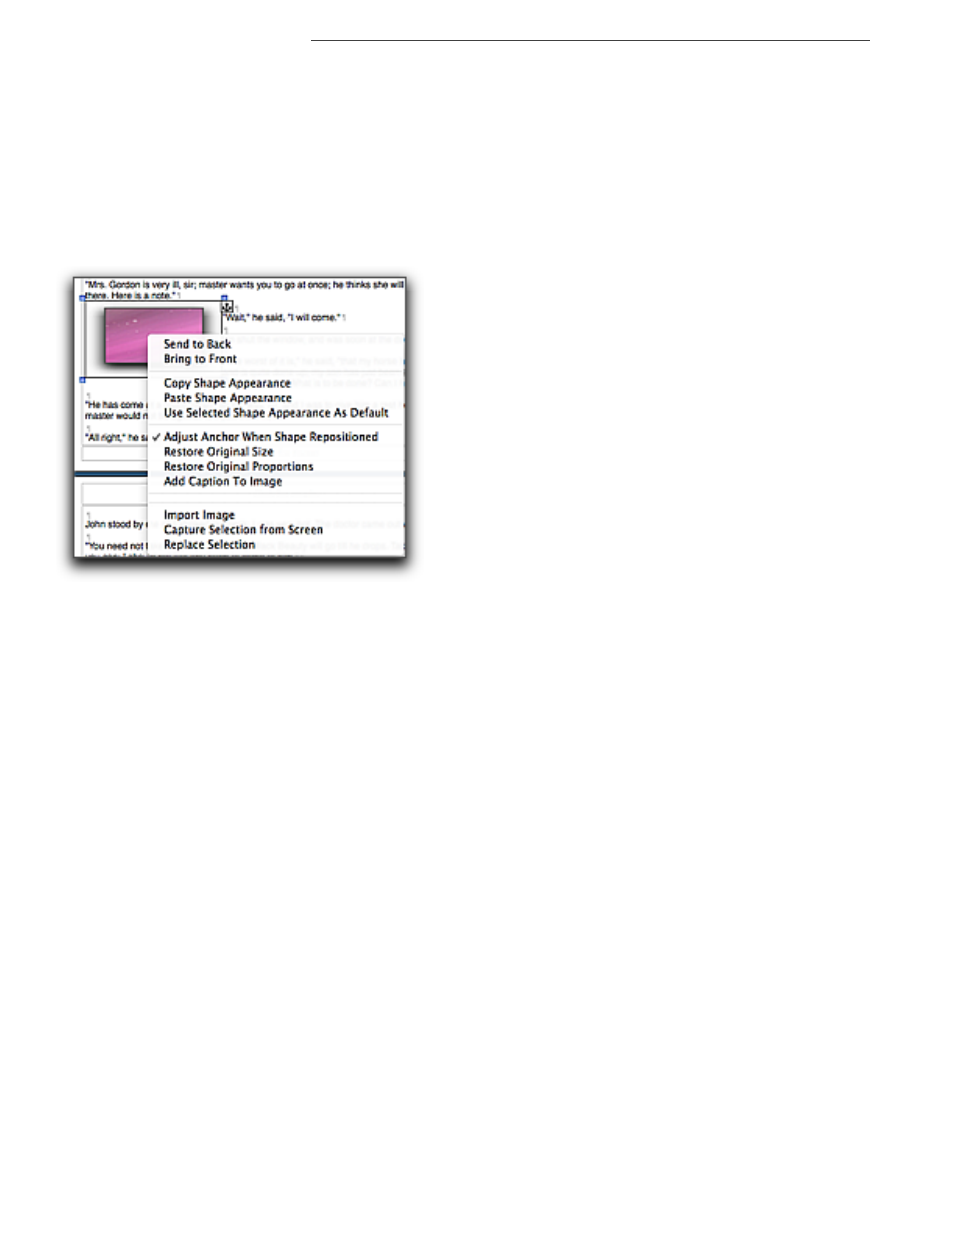
If you check (turn on) Adjust Anchor When Shape Repositioned, the shape’s anchor will be
automatically moved whenever you move the shape to a different paragraph. This is illustrated
and it affect on how you work with your document in “Select floating shapes without selecting
text” on page 175.
•
If you have resized or reshaped the image you can also choose to Restore Original Size and
Restore Original Proportions respectively.
•
You can add descriptive text to your image by choosing Add Caption To Image. This places the
image at the top of a floating text box with some text “Image Caption” selected, ready for you to
add your text.
•
Additional commands may appear at the bottom of the menu depending on what services and
additional software applications you have available.
Figure 179
The contextual menu with a resized but not cropped floating image selected
The Shape Bounding Box
Every shape and image, regardless of whether or not it is a rectangle, has a rectangular “bounding
box” that draws around the furthest extent of the graphic’s image. When the image is selected,
Nisus Writer Pro displays it as a dotted rectangle. In addition, when not selected, you can choose to
display the Shape bounding box (and set its color) depending on how you set your Appearance
preference for Invisibles & Guides as explained on page 380. This box coincides perfectly with the
“image-selected” box and is the “invisible” indicator that there is an image.