Rotate selected shapes, Inline images adjust – Nisus Writer Pro User Manual
Page 201
181
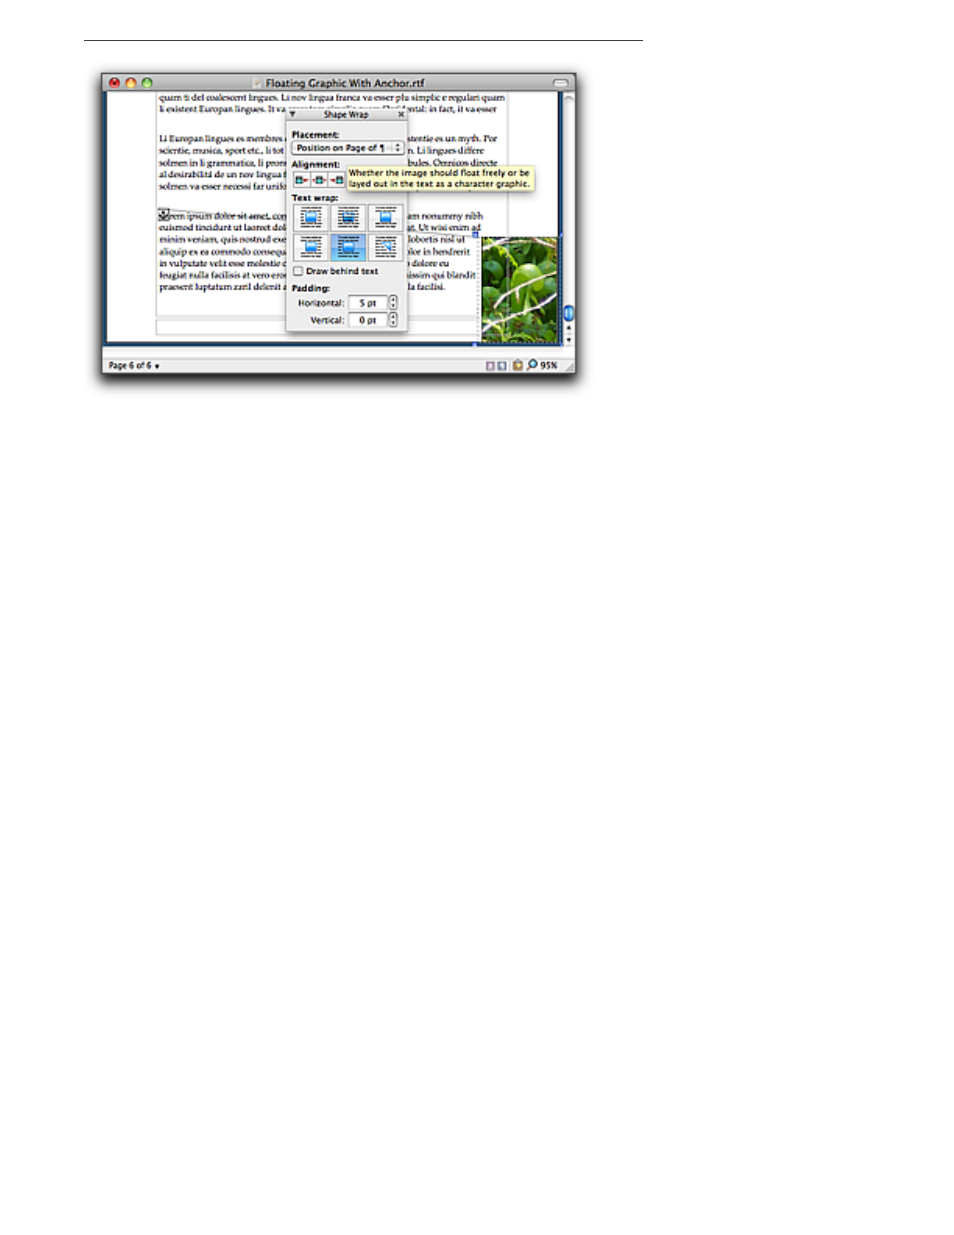
Figure 208
A selected floating image beyond the margin
Resize selected shapes by precise, designated amounts
1. Select the shape(s) you want to change.
2. Use the steppers or enter a value using the keyboard to alter the Width and/or Height of the
selected shape(s).
a.
Click (turn off) to un-link the Width and Height controls so that changing the value for one
does not alter the other. This enables the shape to change its proportion (from the upper
left corner).
These buttons correspond to the commands Increase Width and Decrease Width as well as
Increase Height and Decrease Height found on the Shape Metrics sub-menu of the Tools
menu.
a.
Click (turn on) to link the Width and Height controls so that changing the value for one
changes the other. This maintains the shape’s aspect ratio as it grows or shrinks from its
upper left corner.
These buttons correspond to the commands Increase Size and Decrease Size found on the
Shape Metrics sub-menu of the Tools menu.
Rotate selected shapes
1. Select the shape(s) you want to change.
2. Rotate the shape by
▶
turning the dial
▶
clicking the steppers or
▶
entering a value using the keyboard.
▶
Choosing the commands Rotate Clockwise and Rotate Counterclockwise found on the
Shape Metrics sub-menu of the Tools menu.
Determine the values by which floating shapes and inline images adjust
The Shape Metrics palette offers precise, step by step, control of the values used to modify your
shapes. The menu commands are preset to larger amounts. You can change these settings.
1. Choose Set Adjustment Amounts… from the Shape Metrics sub-menu of the Tools menu.
The Adjustment Settings dialog appears as illustrated in Figure 209.
2. Enter the values you want.
The options available are for:
•
Shift Position By
•
Resize By
•
Change Height/Width By
•
Rotate By
3. Click OK.