Text and callout boxes, About text and callout boxes, Ge 166 – Nisus Writer Pro User Manual
Page 186
166
Working with Shapes
Graphics: Images and Shapes
•
you enter a special mode and cannot enter text in the normal text area of your document
•
a banner appears across the top of your document instructing you to “Click and drag to
draw the new shape.”
•
a banner appears across the bottom of your document instructing you to “Press the
escape key (ESC) to cancel.”
!
Undoing and redoing are disabled.
•
Once you draw the new shape it is selected in your document and ready for you to
manipulate.
Text and Callout boxes
Use text and callout boxes to add free-floating blocks of text to your document.
About Text and Callout Boxes
Almost anything you can do in normal Nisus Writer Pro text you can do in a Text or Callout Box.
•
type, copy, paste and drag & drop text
•
undo and redo
•
modify any character based attributes
•
modify ruler and other paragraph attributes
•
apply any styles associated with the document
•
use the list tools of Nisus Writer Pro
•
use the table tools of Nisus Writer Pro
•
check your spelling
•
use the Nisus Writer Pro QuickFix features
•
add hyperlinks, bookmarks and cross-references and other automatically updating content
!
If you bookmark text in a Text or Callout Box and add a cross-reference to that elsewhere,
location-type cross-references will not display correctly.
•
paste inline images
•
add comments
•
track changes
There are a few things you cannot do.
•
add footnotes/endnotes
•
mark text for an index or table of contents
•
nest Text or Callout Boxes
!
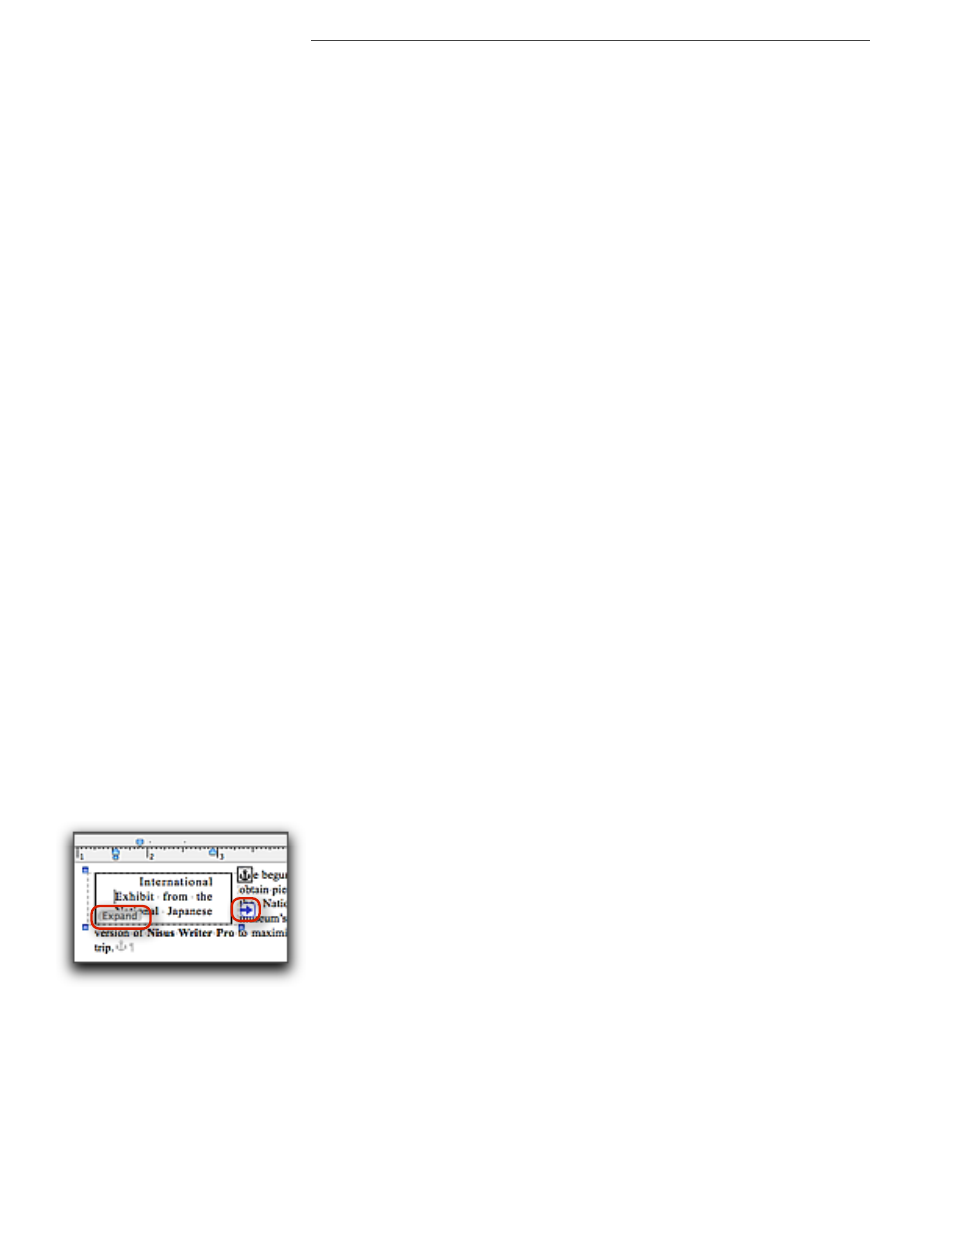
Every Text and Callout Box has a Link button
•
The Link button, the smaller red rectangle in Figure 190, is a small blue arrow that
appears just outside and to the right of the box. Its use is explained in step b on page 168.
•
If the text inside the box is too large to fit inside the currently set size of the box, an
Expand button appears in light gray in the lower left corner of the box as illustrated the
larger red rectangle in Figure 190. Its use is explained in step 3 on page 168.
Figure 190
The ruler indents of a text box showing Expand and Link buttons