P-bus trigger – Sony GP-X1EM Grip Extension User Manual
Page 285

285
2
Select the ID (0 to 23) of the device you want to set.
3
Select the action.
You can select “2” (Store), “3” (Recall), or “4”
(Trigger).
4
Set the register number or trigger number.
a) The parameters will vary depending on the selected action.
5
Press [Set].
To set other devices, repeat steps
2
to
5
.
To test an action command output
Press [Test Fire].
The action command is output from the port of the SIU.
Clearing an action setting
1
In the Device >P-Bus Timeline >P-Bus Timeline
menu (5321), select the ID of the device for which you
want to clear the setting.
2
In the list on the right, select “1” (Off).
3
Press [Set].
To clear the settings for all devices
Press [All Off].
Setting the action for a rewind operation
On the P-Bus timeline, when the [REWIND] button in the
utility/shotbox control block is pressed the action set for
the first keyframe is not executed; when the [RUN] button
is pressed, then the first keyframe action is executed.
To execute an action when the [REWIND] button is
pressed, it is necessary to set this action (Rewind Action).
To set the Rewind Action, press [Rewind Action] in the
Device >P-Bus Timeline >P-Bus Timeline menu (5321) to
open the Rewind Action menu (5321.1). Operate in the
same way as in the P-Bus Timeline menu (5321), and press
[Rewind Action Set] to carry out the setting.
Alternatively, you can make settings in the Setup menu so
that when the [REWIND] button is pressed, this executes
the action set for the first keyframe, and when the [RUN]
button is pressed the first keyframe action is not executed.
In this case, the Rewind Action setting is still valid.
For details, see “Setting the first keyframe when rewind is
executed” (page 431).
Carrying out a Direct Store
You can carry out a Learn with the register number
specified for the device selected in the menu.
1
In the Device >P-Bus Timeline >P-Bus Timeline
menu (5321), select the ID of the device.
2
Press [Direct Store].
3
Enter the register number (1 to 4095) for which you
want to carry out the Learn in the numeric keypad
window.
4
Press [Enter].
P-Bus Trigger
“P-Bus trigger” is a function whereby a button operation in
the numeric keypad control block or utility/shotbox
control block outputs an action command to a P-Bus
device.
To use the P-Bus trigger, the P-Bus control mode must be
set to [Trigger] in the Setup menu
The relation between the operation in each of the control
blocks and the action command output is as follows.
Action command for an operation in the numeric
keypad control block
• RCALL: Recall
• STORE: Store
This recalls the register specified in the numeric keypad
control block, and a Recall or Store is carried out,
according to the setting.
Action command for an operation in the utility/
shotbox control block
• RUN: Trigger 1
• REWIND: Trigger 4
• NEXT KF: Trigger 7
• PREV KF: Trigger 8
Outputting an action command
This section describes how to output a Recall as an
example.
1
In the numeric keypad control block, press the [EFF]
button.
The control block switches to effect operation mode,
and the [EFF] button and [RCALL] button light
amber.
2
Press the [P-BUS] button to select the P-Bus region.
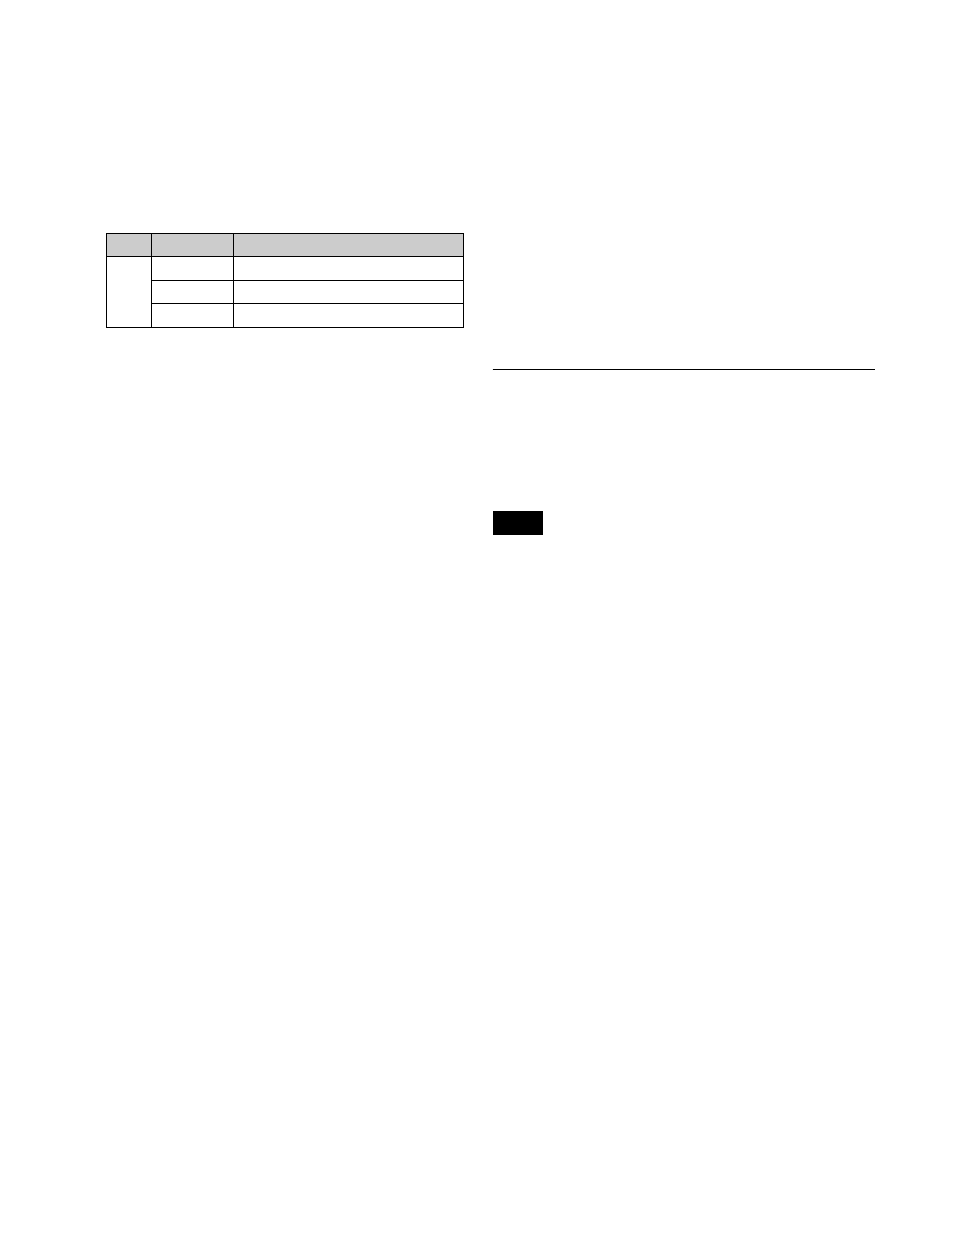
No.
Parameter
Adjustment
3
a)
Store No
Register number for Store
Recall No
Register number for Recall
Trigger No
Trigger number
Note
