Grass Valley LVS 100 v.3.15 User Manual
Page 256
Live Controller
6-12
Profile LVS Event Management System Instruction Manual
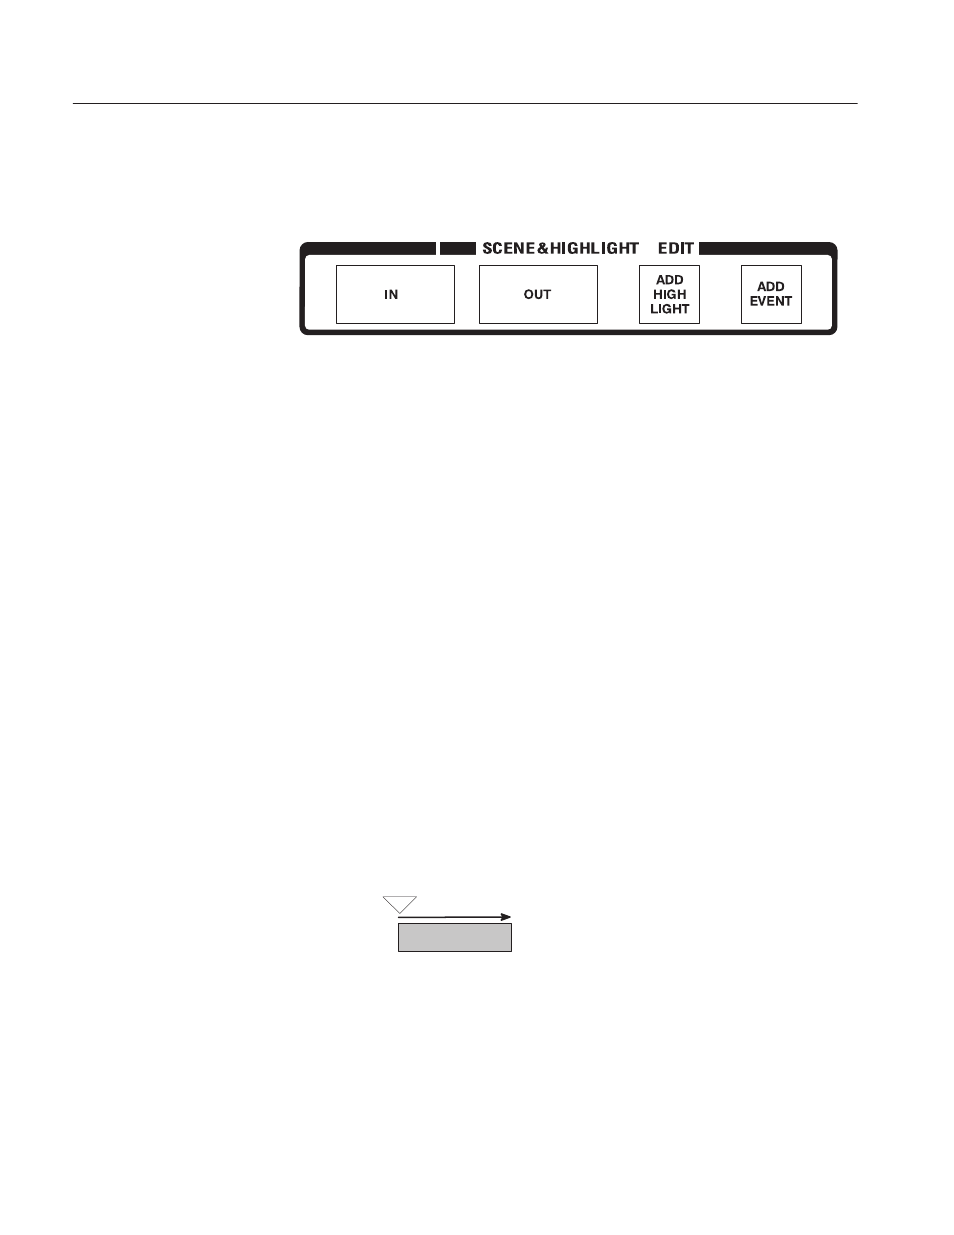
With EDIT area buttons, you can change the duration of a scene and add a
highlight or an event.
Figure 6-10: EDIT Area Buttons
IN
Valid when the play channel is currently within a scene window or
highlight.
You can change the IN point of a scene or highlight cued on the current play
channel by the following procedure:
1. Press the IN button once. The button flashes, making the system ready to
change the IN point.
2. Move the play point using any Play control while the IN button is flashing.
3. Press the IN button again at the desired point. This becomes the new IN
point.
When a new IN point is set, this button goes off.
If you want to cancel an In point trim when the button is flashing, press the OUT
button.
If you press IN with SHIFT held down, a new scene, using the current position
as the new In point, will be created. The Out point of the new scene will be
calculated using the duration set in the Auto In Point section of the Other tab in
the Configuration Window. See page 3–14 for the Auto In Point.
SHIFT + IN
Scene
New IN
New OUT
Auto In Point
The difference between the IN button and the MARK button is that the MARK
button determines the IN point for a frame currently being recorded while
SHIFT + IN determines the In point for a frame currently being played. MARK
determines the In point only and does not determine the Out point, while SHIFT
+ IN automatically determines the Out point.
EDIT Area