Apple Logic Pro 9 User Manual
Page 289
3
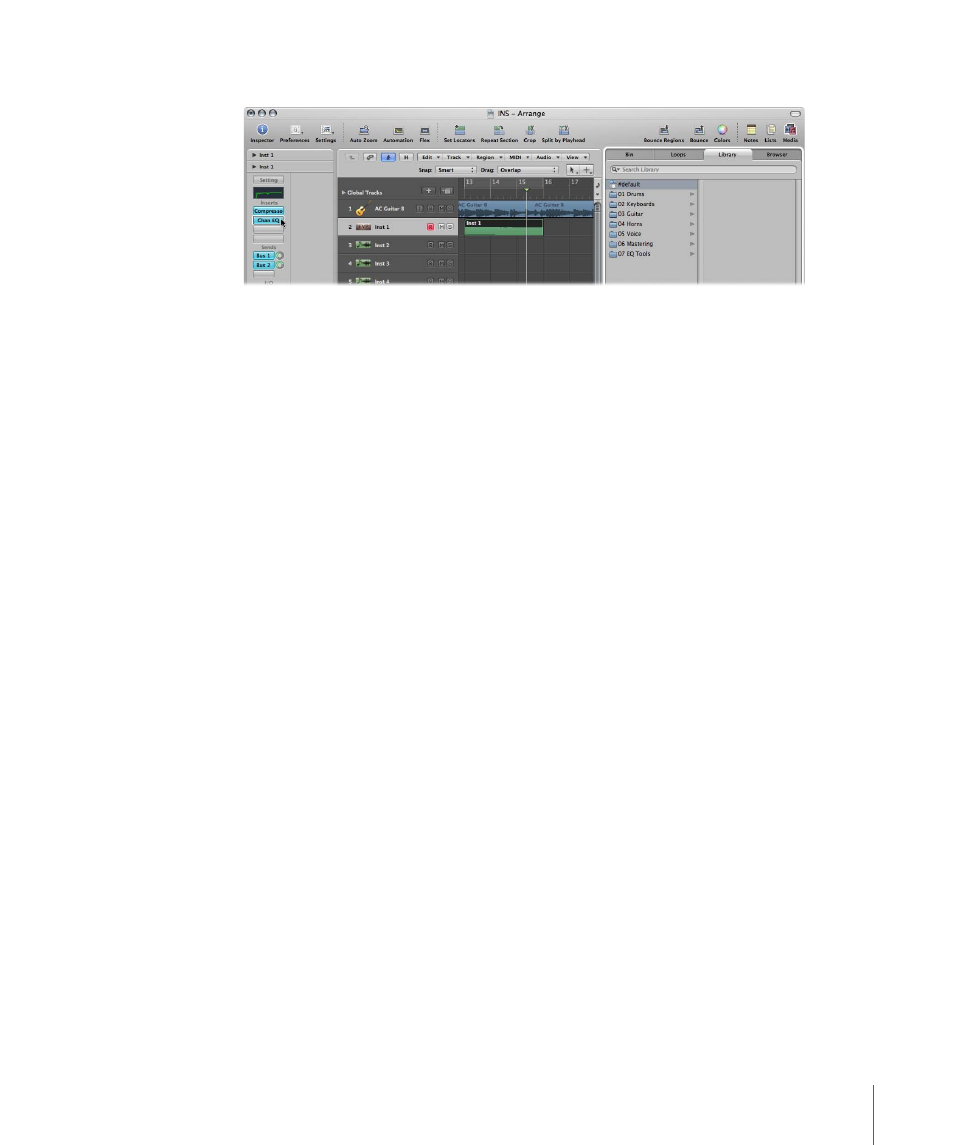
Click the Insert or Instrument slot of the desired plug-in on the Arrange channel strip.
The Library displays all settings available for the chosen plug-in type, sorted into category
menus. Examples for the Compressor plug-in include Drum Compressors, Instrument
Compressors, and Vocal Compressors.
4
Click the appropriate category menu, then click a setting name to change the setting for
the selected plug-in.
Note: You can click the Revert button in the Library tab to return to the previous plug-in
setting.
5
Clicking further Insert or Instrument slots, if used, updates the Library tab to show all
settings for the chosen plug-in type.
6
If you click an unused Insert or Instrument slot, the Plug-in menu is shown, as usual.
Choose a plug-in and the Library tab updates to reflect your selection.
Understanding the Library Folder and Menu Structure
Each plug-in type has a specific sub-folder (named after the plug-in) that is automatically
created in the Plug-In Settings folder. Further sub-folders, used for categories, can be
created inside these sub-folders.
These folder structures are reflected in the Library tab (and Settings menu) for each
plug-in. The top-level Plug-In Settings folder is located in the following
location: ~/Library/Application Support/Logic/Plug-in Settings. The following settings
are stored in this location:
• User-defined or edited plug-in settings
• Factory settings
Note: If a plug-in’s Factory folder contains sub-folders, the Factory folder is no longer
displayed. This allows you to directly access the factory settings from the sub-folders.
Plug-in settings are identified by the .pst file extension.
289
Chapter 10
Working with Instruments and Effects