10 configuration validity, 9 saving recording options, 10 recording bus data – Teledyne LeCroy USB Protocol Suite User Manual (Voyager_Advisor T3_Mercury) User Manual
Page 310
Teledyne LeCroy Corporation
Saving Recording Options
310
USB Protocol Suite User Manual
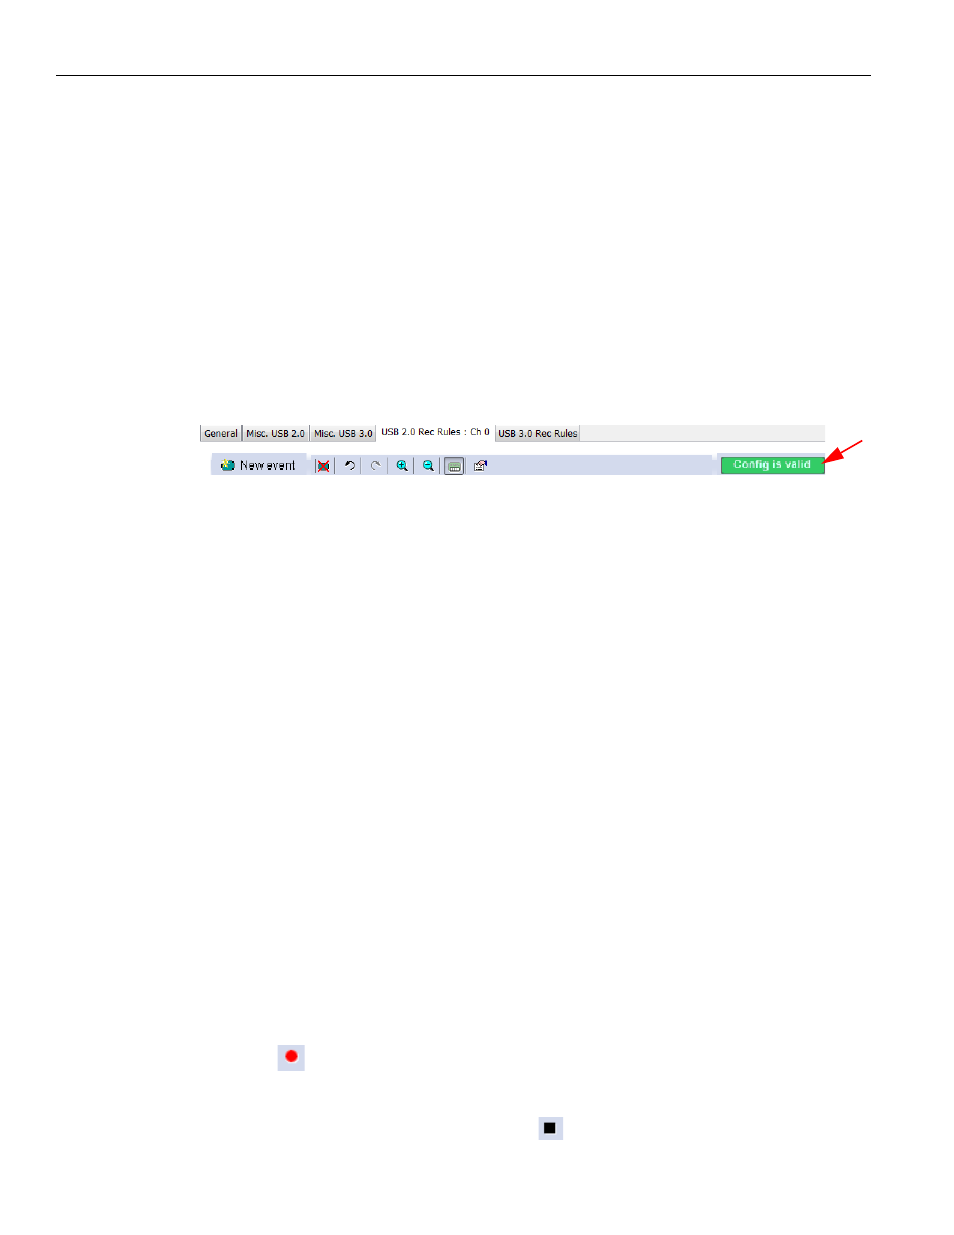
10.8.10 Configuration Validity
The USB Protocol Suite Software monitors the current trigger and filter configuration to
ascertain whether or not it is valid. The configuration may not be valid because of any of
the following reasons:
More resources are configured than exist in the hardware.
Conflicts occur between shared hardware resources.
Configurations may be incomplete, such as choosing an event like “SCSI Com‐
mand” but not selecting a specific command.
If Config is not valid (red), you must fix the problem, so that the green Config is Valid
shows in the status area. If this is not done, the configuration will not be applied to the
current Recording Rules, and the trigger or filter will not function.
10.9
Saving Recording Options
To complete your Recording Options settings, use the features at the bottom of the
Recording Options screen. These features remain the same no matter which of the three
Recording Options screens you are working in.
Click Save to save the currently specified Recording Options for use in future
recording sessions. Any file name can be specified, though use of the .rec is rec‐
ommended; if no extension is specified, .rec is added by default.
Click Load to load a previously saved *.rec file, thus restoring a previous set of
Recording Options.
The Save as Default function is equivalent to the Save function, specifying the
file name default.rec. Whenever you start up the Analyzer, it automatically loads
the default.rec file if one exists.
Click OK to apply any changes and close this dialog box.
Click Cancel to cancel any immediate changes you have made and exit the
Recording Options menu.
10.10 Recording Bus Data
To start recording USB traffic once the appropriate Recording Options have been set
perform the following steps. Note: If you have inserted any event triggers, be sure to
select Event Trigger under the General tab in the Recording Options dialog box.
1. Select Start under Record on the Menu Bar
OR
Click
on the Tool Bar.
Your recording session can continue until it has finished naturally,
or you may need to stop manually by clicking
on the Tool Bar, depending on how you
set the Recording Options.