Working with inner graphics – Rockwell Automation 2711-ND3 PanelBuilder v2.60 Software User Manual User Manual
Page 290
17–20
Formatting Objects and Text
Publication 2711-6.0
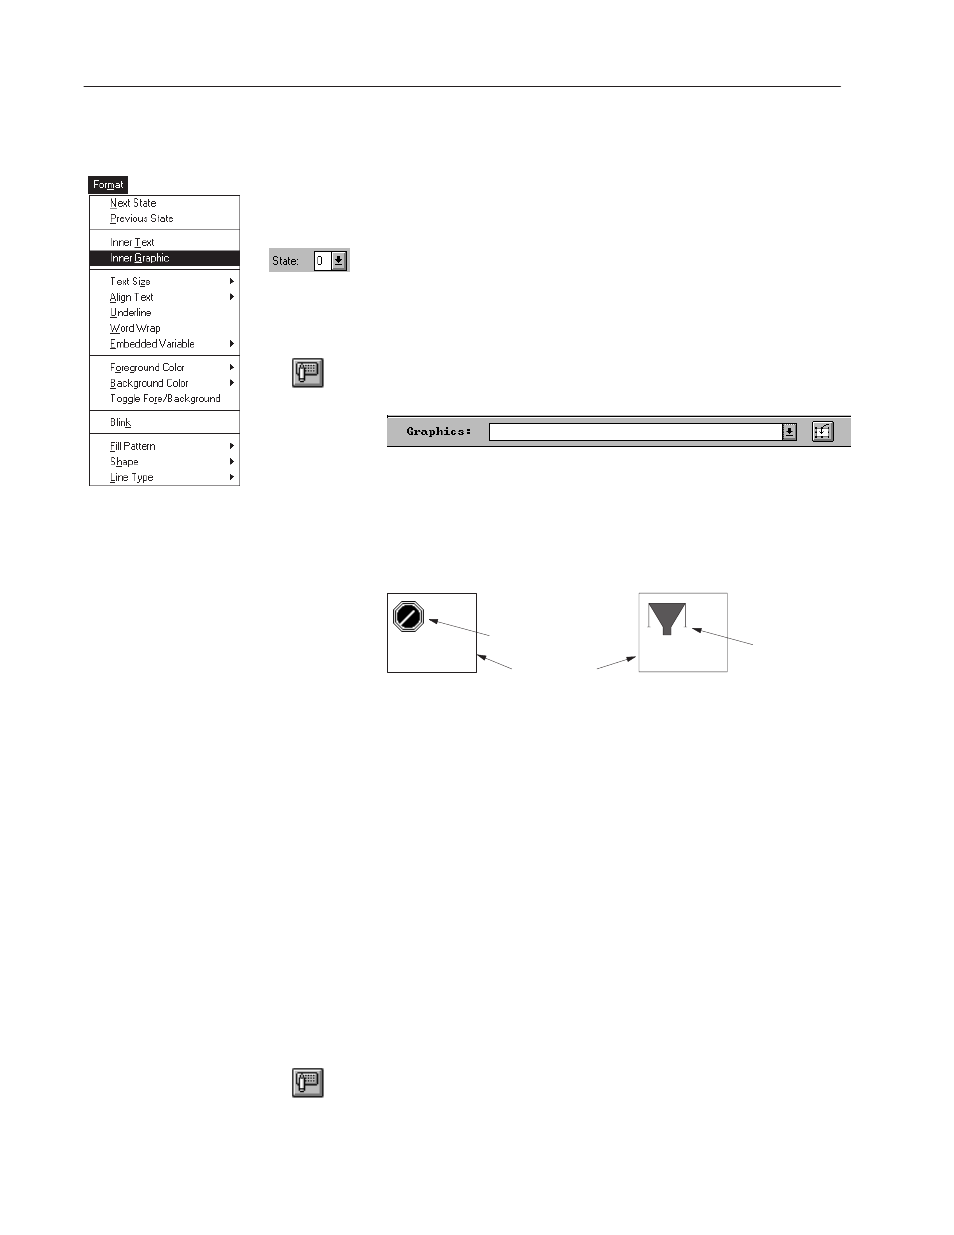
Adding Inner Graphic
To insert an imported bitmap or ISA symbol in an object:
1. Select the object.
2. For a multistate object, select the state to insert the graphic.
•
From the tool bar, select a state from the State box.
•
Or choose Next State or Previous State from the Format menu.
3. To display a graphic without text, get into inner text mode and
delete the text, then exit inner text mode.
4. Click the Inner Graphic tool on the tool bar.
Or choose Inner Graphic from the Format menu.
List of available graphics
5. Select a graphic or ISA symbol from the Graphics list box.
The graphic is inserted in the object.
ISA symbols are also available from the ISA Symbols toolbox.
Click a symbol while in inner graphic mode to insert in object.
Button Border
Bitmap graphic
ISA Symbol
Toggle through views of graphics while the Graphics list box is
highlighted using the
UP
and
DOWN
arrow keys. Each time you
press a key the current graphic is replaced with another view.
6. Position the graphic in the object by selecting and moving it.
7. Click the Inner Graphic tool to exit inner graphic mode.
Or click the left mouse button outside the push button.
8. Resize the object (not graphic), if necessary. The graphic retains
its relative position in the object anchored by the top left corner.
For multistate objects, you can assign a graphic to a specific state
from the State tab of the Object’s dialog.
To reposition a graphic:
1. Select the object.
2. For a multistate object, select the state containing the graphic.
3. Click the Inner Graphic tool on the tool bar.
4. Select the graphic and move it.
5. Click the Inner Graphic tool to exit inner graphic mode.
Working with
Inner Graphics
"
"