Canon imageCLASS MF7470 User Manual
Page 243
1
2
3
4
5
6
7
8
9
10
11
6-42
Previous
Back
Next
TOP
Before Using the
Machine
Original and Paper
Copying
Sending and
Receiving
Printing and
Scanning
Network (imageCLASS
MF7480/MF7470 Only)
Remote UI (imageCLASS
MF7480/MF7470 Only)
System Settings
Maintenance
Troubleshooting
Appendix
Index
Table of Contents
DNS Settings
DNS (Domain Name Service) is a service used for associating a host
name (which is a name of a computer or a printer on a TCP/IPv6
network) with a unique IPv6 address.
1.
Press (Additional Functions).
2.
Press [System Settings] → [Network Settings] →
[TCP/IP Settings] → [IPv6 Settings] → [
▼] → [▼]
→ [DNS Server].
If the System Manager ID and System Password have been set, enter
the System Manager ID and System Password using
–
(numeric
keys), then press
(Log In/Out) to enter the System Settings menu.
The DNS Server screen appears.
3.
Press [DNS Server Address Settings].
4.
Press [Primary DNS Server].
5.
Specify the IPv6 address of a DNS server, then
press [OK].
6.
Press [Secondary DNS Server].
7.
Specify the IPv6 address of a DNS server, then
press [OK].
If you do not want to set up a DNS secondary server, leave
[Secondary DNS Server] blank.
You cannot enter a multicast address or address composed
entirely of zeros in [Primary DNS Server] or [Secondary DNS
Server].
If you set Use DHCPv6 to [On], the IPv6 address of a DNS server
you set manually will be overwritten.
8.
Press
[OK].
9.
Press [DNS Host Name/Domain Name Settings].
10.
Select [On] or [Off] for
Domain Name as IPv4>.
[Off ]: Sets a different host name or domain name for IPv6
communication. Proceed to step 11.
[On]: Sets the same host name or domain name used with IPv4
communication for IPv6 communication. Skip to step 15.
11.
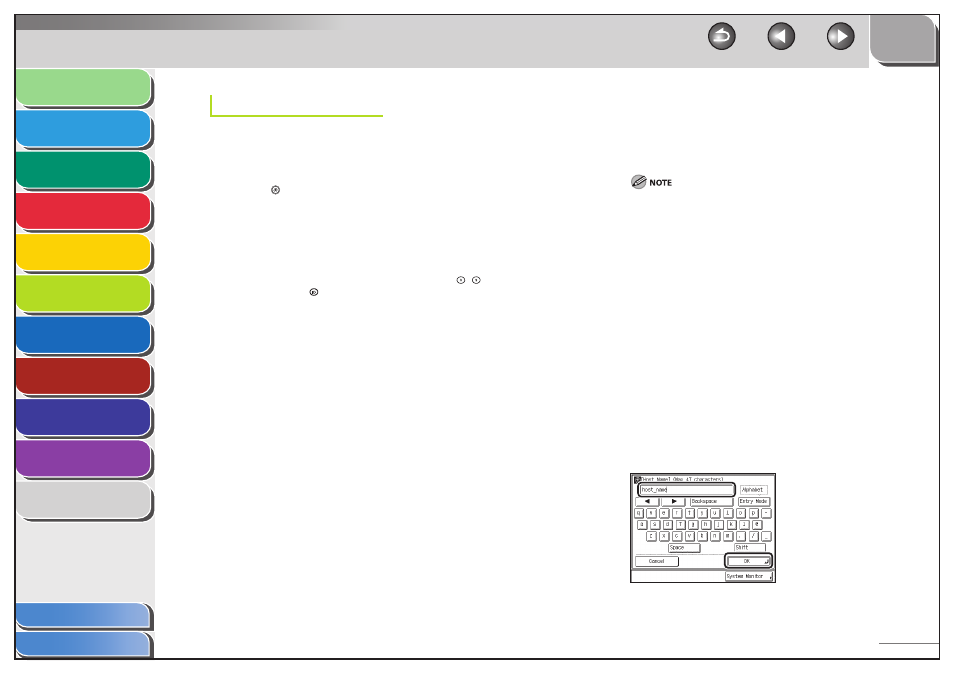
Press [Host Name].
12.
Enter the name of the machine, then press [OK].
13.
Press [Domain Name].
–
–