Re-activation procedure – Keri Systems Doors.NET Manual User Manual
Page 145
Doors.NET Reference Manual
- 145 -
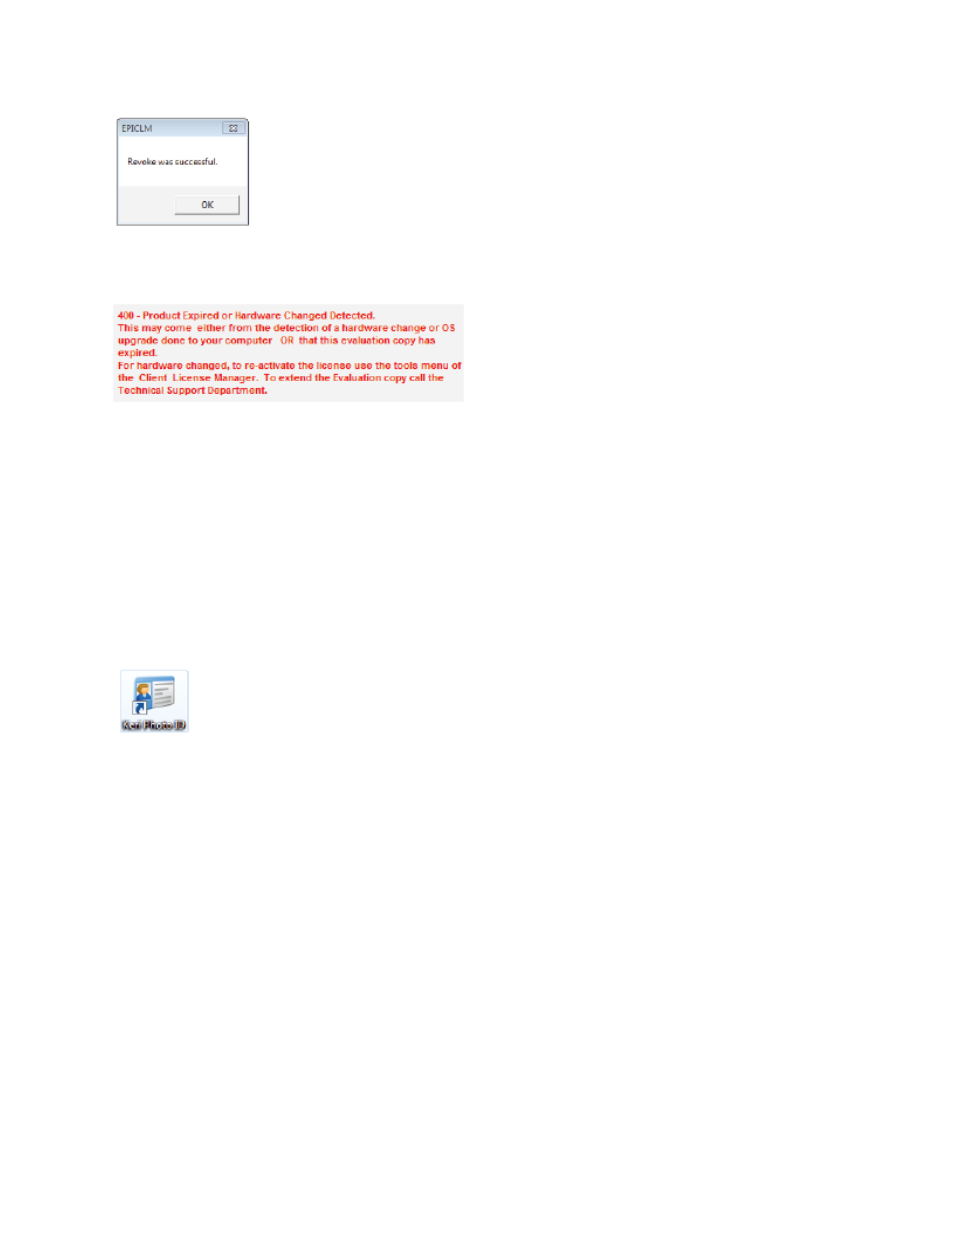
7. You will also see the following text highlighted in red: Click the Exit button.
You are now able to re-activate the license following a format of the hard-drive, or after
installing Doors.NET on a different Host PC.
Re-Activation Procedure
1. On the host PC which has had Doors.NET re-installed (selecting to also install the
Badging client), click the ‘Keri Photo ID’ icon on the desktop or locate it via Start
Menu >> All Programs >> Doors .NET >> Keri Photo ID.
2. You should see an error reading license file window, click OK to this. You will then
see a second window appear with a text field for you to enter the revoked license
key, do this then click OK.
3. Finally you will need to enter your EPI registration/contact information.
Your badging ID client will then be re-activated and ready to use.