Setup access groups, Create a new access group – Keri Systems Doors16 User Manual
Page 75
Keri Systems, Inc.
Doors™ Users Guide
01821-001
October 1998
Revision 2.1
Page 75
Setup Access Groups
The setup access groups section provides the instructions for creating access groups. Access
groups combine time zones and doors into a superset of information that is applied to
cardholders – basically when and where cardholders are granted access. Each door can be
assigned a unique time zone, or any number of doors can be assigned the same time zone.
To be granted access to a secure door, a cardholder must meet the criteria of the access group.
The cardholder must be at a door that accepts members of that access group and it must be
during a time zone that allows that cardholder access.
Doors uses a Windows convention called a Wizard to create an access group. In this
application, the access group wizard is a sequential set of windows that requests information
from the operator and then creates the access group. This section provides examples for
creating a new access group, editing an existing access group, and deleting an access group.
NOTE: Along with the three access group examples provided below, several other access
groups may be used in this Users Guide providing building access for all three shifts,
stockroom access for all three shifts, janitorial access, and all access.
Create a New Access Group
This section uses an example to describe the process for creating a new access group. In this
example, the day shift staff needs access to the front, back, and manufacturing doors during
the day shift time zone.
1.
To create a new access group, click on the Setup
⇒
Access Groups pull-down menu or
click on the
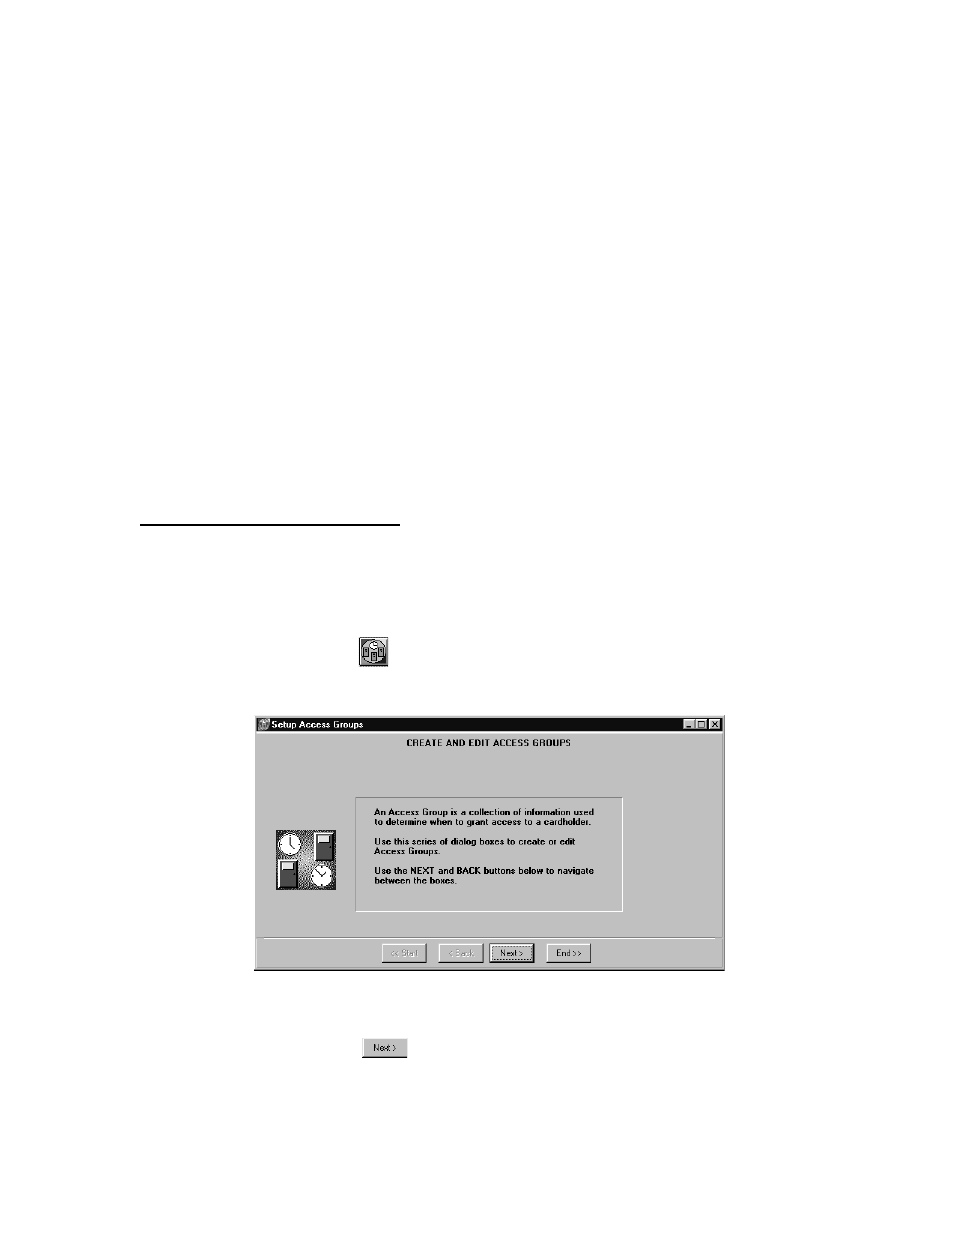
tool bar button. The Create and Edit Access Groups window appears
(see Figure 42).
Figure 42 – Create and Edit Access Groups - Entry Window
2.
Click on the
button and the Edit Access Group window appears (see Figure 43).