Using rsnetworx for devicenet – Rockwell Automation 193-EC1_2_3_5, 193-ECPM,592-EC1_2_3_5 E3 and E3 Plus Solid-State Overload Relay User Manual User Manual
Page 96
96
Rockwell Automation Publication 193-UM002I-EN-P - December 2011
Chapter 4 DeviceNet™ Node Commissioning
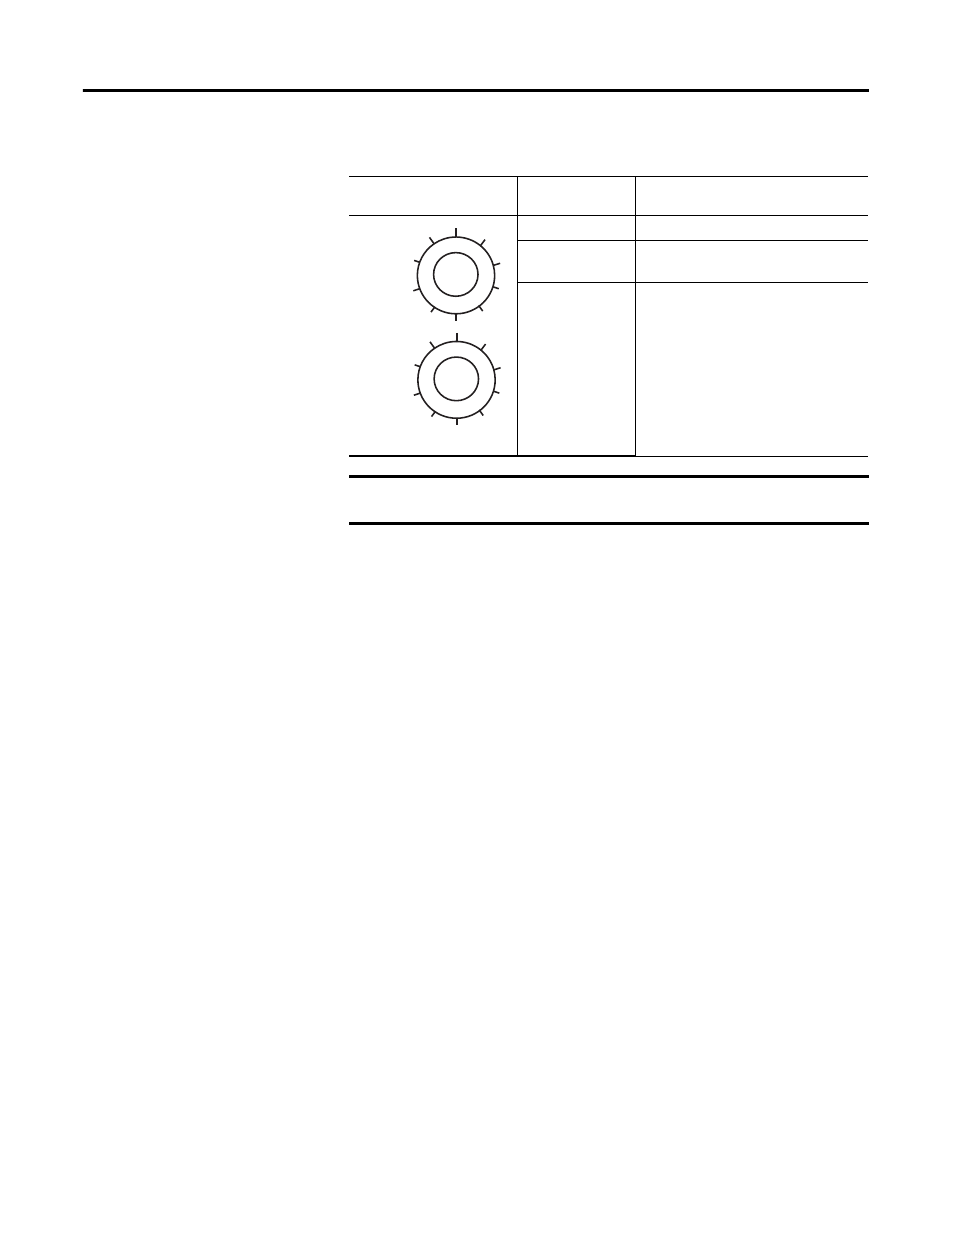
Table 24 - Node Address Settings
2.
For node address switch values in the range of 0 to 63, cycle power to the
E3 Overload Relay to initialize the new setting.
Using RSNetWorx for DeviceNet
Follow these additional steps for node address switch settings in the range of
64…99. To begin the configuration of an E3 Overload Relay using software,
execute the RSNetWorx software and complete the following procedure. You
must use RSNetWorx Revision 3.21 Service Pack 2 or later.
Recognizing the E3 Overload Relay Online
1.
Launch the RSNetWorx software, then select Online from the Network
drop-down menu.
2.
Select the appropriate DeviceNet PC interface, then click OK.
3.
If the RSNetWorx software gives notification to upload or download
devices before viewing configuration, click OK to upload or download
these devices.
4.
RSNetWorx now browses the network and displays all of the nodes it has
detected on the network. For some versions of RSNetWorx software, the
E3 Overload Relay Series B and Later EDS files may not be included. In
this event, the device will be identified as an “Unrecognized Device”.
Node Address Switches
Node Address
Setting
Determined By:
0…63
the switch values when set in this range.
64…99
the software setting using the RSNetWorx
for DeviceNet configuration tool.
99
99 is the default factory setting.
IMPORTANT Resetting an E3 Overload Relay to factory default values will also effect
the node address setting for node address switch settings of 64 to 99.
TIP
DeviceNet drivers must be configured using RSLinx prior to being
available to RSNetWorx.
8
2
4
6
MSD
8
2
4
6
LSD