3 installation, 1 installation procedure – KEYENCE Visual KV Series User Manual
Page 366
9.3 Installation
KV-10/80 Series Only
KV
-300
KV-10/80
Chapter 9 KV-AD4/DA4 Analog I/O Unit
1-342
9
9.3
Installation
9.3.1
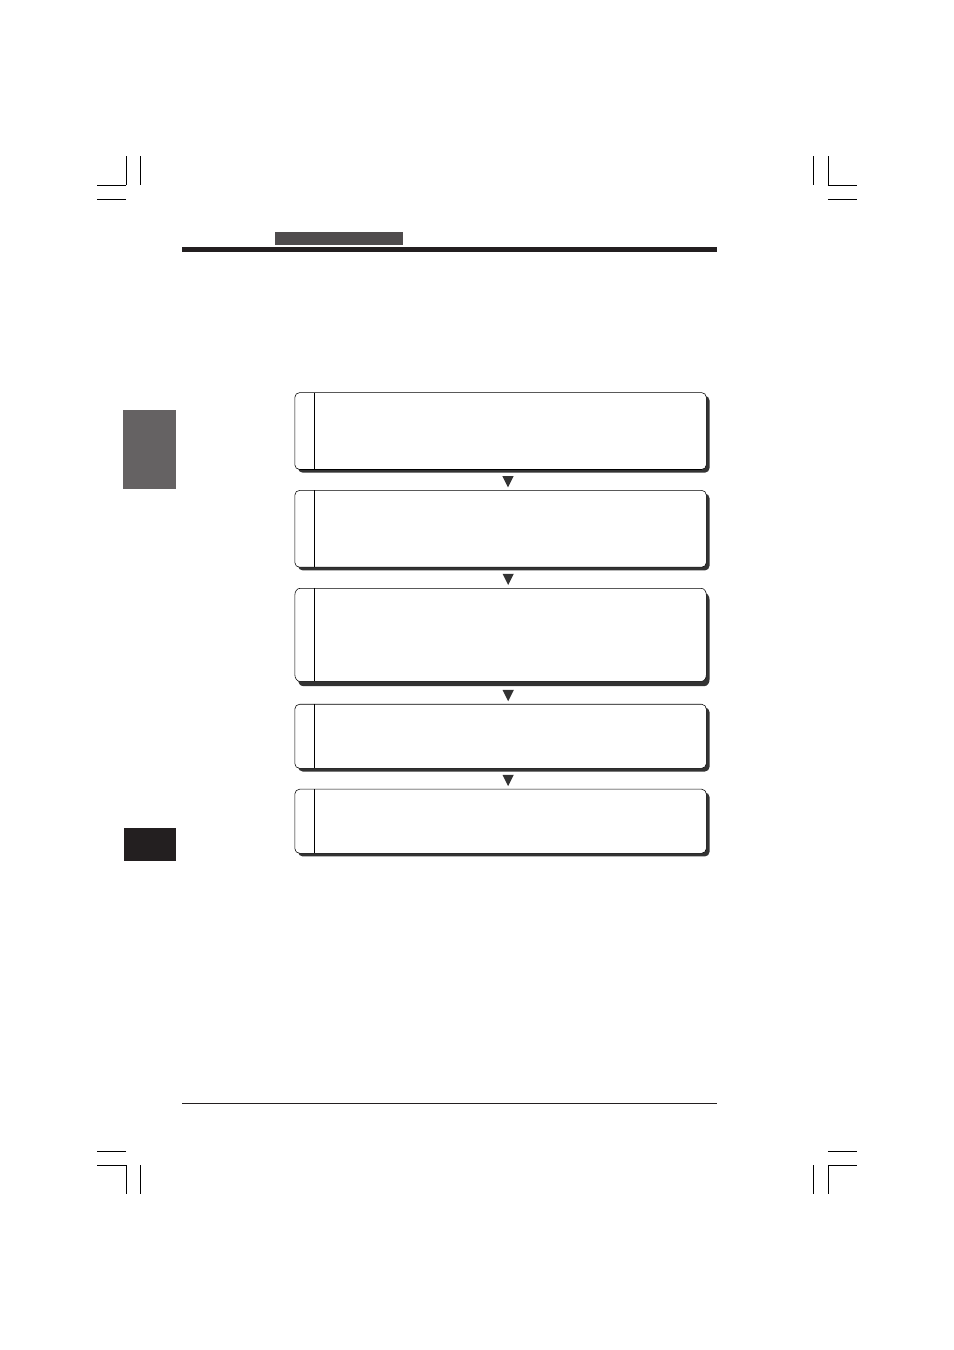
Installation Procedure
The KV-AD4/DA4 is connected to the CPU of the KV-10 to 80 and connected to
external instruments according to the following procedure.
2
4
5
Make sure that the environment where you are going to install the KV-AD4/DA4
is appropriate.
➮ For details, see "9.3.2 Checking the Installation Environment" on the next page.
Checking the Installation Environment
Prepare items needed for installing the KV-AD4/DA4 such as signal leads and
crimp terminals.
➮ For details, see "Wiring" (p.1-345).
Preparation
1
3
Connect external instruments for analog input to the KV-AD4 and KV-DA4,
respectively. Before connecting the KV-AD4, the input mode (voltage and current
input terminal settings) must be set.
➮ For details, see "9.3.3 Setting the KV-AD4 Input Mode" (p.1-344).
Connecting External Instruments
Connect the KV-AD4/DA4 to the CPU of the KV-10 to 80.
➮ For details, see "9.3.5 Connecting to the KV-10 to 80" (p.1-348).
Connecting the KV-AD4/DA4
Trial Operation
KVHKA Chap 09.p65
08.3.11, 11:20 AM
342