IAI America RCM-101-USB User Manual
Page 95
6. Initial Setting and Position Data Editing for SEP
Controllers
83
How the respective buttons and input areas are operated is explained below.
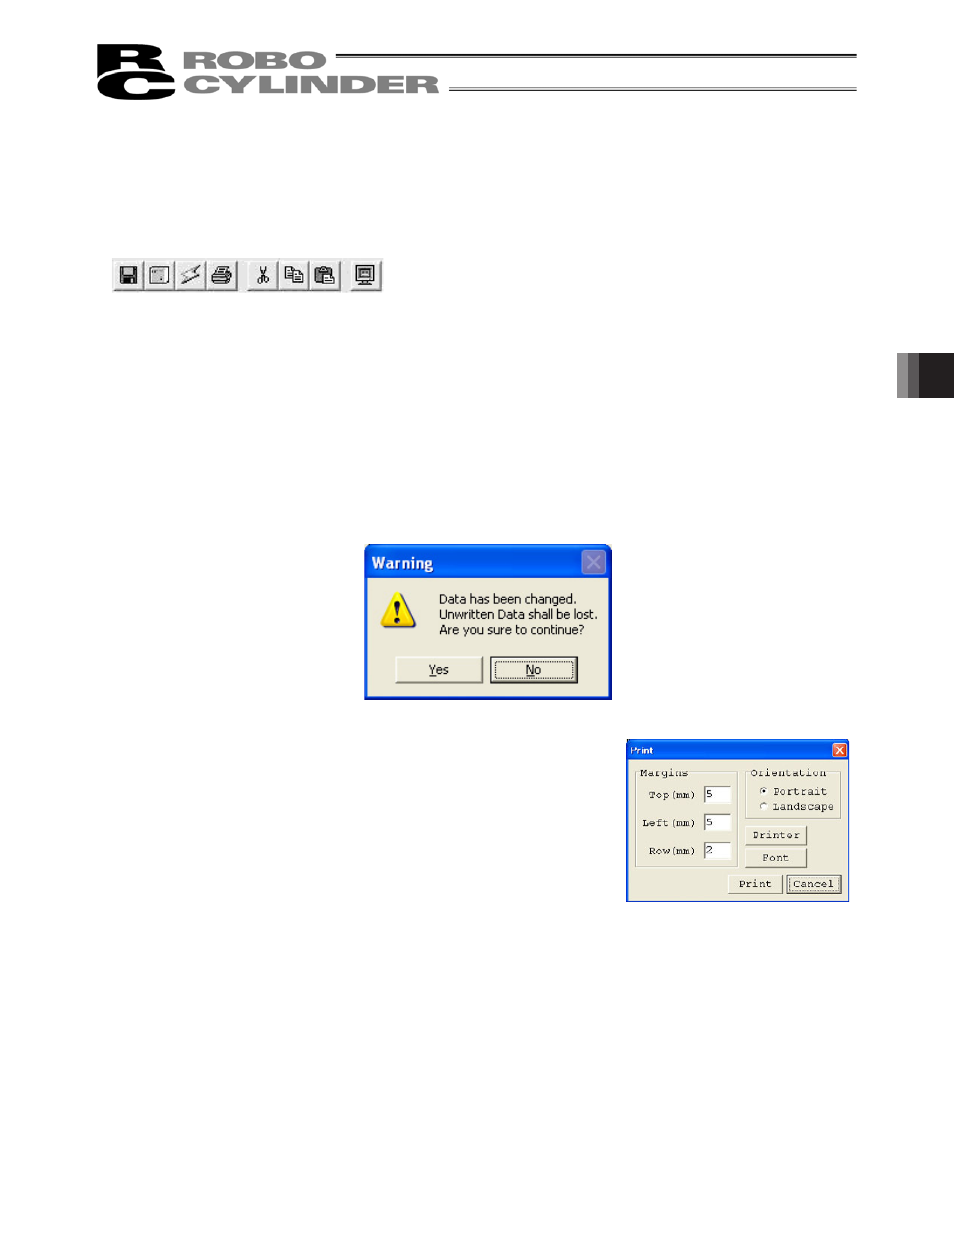
(1) Tool buttons
Fig. 6.14 Tool Buttons
[1] Save to file
Save data to a file.
[2] Send to controller
Send (write) data to the controller.
[3] Read position data again
Read position data from the controller again, and then refresh the data display.
If position data has been modified in the edit window (= “Modified” is shown in the status bar), the warning
message shown in Fig. 6.15 appears.
* Take note that selecting
Yes will clear the data that has been edited (but not yet written to the controller).
Fig. 6.15 Warning Message
[4] Print
Output position data to the printer.
The print setup window appears where you can set the top,
left and row margins (in mm) as well as print orientation.
When all settings are complete, click
Print.
[5] Cut
Cut the data inside the range selected in the position data input area.
* Data can be selected in units of rows.
[6] Copy
Copy the data inside the range selected in the position data input area.
* Data can be selected in units of rows.
[7] Paste
Paste the data that has been cut or copied from the position data input area, to the selected position.
[8] Show status monitor window
Show the status monitor window of the axis you are currently editing.
The window displayed by clicking this button is the same as the one that appears when you click
Monitor
from the main menu in the main window and then select
Status.
[1] [2] [3] [4]
[5] [6] [7]
[8]
Fig. 6.16 Print Setting Window