Use luma keys – Apple Final Cut Pro X (10.0.9) User Manual
Page 343
Chapter 12
Keying and compositing
343
Animate the chroma key effect
To compensate for changing conditions in the foreground clip, you can make Sample Color and
Edges adjustments at multiple points in the clip.
The following steps assume you have applied the chroma key effect.
1
Place the Timeline’s playhead at the start of the clip.
2
Use Sample Color and Edges (described above) to create a good chroma key.
3
Move the Timeline’s playhead to a point later in the clip where the lighting or background
conditions change, resulting in the chroma key no longer being acceptable.
4
Use Sample Color and Edges to once again create a good chroma key.
5
To add additional adjustments at other playhead positions, repeat steps 3 and 4 as needed.
6
To move the playhead between each adjustment point you add, use the Jump to Sample arrows.
When you play the clip, the Sample Color and Edges settings smoothly change from one sample
point to the next. For even greater control, you can add keyframes for most of the other settings
in the Keyer section of the Video inspector. For more information about working with keyframes,
see
on page 247.
Note: Keyframes for the chroma and luma graphs in the Color Selection controls appear only in
the Video inspector and not the Video Animation Editor in the Timeline.
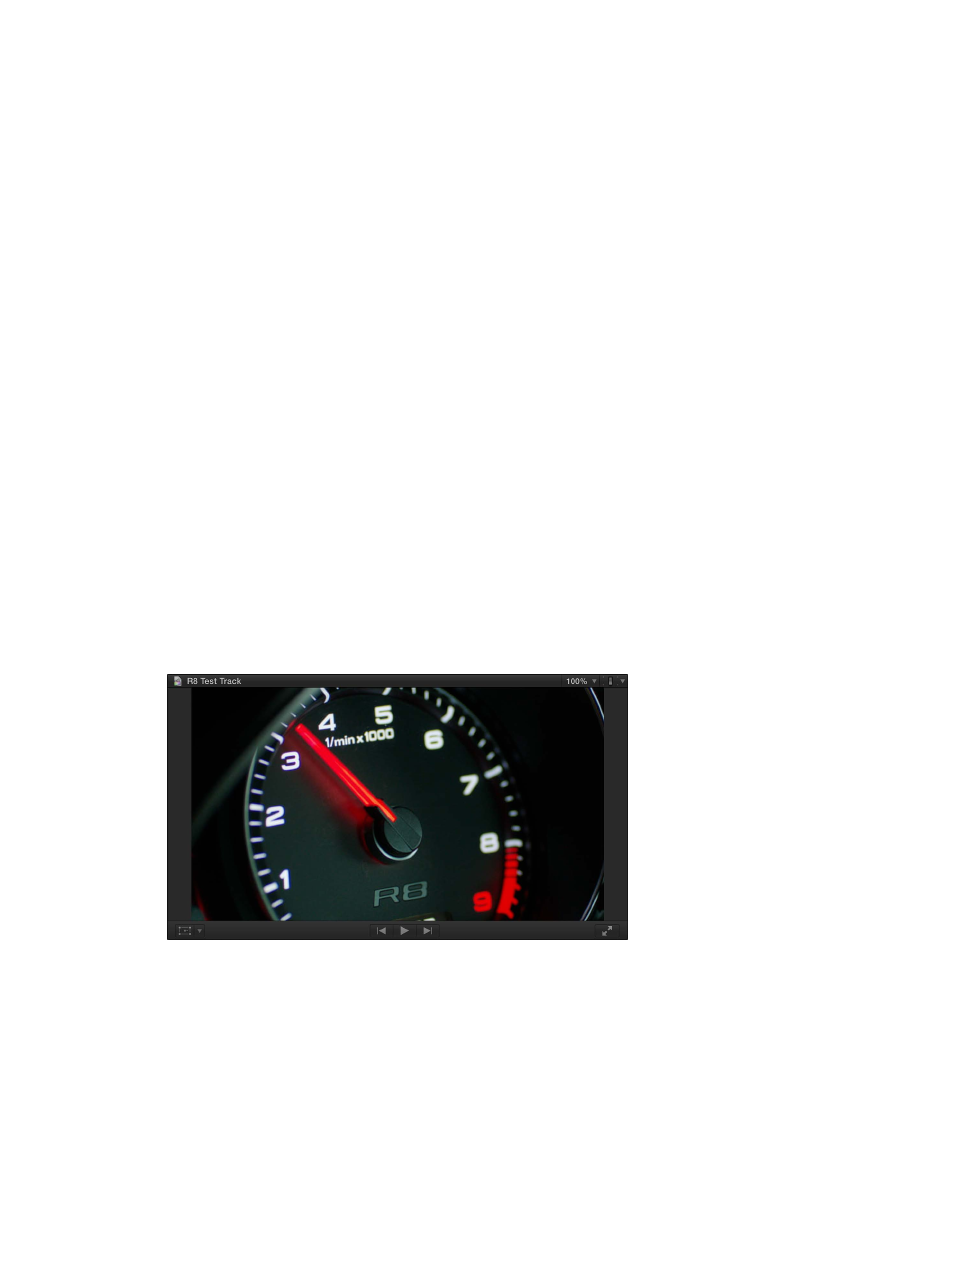
Use luma keys
Luma keys provide a way to composite a foreground clip over a background clip based on the
luminance levels in the video. This is most often useful for still images, such as a picture of a logo
over a black background, or computer-generated graphics.
For the following examples, this speedometer image will be keyed over an outdoor car scene,
creating a reflected look.