Audio tools and techniques, Enhance audio, 199 audio tools and techniques 199 – Apple Final Cut Pro X (10.0.9) User Manual
Page 199
Chapter 9
Edit audio
199
Hide audio animation
Do one of the following:
m
Select the clip in the Timeline, and choose Clip > Hide Audio Animation (or press Control-A).
m
Click the close button in the upper-left corner of the Audio Animation Editor.
m
Control-click the clip in the Timeline, and choose Hide Audio Animation from the shortcut menu.
Audio tools and techniques
Enhance audio
Final Cut Pro includes several powerful tools for both analyzing and enhancing the audio portion
of clips, including:
•
Loudness: Improves the main audio signal and makes it more uniform.
•
Background Noise Removal: Reduces background noise.
•
Hum Removal: Reduces common electrical hum noise at either 50 or 60 Hz.
You can analyze audio and adjust loudness, background noise, and hum using the Audio
Enhancements inspector. You can also analyze and fix audio problems when you import a clip.
The Audio Enhancements section of the Audio inspector also includes:
•
Equalization: Enhances the high-end (treble), midrange, or low-end (bass) frequencies.
All enhancements are designed to correct most common audio problems automatically or with
minor adjustments.
Note: When you import a clip, the analyze and fix audio function only corrects severe audio
problems. If the clip contains moderate problems, these appear in yellow next to Audio Analysis
in the Audio Enhancements section of the Audio inspector after the clip is imported. To correct
these, you need to automatically enhance audio in the Audio Enhancements inspector.
Analyze audio
1
Select an audio clip or video clip with audio in the Timeline.
2
To analyze the audio, do one of the following:
•
Choose Window > Go To > Audio Enhancements (or press Command-8).
•
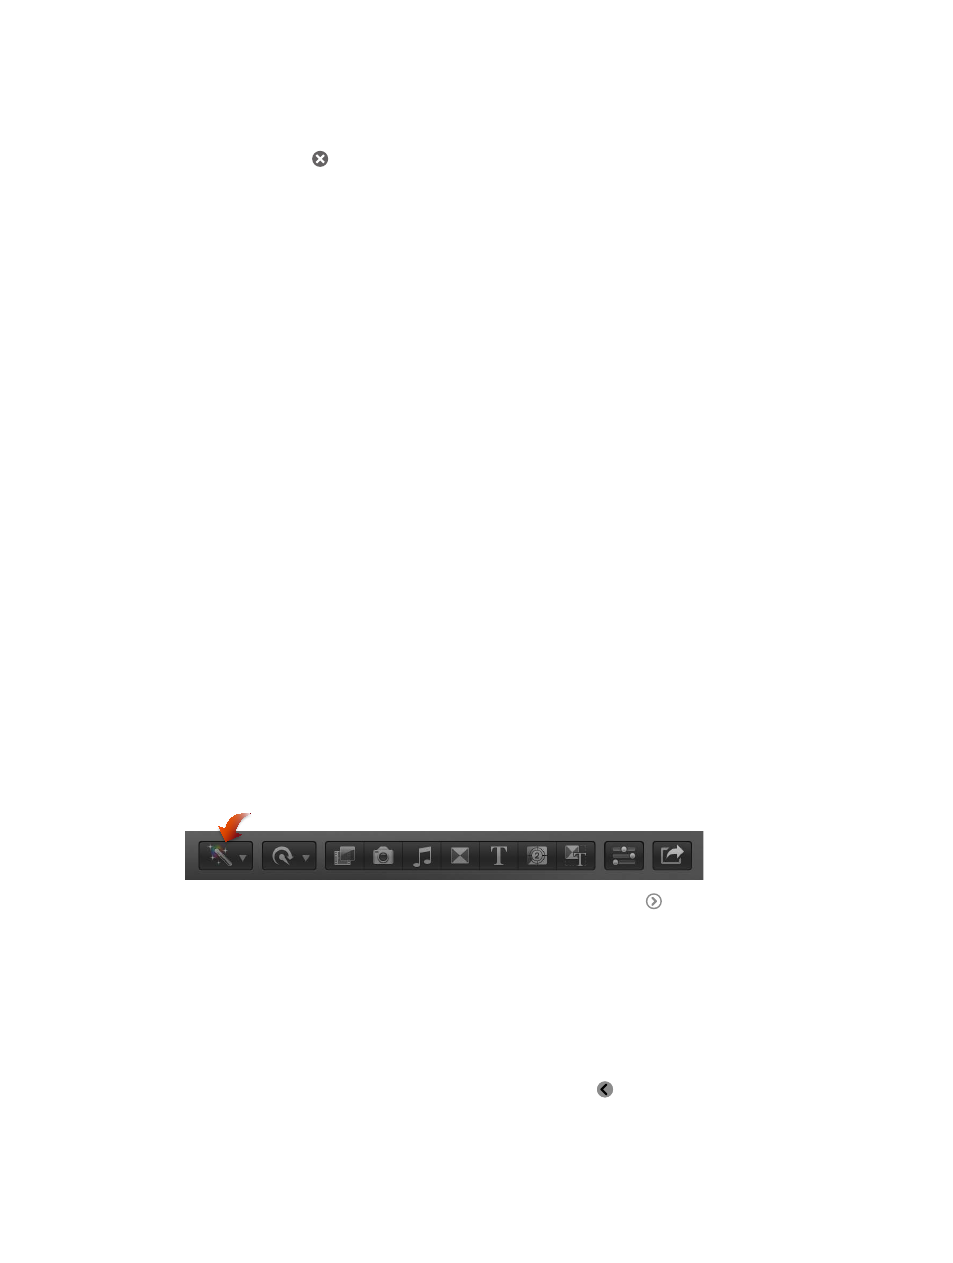
Choose Show Audio Enhancements from the Enhancements pop-up menu in the toolbar.
•
In the Audio inspector, click the Audio Enhancements Inspector button next to Audio
Analysis in the Audio Enhancements section. (The button changes color if any adjustments
have been made.)
The Audio Enhancements inspector appears. After analysis, indicators appear next to each
enhancement to show results:
•
A red sign indicates severe problems.
•
A yellow warning triangle indicates potential problems.
•
A green checkmark indicates OK.
3
To close the Audio Enhancements inspector, click the back button .
You can automatically or manually change enhancement settings to correct any problems.