Apple Final Cut Pro X (10.0.9) User Manual
Page 211
Chapter 10
Add transitions, titles, effects, and generators
211
Dragging the trim icon in the upper left adjusts the right clip’s start point, and dragging the
trim icon in the upper right adjusts the left clip’s end point. A number appears showing how
many frames you have added to (negative numbers) or subtracted from (positive numbers) the
clip’s duration. Trimming the clip doesn’t affect the transition’s duration, but it does affect the
project’s duration.
You can also use the Precision Editor to trim the clips under the transition.
Adjust transitions in the Transition inspector and Viewer
You can adjust a transition using the controls in the Transition inspector and Viewer.
Adjust a transition using the Transition inspector and Viewer
1
If the Transition inspector is not already visible, choose Window > Show Inspector (or press
Command-4).
2
In the Timeline, select the transition to adjust.
For this example, use the Circle transition.
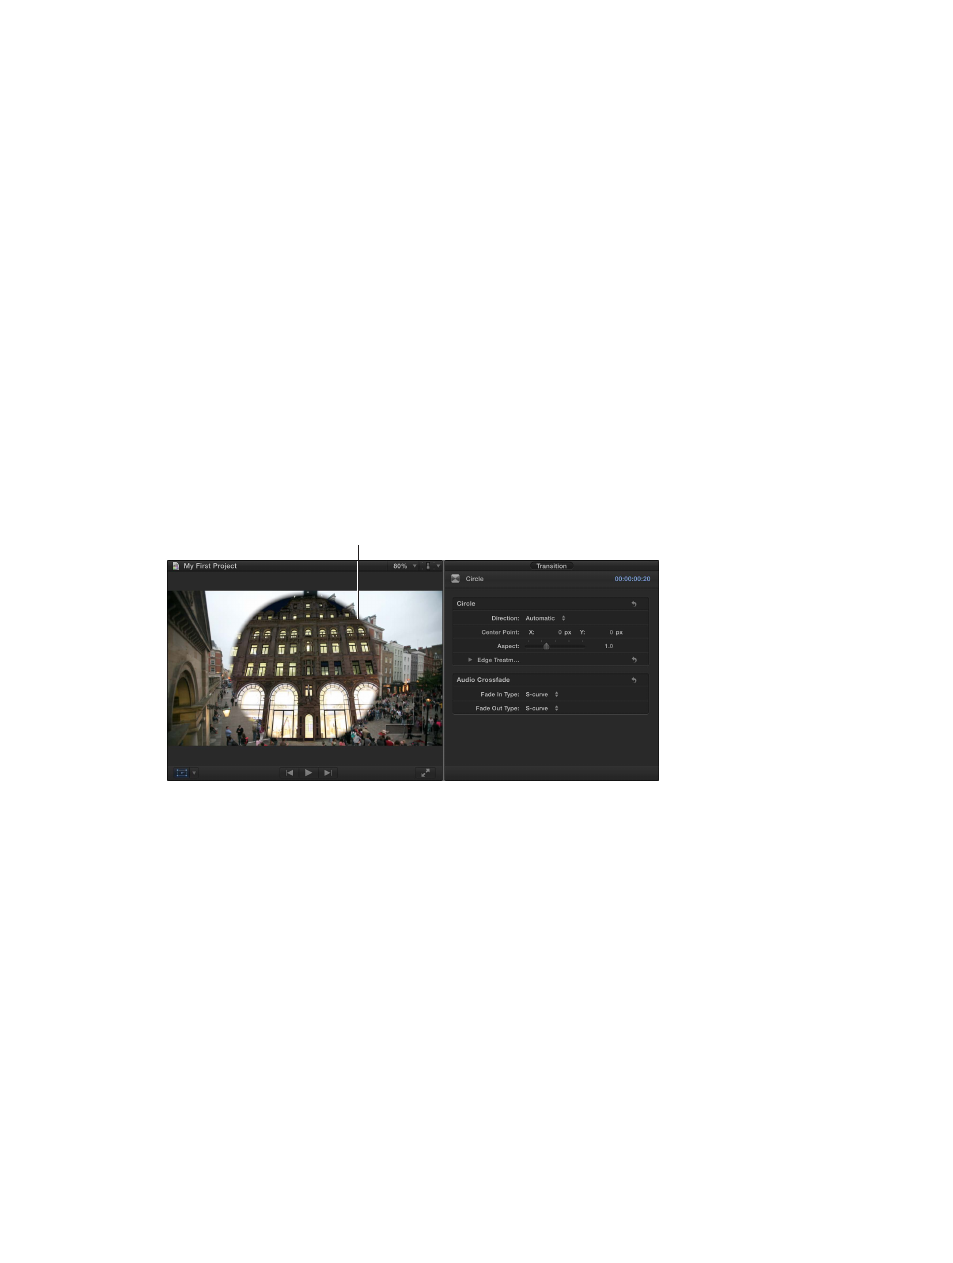
The Viewer shows any onscreen adjustments you can make by dragging the handles. The
Transition inspector shows the other parameters available for you to adjust. Additionally,
some transitions have an image well for you to select a video frame that appears as part of
the transition.
Drag onscreen controls
to adjust selected
transition settings.
In the above example, you can drag the white circle in the Viewer (an onscreen control) to
position the circle wipe’s center and the square to set the border width (in this case, its softness).
The Transition inspector includes a setting for the circle wipe’s aspect ratio and edge treatment
(including the border color if you choose a hard edge).
Additionally, many transitions have parameters that you can animate using keyframes. For
example, you could have the center of the Circle transition move as you play the clip.
For more information on adjusting audio crossfades in the Transition inspector, see
on page 174.