Adding a remote disk – QNAP TVS-472XT 4-Bay NAS Enclosure User Manual
Page 385
Adding a Remote Disk
1. Go to iSCSI & Fibre Channel > iSCSI > Remote Disks .
2. Click Add Virtual Disk.
3. Specify the IP address or hostname of the remote server.
4. Optional: Specify the iSCSI port of the remote server.
5. Click Get Remote Disk.
QTS connects to the remote server and then lists all available iSCSI targets.
6. Select an iSCSI target.
7. Optional: Specify a CHAP username and password.
This is required if the remote server has CHAP authentication enabled.
8. Optional: Enable CRC checksums.
Initiators and targets communicate over TCP connections using iSCSI protocol data units (PDU). The
sending device can send a checksum with each PDU. The receiving device uses this checksum to verify
the integrity of the PDU, which is useful in unreliable network environments. There are two checksum
types, which can be enabled separately.
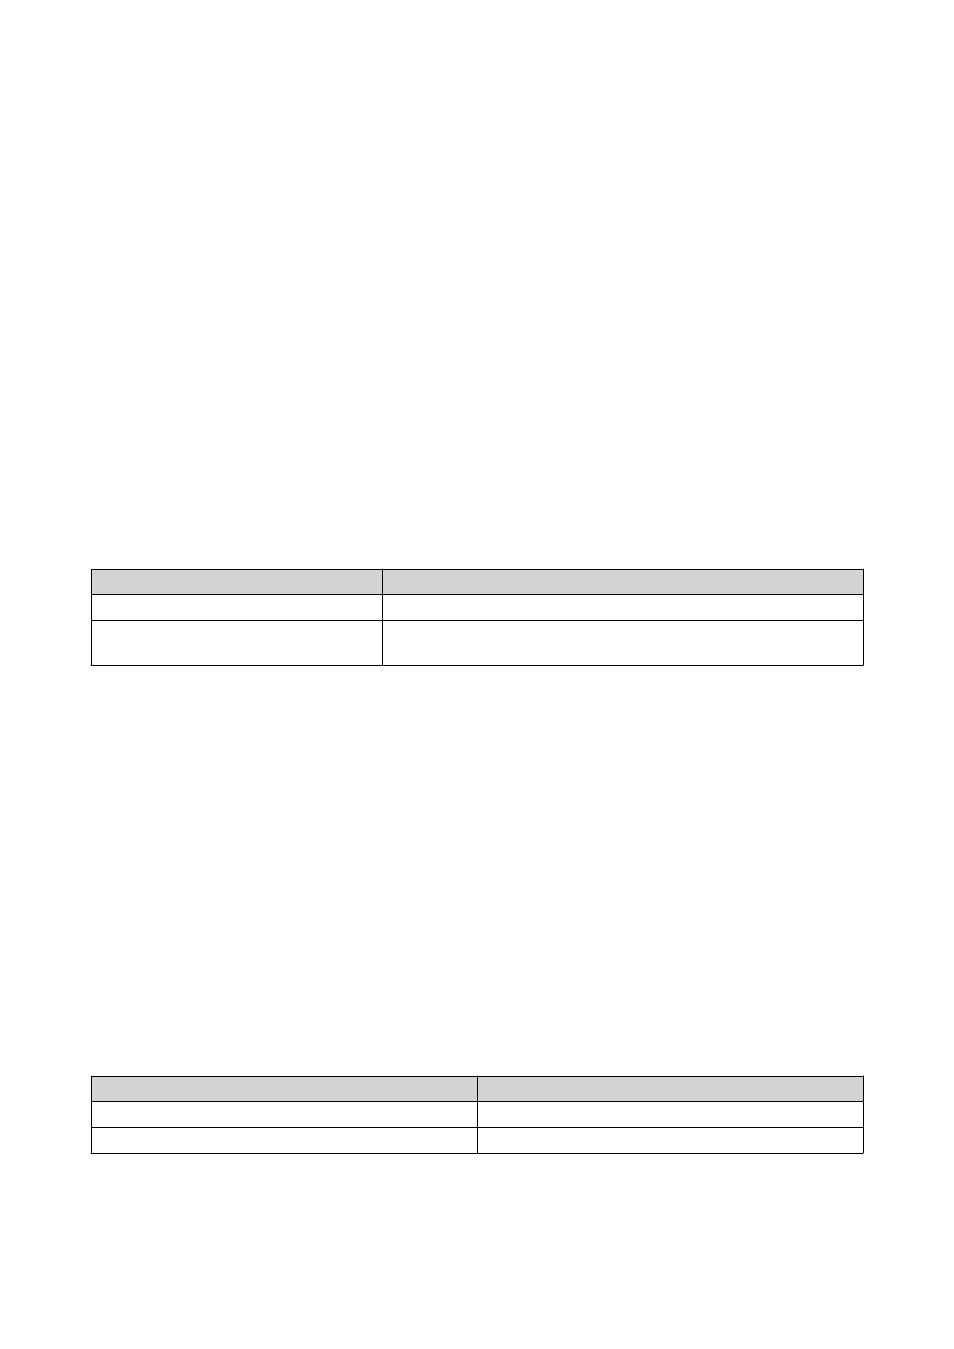
Checksum Type
Description
Data Digest
The checksum can be used to verify the data portion of the PDU.
Header Digest
The checksum can be used to verify the header portion of the
PDU.
9. Click Next.
10. Optional: Specify a disk name.
The name must consist of 1 to 50 characters from the following groups:
• Letters: a to z, A to Z
• Numbers: 0-9
• Special characters: space ( ), hyphen (-), underscore (_), period (.)
The following are not allowed:
• The last character is a space
• The name starts with "_sn_"
11. Select a LUN.
12. Optional: Format the disk.
Select one of the following options.
File System
Compatible Operating Systems and Devices
ext4
Linux, NAS devices
ext3
Linux, NAS devices
QTS 4.4.x User Guide
iSCSI & Fibre Channel
384