Configuring published services, Enabling myqnapcloud link – QNAP TVS-472XT 4-Bay NAS Enclosure User Manual
Page 327
Task
User Action
Update myQNAPcloud
Click Update.
Manually configure the
DDNS IP address
a. Click Manually configure your DDNS IP address.
The Public IP Address window appears.
b. Select an option.
• Assign static IP addresses: myQNAPcloud binds the DDNS to the
specified static IP address regardless of changes to the network
environment.
• Automatically obtain IP address: myQNAPcloud automatically
detects the WAN IP.
c. Click Apply.
Configuring Published Services
1. Open myQNAPcloud.
2. Go to Published Services.
3. In the Publish column, select all the services you want published.
Published services are accessible through the myQNAPcloud website.
4. Optional: In the Private column, select all the services you want publish privately.
Private services are only available to specified users with the access code.
a. Specify an access code containing 6 to 16 alphanumeric characters.
b. In the User Management table, select the users you want to grant access to.
You can select a maximum of 9 users.
Tip
Click Add Users to add users to the list.
Click Delete to remove users from the list.
c. Optional: Modify user access privileges.
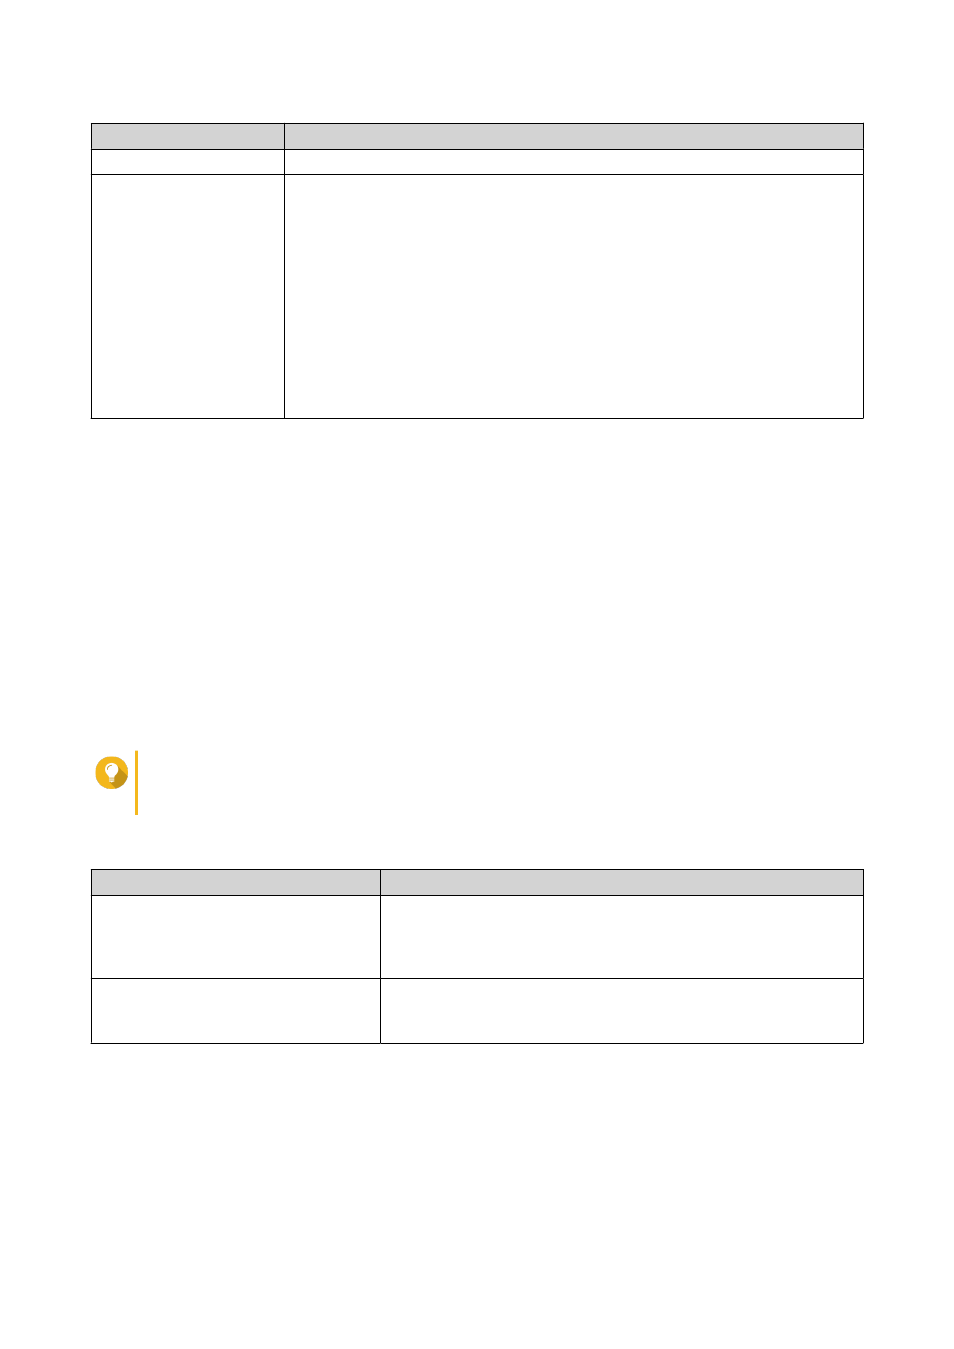
Option
Description
myQNAPcloud Connect (VPN)
Select this option to grant users access to private NAS services
when they use the myQNAPcloud Connect utility.
Users can download myQNAPcloud Connect from the QNAP
Utilities page (
myQNAPcloud Website
Select this option to grant users access to private NAS
services published in the myQNAPcloud website (
5. Click Apply.
Enabling myQNAPcloud Link
1. Open myQNAPcloud.
2. Go to myQNAPcloud Link.
QTS 4.4.x User Guide
myQNAPcloud
326