Configuring the allow/deny list, Configuring ip access protection – QNAP TVS-472XT 4-Bay NAS Enclosure User Manual
Page 185
Configuring the Allow/Deny List
1. Go to Control Panel > System > Security > Allow/Deny List .
2. Select an option.
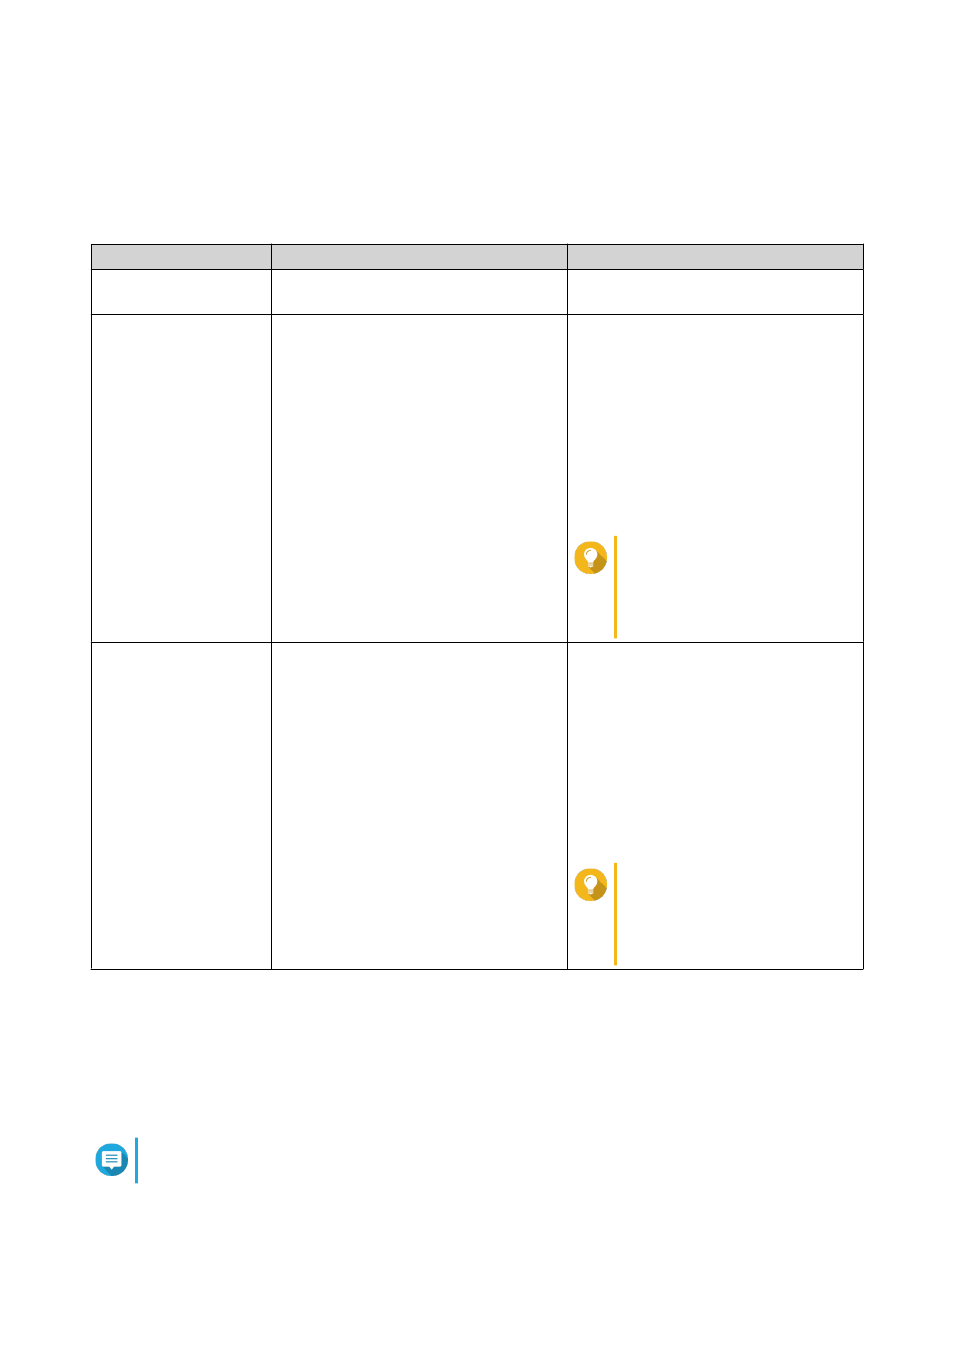
Option
Description
User Action
Allow all connections
The NAS can connect to all IP addresses
and network domains.
Select Allow all connections.
Use IP deny list
The NAS cannot connect to any IP
address or network domains included in
the IP deny list.
a. Select Deny connections from the
list.
b. Click Add.
The IP configuration window
appears.
c. Specify an IP address, netmask, or
IP range.
d. Click Create.
Tip
To remove an IP address,
netmask, or IP range, select
an entry from the table, and
then click Remove.
Use IP allow list
The NAS can only connect to the IP
addresses or network domains included
in the IP allow list.
a. Select Allow connections from the
list only.
b. Click Add.
The IP configuration window
appears.
c. Specify an IP address, netmask, or
IP range.
d. Click Create.
Tip
To remove an IP address,
netmask, or IP range, select
an entry from the table, and
then click Remove.
3. Click Apply.
Configuring IP Access Protection
1. Go to Control Panel > System > Security > IP Access Protection .
2. Select the connection methods you want to protect.
Note
SSH, Telnet, and HTTP(S) are enabled by default.
3. Optional: Specify the following information.
QTS 4.4.x User Guide
System Settings
184