Creating a usb printer access list – QNAP TVS-472XT 4-Bay NAS Enclosure User Manual
Page 198
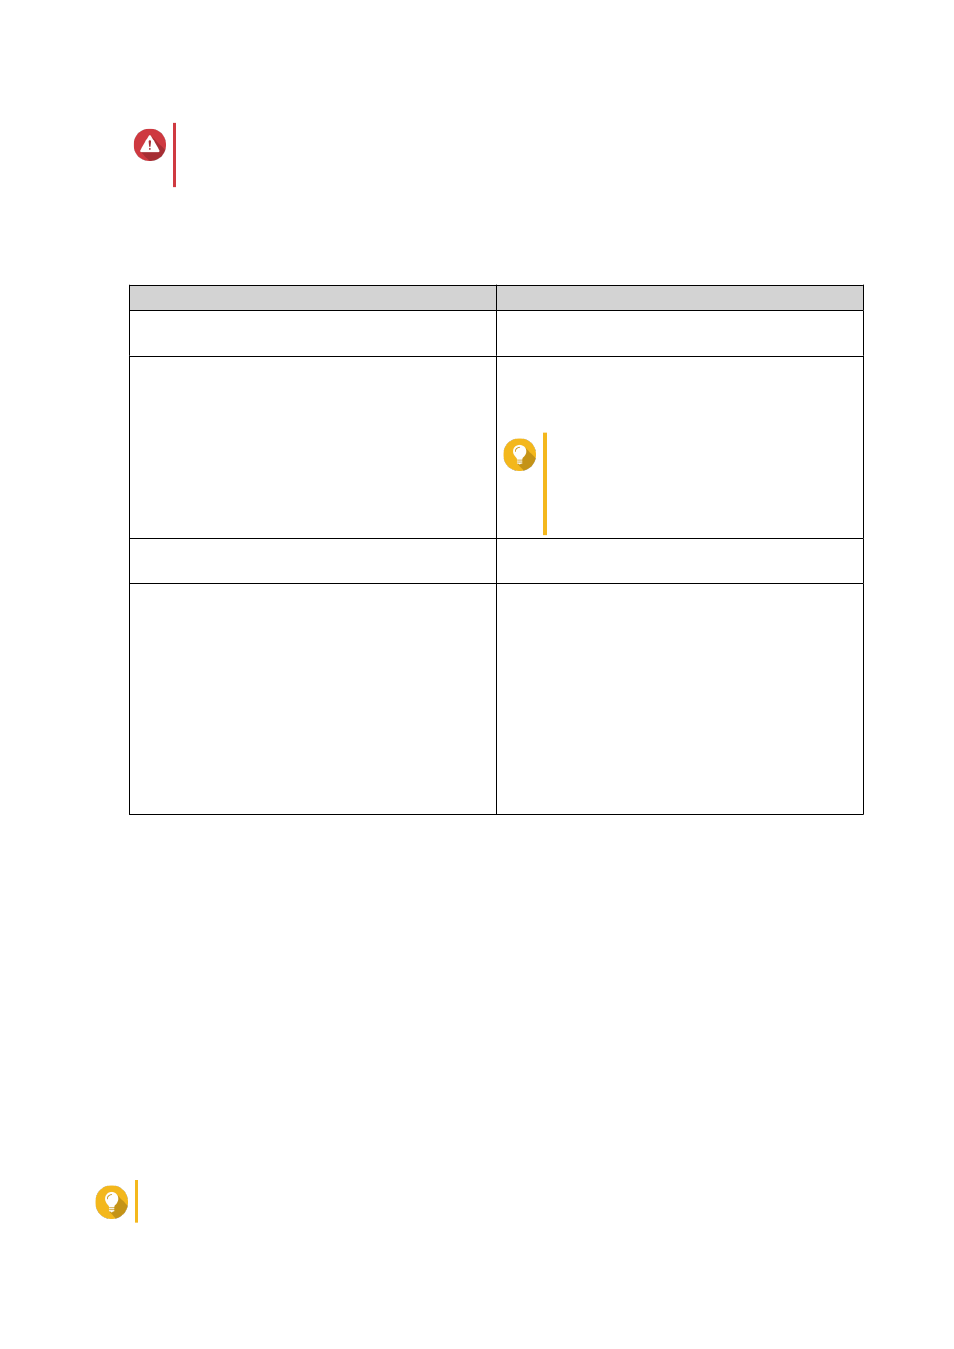
Warning
Restarting the NAS or updating QTS while print jobs are still in progress cancels all the
queued print jobs.
1. Go to Control Panel > System > External Device > USB Printer .
QTS displays the detected USB printers on your network.
2. Select a USB printer and then perform one or more of the following tasks.
Task
Action
View printer information
Click Printer Info.
This displays the details of the selected printer.
View printer log
Click Printer Log.
This displays the current and completed print jobs
on the selected printer.
Tip
You can stop, resume, or cancel ongoing
or pending print jobs. You can also delete
completed or pending print jobs. Click
Clear to clear the history.
Clean up spool space
Click Clean Up Spool Space.
This deletes the data stored in the printer spool.
Configure printer settings
Click Settings.
This enables you to configure the following
settings:
• Stop printer sharing and clear print
spool: Select this option to disable printing
and delete all stored data on the selected
printer.
• Bonjour printer support: Select this option
to introduce the printing service to the
macOS users on your network.
3. Optional: Specify the maximum number of print jobs allowed on each printer.
One printer can support processing up to 1000 print jobs. The oldest print jobs are automatically
overwritten if the printer reaches the maximum number of print jobs.
4. Click Apply.
Creating a USB Printer Access List
You can create an access list to allow or deny user access to USB printers.
1. Go to Control Panel > System > External Device > USB Printer .
QTS displays the detected USB printers on your network.
2. Specify access rights.
a. Beside Access right, select Allow printing or Deny printing.
b. Specify the IP addresses or domain names that you want to allow or deny.
Tip
QTS 4.4.x User Guide
System Settings
197