Getting started – QNAP TVS-472XT 4-Bay NAS Enclosure User Manual
Page 28
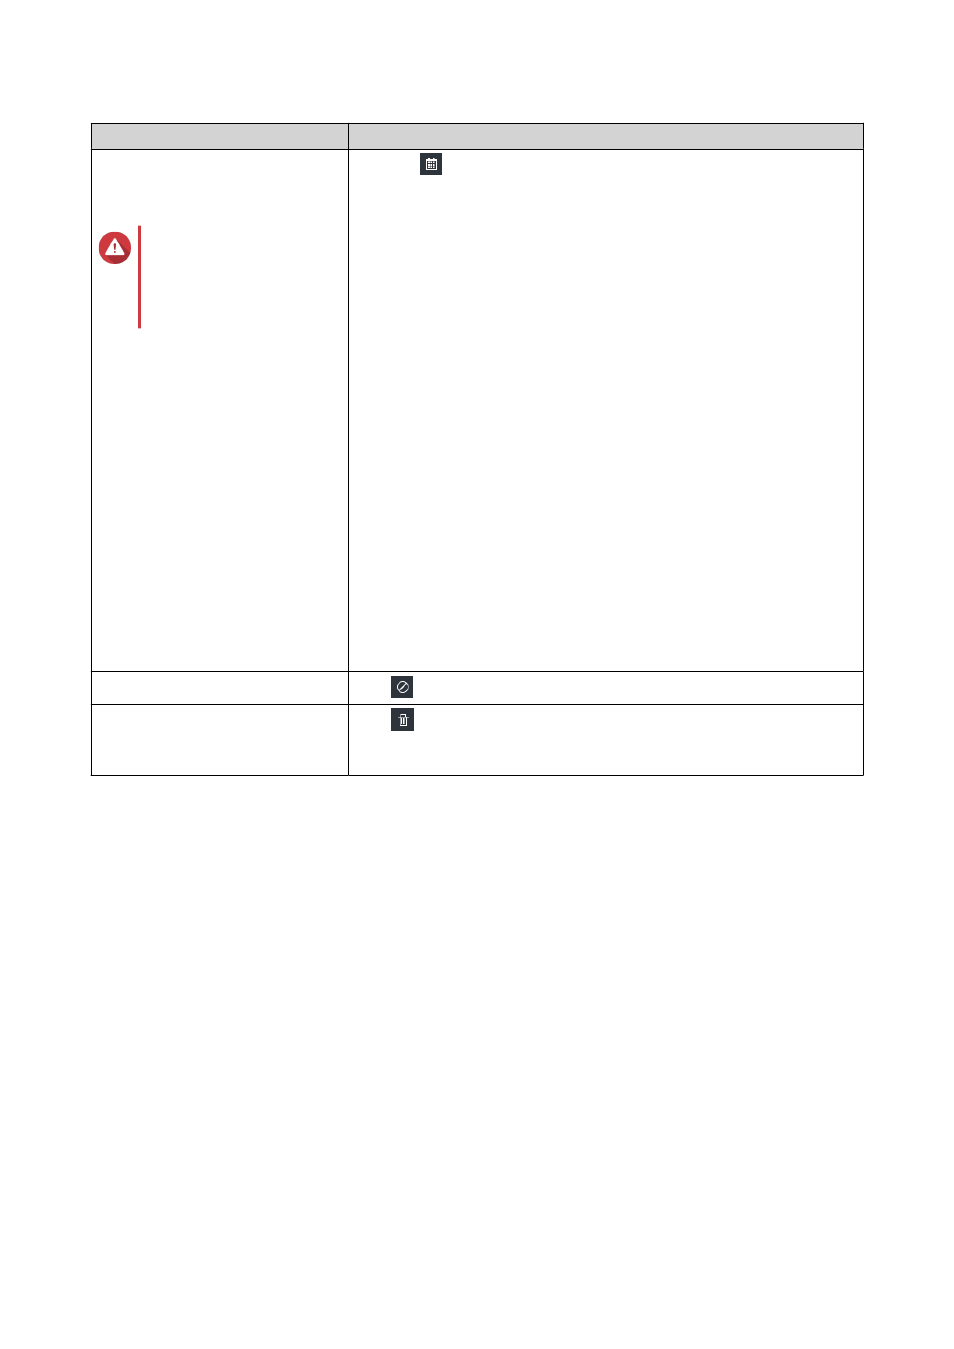
Objective
Action
Create a schedule for enabling
and disabling an application or
service.
Warning
Setting a schedule may
force an application to
stop in the middle of a
task.
1. Click to open the scheduling screen.
2. Select Enable Schedule.
The calendar is activated. All days and hours are enabled by
default.
3. Select the hours during which the application or service should be
enabled or disabled.
Hours are filled with one of the following colors or patterns.
• Blue: The application or service is enabled.
• Gray: The application or service is disabled.
• Striped: The NAS is scheduled to sleep or shut down.
4. Optional: If you want to enable the app at a certain time, specify
the number of minutes after the hour when the application is
enabled or disabled.
Example: To enable an application only after half an hour, type 30.
5. Perform one of the following actions.
• Click Apply: Applies the schedule to the selected application
or service
• Select Auto-apply: Applies the schedule to all applications and
services
Delete a schedule.
Click to delete the schedule and disable an application or service.
Remove an application.
Click
.
This function applies only to applications that are available in App
Center.
Getting Started
1. Log in to the NAS as an administrator.
The default administrator account is
admin
.
For details, see
.
2. Plan how you want to combine or divide the available storage space.
For details, see
3. Optional: Create one or more storage pools.
You must create at least one storage pool in order to create multiple volumes.
For details, see
.
4. Create one or more volumes.
You must create at least one volume in order to store files on the NAS.
For details, see
5. Create user accounts.
QNAP recommends creating a user account for each person that requires access to the NAS.
For details, see
Creating a Local User
.
6. Optional: Create user groups.
QTS 4.4.x User Guide
Overview
27