Removing the ultra-high speed tier – QNAP TVS-472XT 4-Bay NAS Enclosure User Manual
Page 123

4. Go to the Qtier Auto Tiering tab.
5. Click Tiering Schedule.
The Qtier Auto Tiering Schedule Settings window opens.
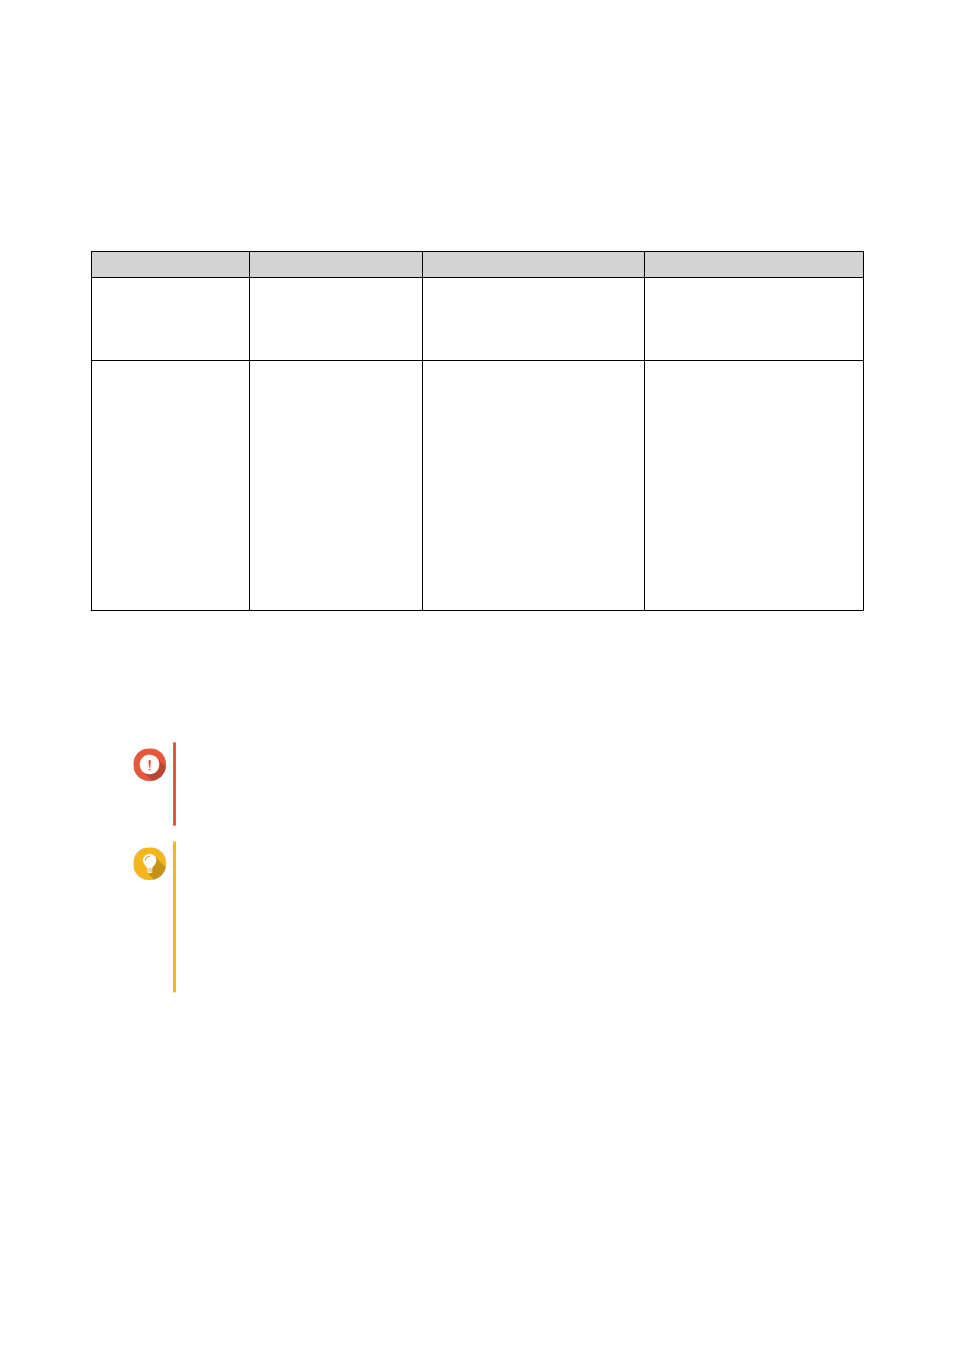
6. Select a schedule type.
Option
Description
Recommended usage
User Actions
Automatic data
tiering
Qtier moves data
whenever it detects
that the Qtier storage
pool is idle.
The NAS has no regular
usage pattern. Data may be
accessed at any time.
Select Enable exclusion
schedule to specify times
that Qtier should not
perform data tiering.
Manually set tiering
schedule
Qtier only move data
at the times you
specify.
The NAS has a regular known
usage pattern. For example,
if the NAS is primarily used
in an office environment,
Qtier can be scheduled to
move data at night and on
weekends.
Specify the hours on the
calendar that Qtier should
perform data tiering. You
can configure the following
settings:
• Start minutes: Auto
tiering will start at this
number of minutes past
the hour.
• Run now: Start tiering
data immediately.
7. Click Apply.
Removing the Ultra-High Speed Tier
Removing the ultra-high speed tier converts a Qtier storage pool into a regular storage pool.
Important
You can only remove the ultra-high speed tier if the allocated storage pool space is less
than the remaining storage pool capacity (Total storage pool capacity - Ultra-high speed
tier capacity = Remaining capacity).
Tip
This feature is useful in the following situations:
• You want to use the SSD drives for another purpose.
• You want to increase the amount of SSD over-provisioning in the ultra-high speed tier.
• You want to change the RAID configuration of the ultra-high speed tier.
1. Go to Storage & Snapshots > Storage > Storage/Snapshots .
2. Select a Qtier storage pool.
3. Click Manage.
The Storage Pool Management window opens.
4. Click Remove and then select Remove Ultra-High Speed Tier.
The Ultra-High Speed Tier Removal Wizard window opens.
5. Click Next.
QTS 4.4.x User Guide
Storage & Snapshots
122
