Individual lane deck plate, Start location deck plate, Bulkhead deck plate – Daktronics OmniSport 2000 Timing Console User Manual
Page 27: Wall plates
Timing System Setup
9
Individual Lane Deck Plate
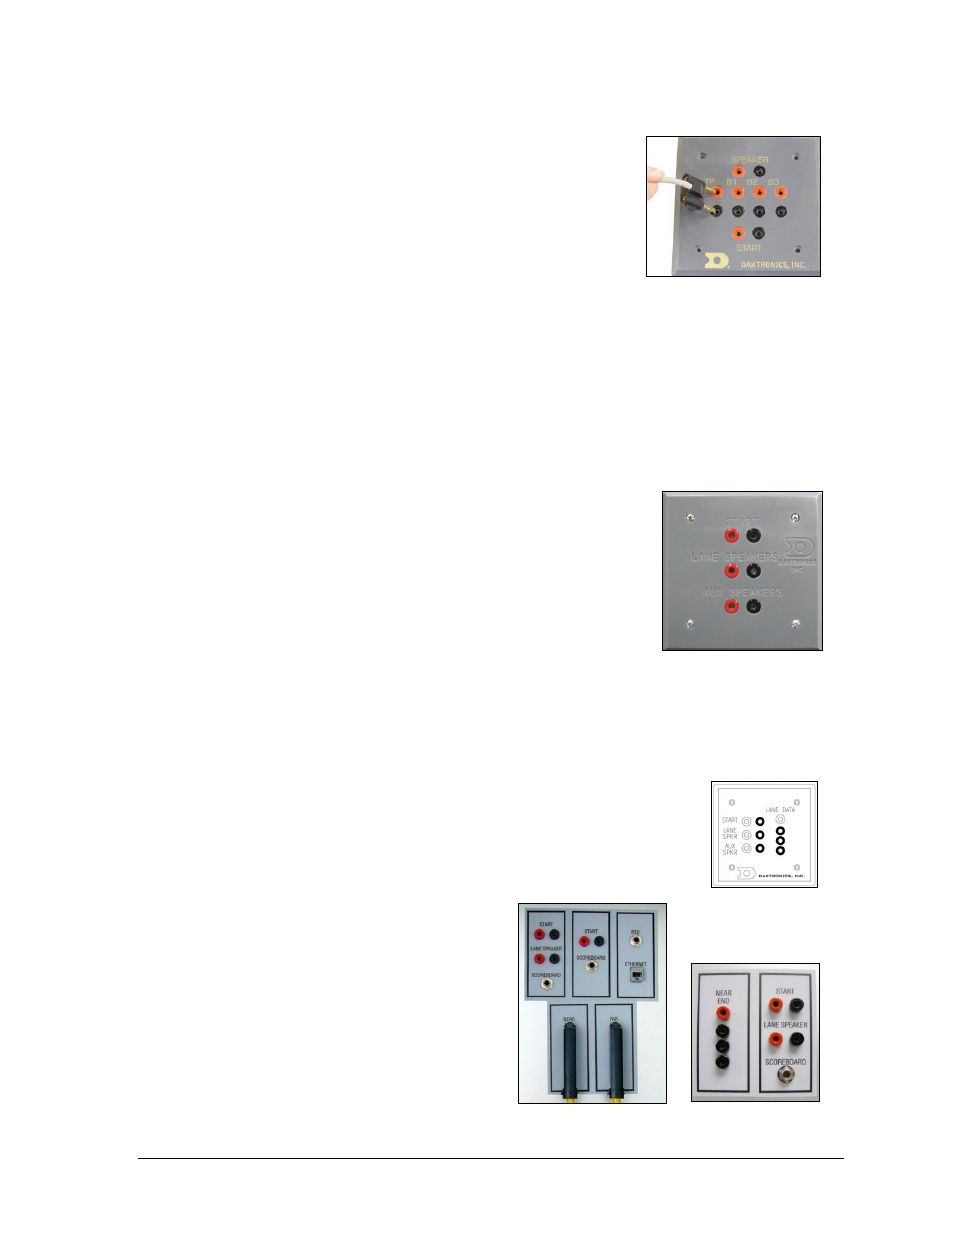
The individual lane deck plate (Figure 19) has six sets of
connection jacks: one touchpad, three backup push button,
lane speaker and start. The touchpad will plug into the dual
banana jack labeled TP. Buttons 1-3 will plug into the banana
jacks labeled B1, B2 and B3. The RTOP will plug in the jack
labeled B3. If the system has three push buttons, piggy-back
the RTOP connector onto Button 3 connector.
The SPEAKER connector is for a Daktronics individual lane
speaker—a 45 ohm speaker. Do not substitute any other type
of speaker without consulting Daktronics.
The START connector is used to plug a remote strobe into. In some cases, if a system does not
have an independent start location deck plate, the horn start will be connected to the nearest
individual lane deck plate. This will provide for the start and lane speaker connections, but
not the Aux (Backstroke) speaker connection.
Start Location Deck Plate
The start location deck plate (Figure 20) is used for both the horn
start location and the Aux (Backstroke) speaker location. Plug the
connectors from the horn start labeled DAKTRONICS N/O to the
dual banana jacks labeled START on the deck plate. Connect the
dual banana connectors on the horn start labeled AUX SPEAKER
to the jacks on the deck plate labeled AUX SPEAKERS. Do the
same for the jacks labeled LANE SPEAKERS. Most facilities will
have one of these plates on both sides of the pool.
If there is a second plate on the other side of the pool, connect a Daktronics auxiliary speaker
to the dual banana jacks labeled AUX SPEAKERS. If using a remote strobe for the opposite
side of the pool, plug it into the dual banana jacks labeled START.
Bulkhead Deck Plate
Figure 21 illustrates a bulkhead location deck plate which combines
the connectors from a start deck plate with the lane data from a lane
interface in the bulkhead. Typically one of these plates is on the
bulkhead and one on the deck. Jumper cables over the deck connect the
two plates together.
Wall Plates
There are a variety of wall plates. Two of the
most common wall plates are shown in
Figure 22 and Figure 23. A wall plate is
typically where the timer is set up and
connected to the system.
Figure 19: Individual Lane
Deck Plate
Figure 20: Start Deck Plate
Figure 21: Bulkhead
Deck Plate Drawing
Figure 22: Wall Plate
Double-ended Pool
Figure 23: Wall Plate
Single-ended Pool