During a race, Lane status, After a race – Daktronics OmniSport 2000 Timing Console User Manual
Page 101
OmniSport 2000 Pro Swimming Software
83
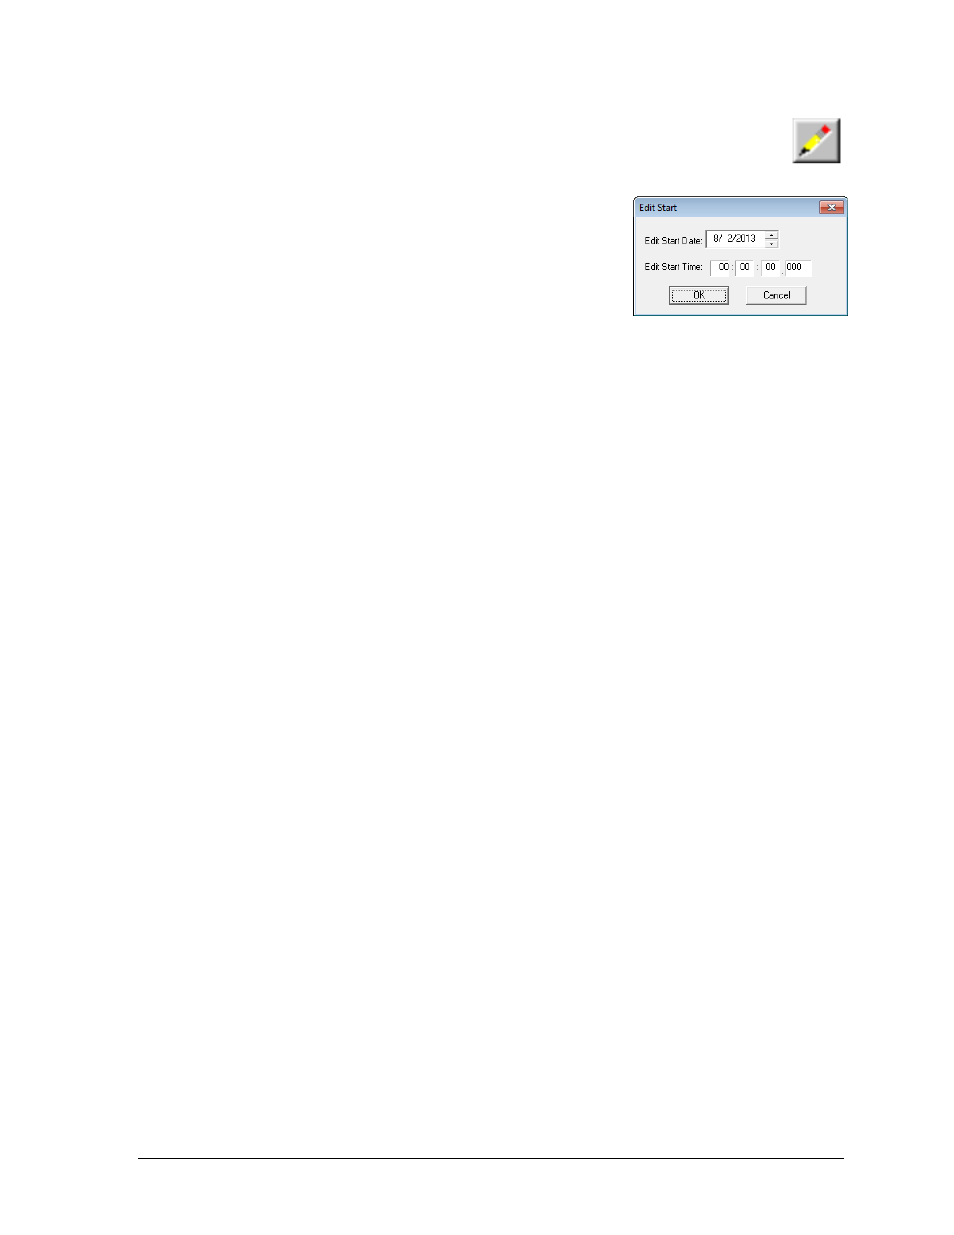
If the start time needed was not on the LCD, click the Edit Start Time
button on the upper left-hand corner of the main application screen.
In the Edit Start window (Figure 96), input the correct time and click OK.
a. Alternately, with the timer reset, press [EDIT]
on the OmniSport console. This reveals the time-
of-day of the last start impulse on the LCD.
b. Confirm that the time-of-day shown is the
correct time for the start of the race. The start
time may be edited using the number keys.
c. Press [ENTER] to complete the editing
operation. The race clock will start and the
running time will be correct based on the entered start time.
During a Race
During a race, the lane status may be changed using three editable areas: Lane On/Off, Current
Lengths, and the Arming Buttons. The user may monitor the lane status by viewing the
Near/Far Lane Indicator, also located on the Pro Swimming main application screen.
Lane Status
During the race, verify the lane status using the editable areas listed below.
Lane On/Off area is a toggle that turns that lane on or off. If the lane is off, no data
will be received for this lane. Turn the lane off if no one is using that lane during the
current event.
Current Lengths can be changed by clicking the up or down arrows on the right
side of this area. The current length will not go beyond the maximum lengths set
for the current event.
Arming Buttons are used to change the lane arming status during an event.
There may be a time when a swimmer's touch is not registered by the touchpad.
When this happens, use these buttons to change the arming of the lane.
To verify the current arming state of a lane, refer to the Near and Far lane indicators on the
main application screen. Section 6.7 provides a description of each icon the indicator uses
and what it represents.
After a Race
After a race is finished, the following actions must be completed:
Click STORE PRINT to store the current event data into an event file and print
the results according to the configurations set in the Configure window. Refer to
Section 6.8.
Clicking RESET will reset the time and begin a new event. RESET also stores the
current event data into an event file and prints the data according to the
configurations set in the Configure window. If STORE PRINT was not clicked, refer
to Section 6.8.
The Event, Heat, Length and Round are set by the event order file, but can be edited
from the main application screen by clicking the [↑↓] buttons to the right of the data
fields at the top of the screen. At the end of an event or heat, the user must manually
increment the event number, heat number and round.
Figure 96: Edit Start