Using shapes, Adding a predrawn shape, Adding a custom shape – Apple Pages '08 User Manual
Page 151
Chapter 7
Working with Shapes, Graphics, and Other Objects
151
5
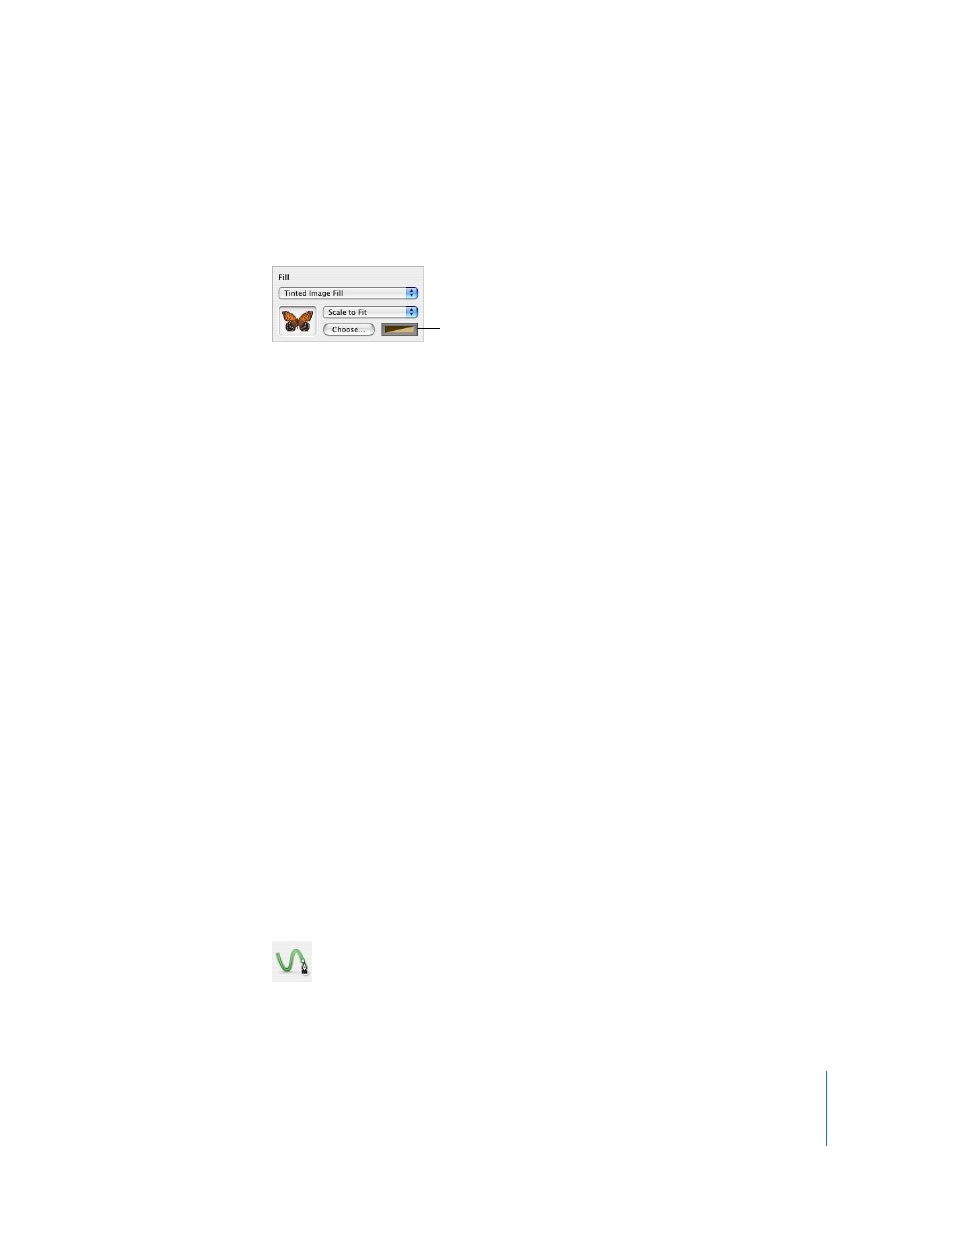
If you chose Tinted Image Fill, click the color well (to the right of the Choose button) to
choose a tint color. Drag the Opacity slider in the Colors window to make the tint
darker or lighter. (If you drag the Opacity slider in the Graphic Inspector, it will change
the opacity of both the tint and the image.)
Using Shapes
Pages comes with a variety of predrawn shapes. You can also create your own shapes,
as well as edit both shapes and custom shapes.
Adding a Predrawn Shape
You can insert predrawn shapes, such as triangles, arrows, circles, and rectangles, to use
as simple graphics.
Here are ways to add a predrawn shape:
 To add a floating predrawn shape, click Shapes in the toolbar and then choose a
predrawn shape from the Shapes submenu.
 To add an inline predrawn shape, place the insertion point where you want the
predrawn shape to appear, and choose Insert > Shape > shape type.
You can also draw a shape. Option-click Shapes in the toolbar, release the Option key
and choose a shape from the Shapes submenu, and then drag the crosshair pointer
across the document window to create a shape that’s the size you want. To constrain
the shape (for example, to keep triangles equal on all sides), press the Shift key as you
drag.
Adding a Custom Shape
You can use the Draw tool to create your own shapes.
When you first create a custom shape, it’s inserted as a floating object, but you can
make it an inline object if you like.
To create a custom shape:
1
Click Shapes in the toolbar, and then select the Draw tool icon.
You can also choose Insert > Shape > Draw a Shape.
Click to select a tint color
for the image.