4 - removal and re-installation – MagTek EC2000 99875607 User Manual
Page 99
4 - Removal and Re-installation
ExpressCard 2000| Instant Issuance Card Personalization System | Hardware Service Manual
Page 99
4) Line up the three screw holes in the indenter module with the three screw holes in the embosser
module and the top deck plate. Use the 5/32” ball-end Allen wrench to re-fasten the three screws that
attach the indenter module to the embosser module.
5) Route the embosser cable along the left wall of the device, then under the XY transport belt and rails
as shown in Figure 4-72.
6) Plug the embosser cable back in to its connector on the top deck plate. Press firmly on the two metal
sides of the connector to make sure it is seated tightly.
7) Perform any additional service that requires the device to be powered off and open.
8) Re-install the cover and top access door by following the steps in sections 4.4 and 4.2 respectively.
9) Re-attach the power cable and network cable, and power on the device.
10) Use the tools found in
Menu
>
Maintenance
to re-install any indent cartridges you removed at the
beginning of these steps. Install the original cartridges or obtain new ones from the customer.
11) If you have installed a new embosser with all characters in factory-default locations, and if the
customer has no custom characters installed, wait until other service is complete and the device is
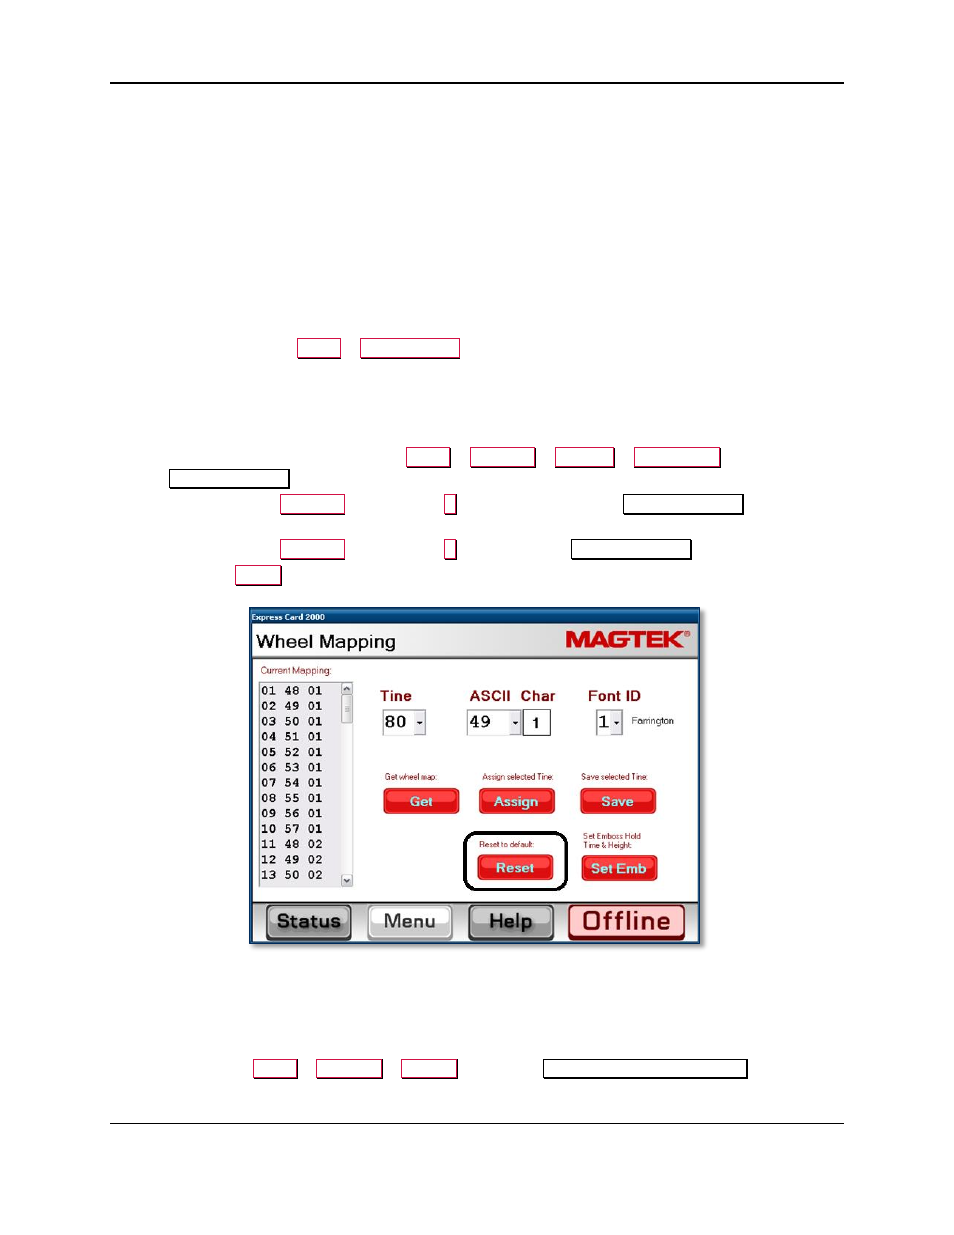
ready to power up, then reset the character mappings in the touchscreen software as follows:
a) From the touchscreen, navigate to
Menu
>
Settings
>
Service
>
Wheel Map
to open the first
Wheel Mapping
password page.
b) Enter password
4567890
and press the
E
key to open the second
Wheel Mapping
password
page.
c) Enter password
0987654
and press the
E
key to open the
Wheel Mapping
page.
d) Press the
Reset
button.
12) If the original embosser had custom characters installed, carry them over to the same locations on the
new embosser’s daisy wheel by following the steps in section 4.10 How to Remove / Re-install
Embosser Fonts and section 2.9.4 How to Use the Character Mapping Page.
13) Calibrate the embosser using the information in section 5.4 How to Calibrate the Embosser.
14) Power up the device and test it, paying special attention to the following:
a) Navigate to
Menu
>
Settings
>
Tuning
to open the
Tuning (Move Embossing)
page.