4 - removal and re-installation – MagTek EC2000 99875607 User Manual
Page 68
4 - Removal and Re-installation
ExpressCard 2000| Instant Issuance Card Personalization System | Hardware Service Manual
Page 68
To re-install the hopper module, follow these steps:
1) Note that if any cables or cable ties are too difficult to reach during the following steps, you can
remove the hopper deck (the steel plate on the top of the hopper module); use the 5/64” Allen wrench
to remove the five screws that secure it to the hopper module, and set the screws and deck aside.
2) On the replacement hopper module, move the hopper transport to hopper 4 (see section 2.8 How to
Safely Move Transports By Hand).
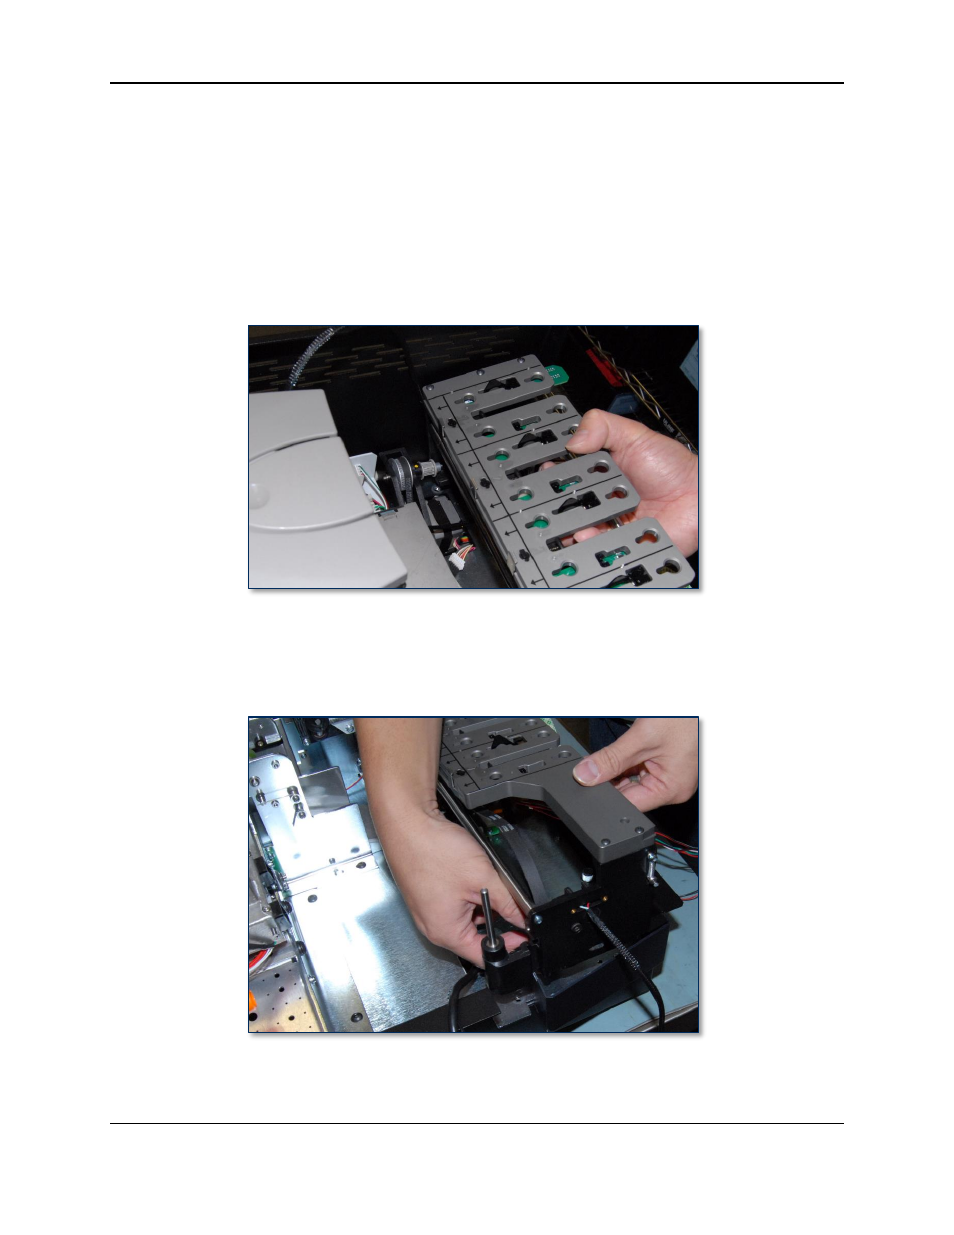
3) Using both hands, carefully insert the rear side of the hopper module into the device at a slight angle,
and rest it on the top deck plate so its screw holes line up with the corresponding holes in the top
deck. Make sure it doesn’t pinch any cables or the drive belt. See Figure 4-39.
Figure 4-39 - Re-installing Rear Side of Hopper Module First (TOP FRONT VIEW)
4) Carefully lower the front side of the hopper module into the device so its holes line up with the
corresponding holes in the top deck plate. Make sure it doesn’t pinch any cables or the drive belt.
See Figure 4-40.
Figure 4-40 - Re-installing Rear Side of Hopper Module First (TOP FRONT VIEW)
5) Pull any loose cables toward the outside of the device to make them easy to find, and to clear them
out of the way.