View different parts of the timeline – Grass Valley iTX Desktop v.2.6 User Manual
Page 293

Using Ingest Manager
View different parts of the timeline
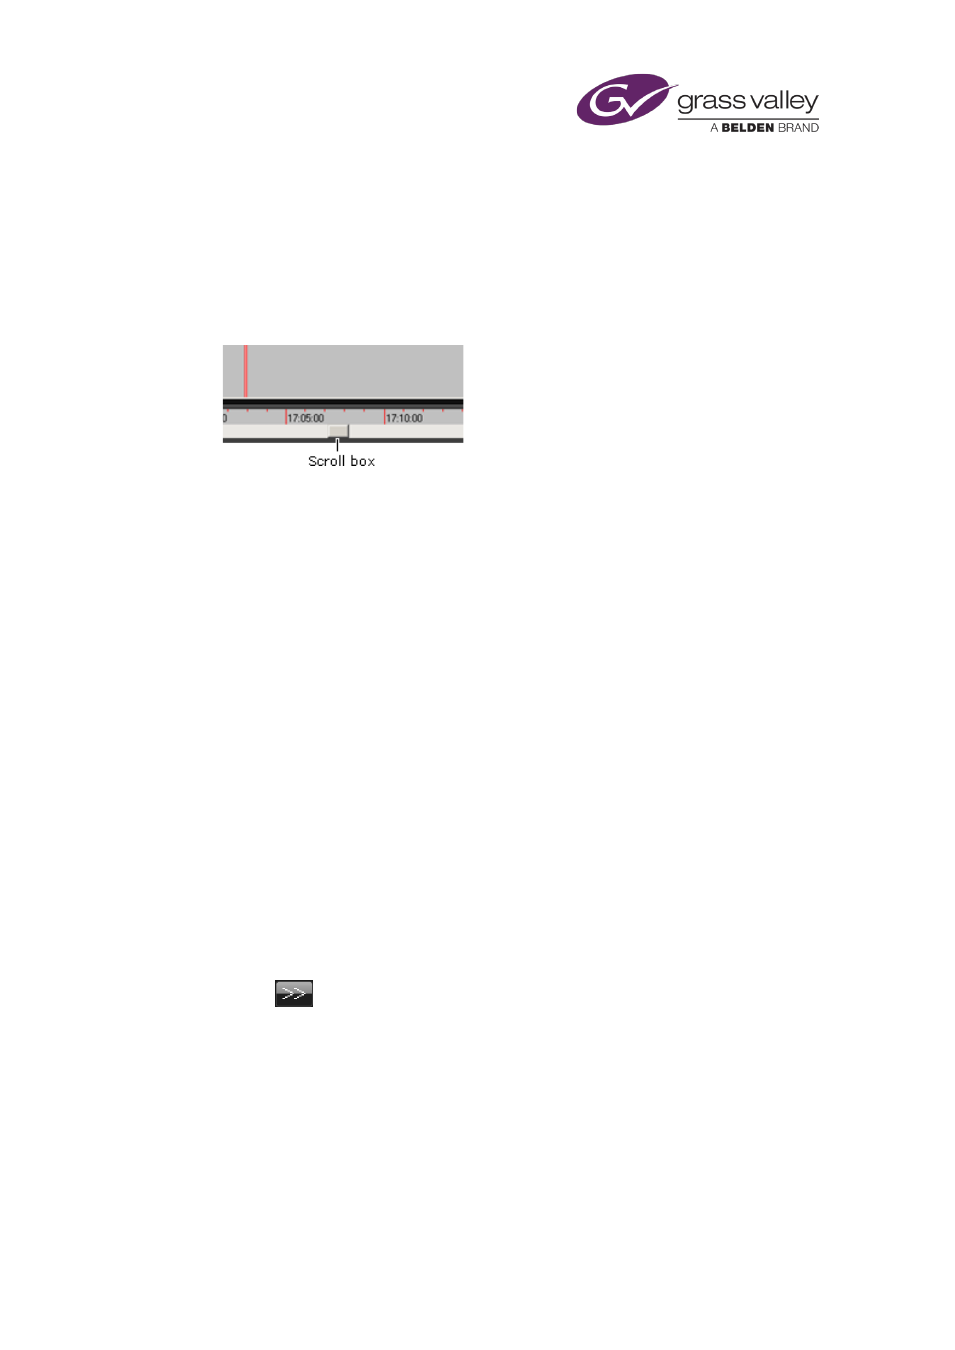
You can shift the focus of the Timeline Display to view different periods.
1.
Do one of the following to show a different period on the Timeline Display.
•
Drag the scroll box to the left or right:
•
Click Now to focus the Timeline Display on the present time.
Change the channel selection for the Recording Schedule Grid
1.
If you want to view general job details, click Ingest Control Service on the Timeline Display.
2.
If you want to view details of Encode Servers allocated for recording jobs, click Ingest
Control Service Resources on the Timeline Display.
Change what columns appear in the Recording Schedule Grid
For each Ingest Manager channel, you can specify what categories of information the Recording
Schedule Grid displays. You can also select the Grid font.
1.
Right-click any point within the display area of the Schedule Grid, and select Define View
from the displayed menu.
The Schedule Display Setup dialog appears.
2.
If you want to change the current font, click Font to display the Font dialog; select a
typeface, style and size; click OK to close the Font dialog.
3.
Do the following for each category of information you want to appear in the Schedule Grid.
•
In the Available Fields list, click the name of the column that you want the Schedule
Grid to display.
•
Click
to add the column to the Displayed Fields list.
•
To re-position a column, click its name in the Displayed Fields list; then click either
Move Up or Move Down. The Schedule Grid displays columns according to their order
in the Displayed Fields list.
4.
Click OK to close the Schedule Display Setup dialog.
Note:
•
The Recording Schedule Grid does not use the Allow drag/drop, Disable Quick Modifiers
and Filter Sub-Items options in the Schedule Display Setup dialog.
March 2015
iTX Desktop: Operator Manual
273
