Setting event durations, Durations for different types of event, Automatic durations for secondary events – Grass Valley iTX Desktop v.2.6 User Manual
Page 116
The Event Editor
Enter an event end time that could be before or after the end of DST
In this procedure, you specify the end time of an event that has a Fixed End time mode.
1.
Select an event in the Schedule Grid.
The Event Editor displays the event details.
2.
Enter an end time in the End Time box.
iTX displays the Time Zone Needs Resolving dialog.
3.
Do one of the following to set the end time of the event.
•
Click Inside DST to specify a Local End Time before the end of DST.
•
Click Outside DST to specify a Local End Time after the end of DST.
4.
Click Store Changes.
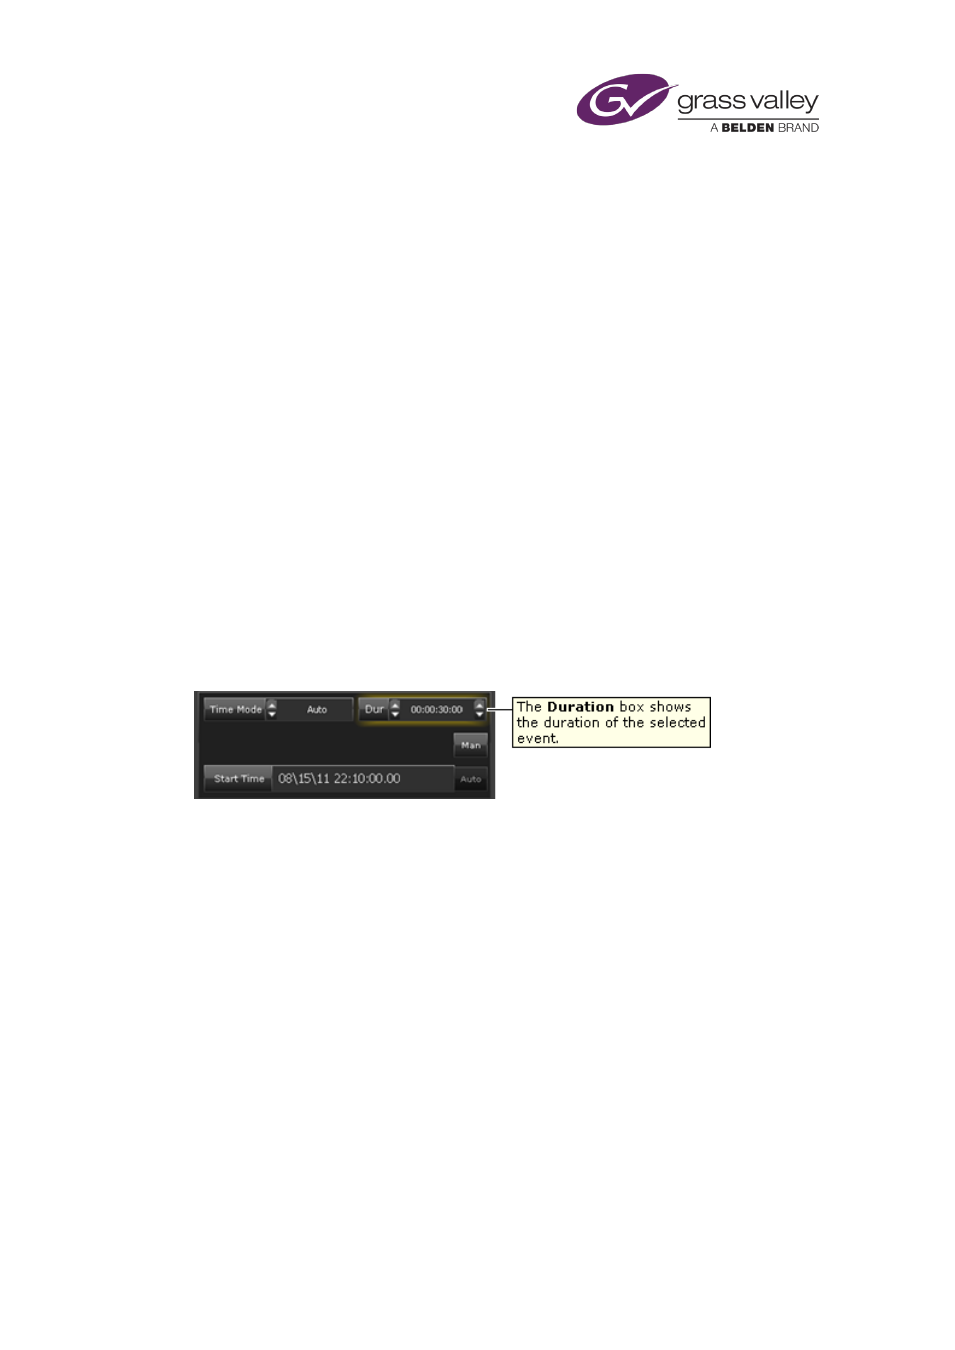
Setting event durations
Durations for different types of event
The entry in the Dur box shows the duration of an event:
For a video-clip or an audio-clip event, iTX uses the default duration; this is determined by the
difference between the in-point and out-point of the clip.
iTX plays video clips and audio clips at their regular playback speed; i.e. the speed at which they
are intended to be played. If you want a clip to play for a certain length of time, you need to
adjust its in-point or out-point so that the interval between these points is equal to the
required duration.
If an event includes an asset (CG, logo or still image) that has no defined start and end, you can
specify any duration. A GPI-output event must have a duration of at least 2 seconds.
Automatic durations for secondary events
When you add a secondary event to a schedule, iTX gives it a default duration. You may change
this duration manually. Or, you may use the automatic-duration option to synchronize the
primary and secondary events so that:
•
Either the secondary event starts and finishes at the same time as its primary event.
•
Or the secondary event starts a specified time after the primary event starts, and finishes
at the same time as the primary event.
March 2015
iTX Desktop: Operator Manual
96