More details – Grass Valley iTX Desktop v.2.6 User Manual
Page 151

The Timeline Display
Changing the track configuration of the Timeline Display
You can configure the tracks of the Timeline Display in one of two ways:
•
You can specify the tracks on which the Timeline Display presents information. For a multi-
channel Timeline Display, you can choose tracks for any selected channel.
•
If your system administrator configures the default tracks for a channel, you can use this
default track configuration. For a multi-channel Timeline Display, you can use the default
track configuration set for each channel.
Change the track configuration of the Timeline Display
1.
On the Timeline Display, select Local Config (the button indicator displays a green light).
2.
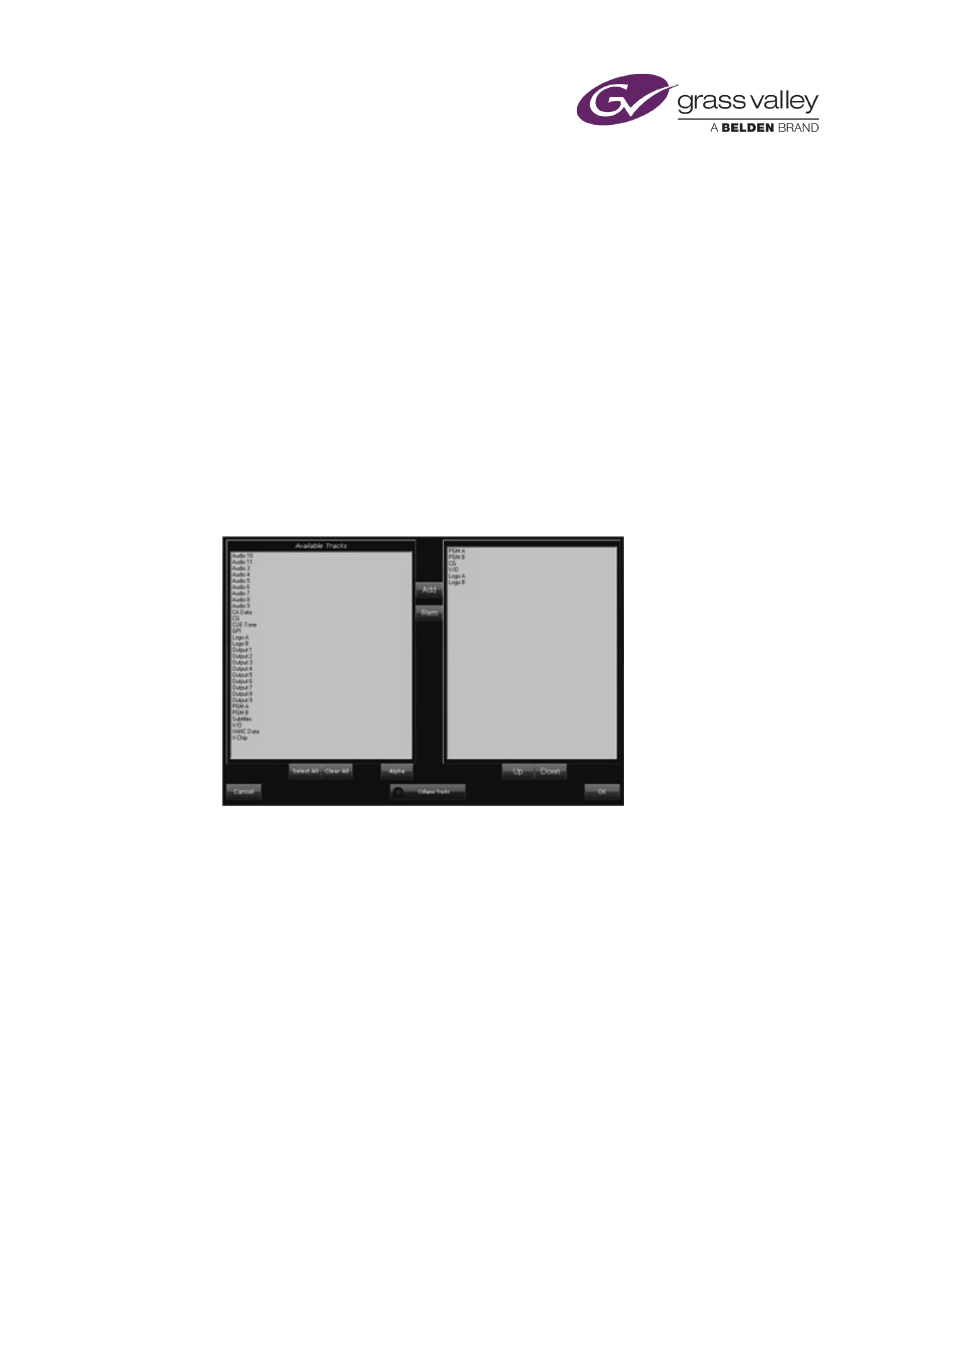
Click Select Tracks.
iTX displays the track-configuration dialog:
3.
Do the following to specify the tracks that you want to appear on the Timeline Display.
•
In the Available Tracks list, select one or more tracks; press Shift while clicking track
names to select multiple tracks. Clicking Select All selects all tracks (while clicking Clear
All de-selects all tracks). Clicking Alpha causes the tracks to appear in alphabetical
order, or the standard order, in the Available Tracks list.
•
Click Add to add the selected tracks to the Selected Tracks list (in the right pane).
•
If you want to remove any track from the Selected Tracks list, select the track and click
Rem.
•
If you want to change the position of any tracks on the Timeline Display, select them in
the Selected Tracks list; then click Up or Down.
4.
Do one of the following, depending on how you want events to appear on the Timeline
Display.
•
To display all information on a single horizontal track, select Collapse Tracks (the button
indicator displays a green light).
•
Ensure Collapse Tracks is not selected (the button indicator appears blank) if you want
events of different types to appear on separate horizontal tracks.
March 2015
iTX Desktop: Operator Manual
131
