Fuel tank – JLG X23J - X700AJ Service Manual User Manual
Page 251
SECTION 3 - CHASSIS & TURNTABLE
3-224
– JLG Lift –
3121448
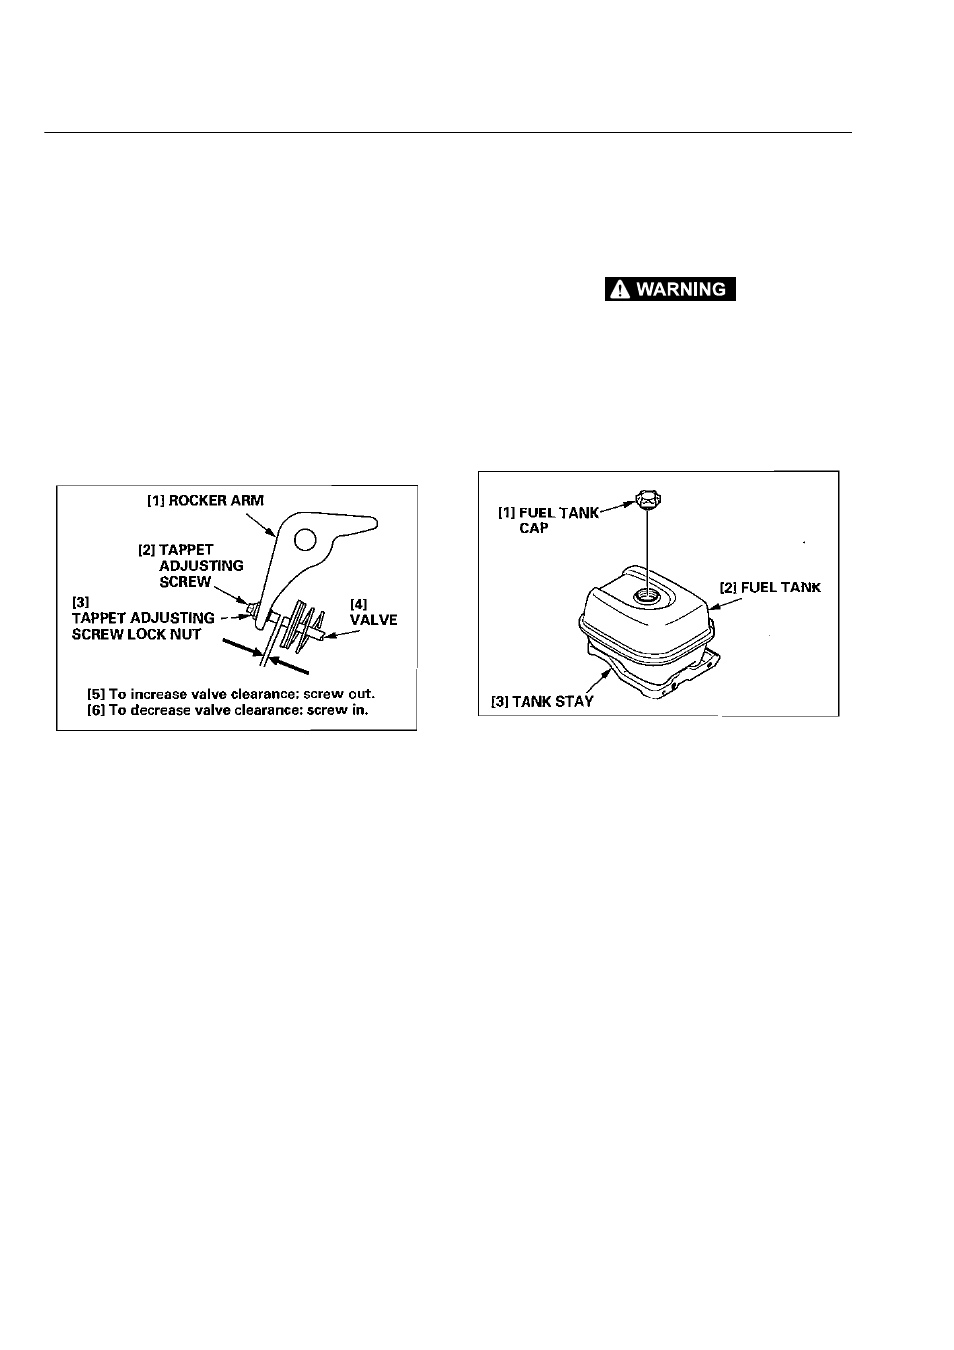
4. If adjustment is necessary proceed is follows:
a. Hold the tappet adjusting screw using the spe-
cial too and loosen the tappet adjusted screw
lock nut.
b. Turn the tappet adjusting screw to obtain the
specifier clearance.
c. Heighten the tappet adjusting screw lock nut
while holding the rocker arm pivot.
TORQUE: 7.5 N·m (0.75 kgf·m, 5.5 lbf·ft)
Recheck valve clearance after tightening the tappet
adjusting screw lock nut.
5. Install the cylinder head cover.
FUEL TANK
Cleaning:
GASOLINE IS HIGHLY FLAMMABLE END EXPLOSIVE. YOU CAN
RETURNED OR SERIOUSLY INJURED WHEN HANDLING FUEL.
KEEP HEAT, SPARKS AND FLORAL AWAY. HANDLE FUEL ONLY
OUTDOORS. WIPE UP SPILLS IMMEDIATELY.
• After connecting the fuel tube. Check for any sign of
fuel leakage.
1. Drain the fuel from the fuel tank into a suitable con-
tainer.
Manual fuel vales type:
Drain tie fuel from the carburetor before removing
the fuel tank, proceed as follows:
a. Turn the fuel valve lever to the OFF position.
b. Loosen the drain screw of the carburetor end
drain tie fuel trio a suitable container.
2. Remove the fuel tank, tank stay and auto fuel valve
and disconnect the fuel tube from the auto feel
valve.
3. Disconnect the fuel lube end remove the fuel filter
and oaring from the fuel lank. Wash the fuel filter in
nonflammable or high flash point solvent. Inspect
the fuel filter screen to be sure it is undamaged.
4. Clean the fuel lank with nonflammable or high flash
point solvent and allow to dry thoroughly.
5. Install the fuel filter, O-ring, fuel valve, fuel tube and
fuel tank cap. Connect the fuel tube to the fuel valve
and install the fuel tank.
6. After reassembly check for fuel leaks.