Audio timeline, Keyframe editor, Keyframe editor overview – Apple Motion 5.1.1 User Manual
Page 90: Audio timeline overview
Chapter 2
Introduction to the Motion interface
90
Audio Timeline
Audio Timeline overview
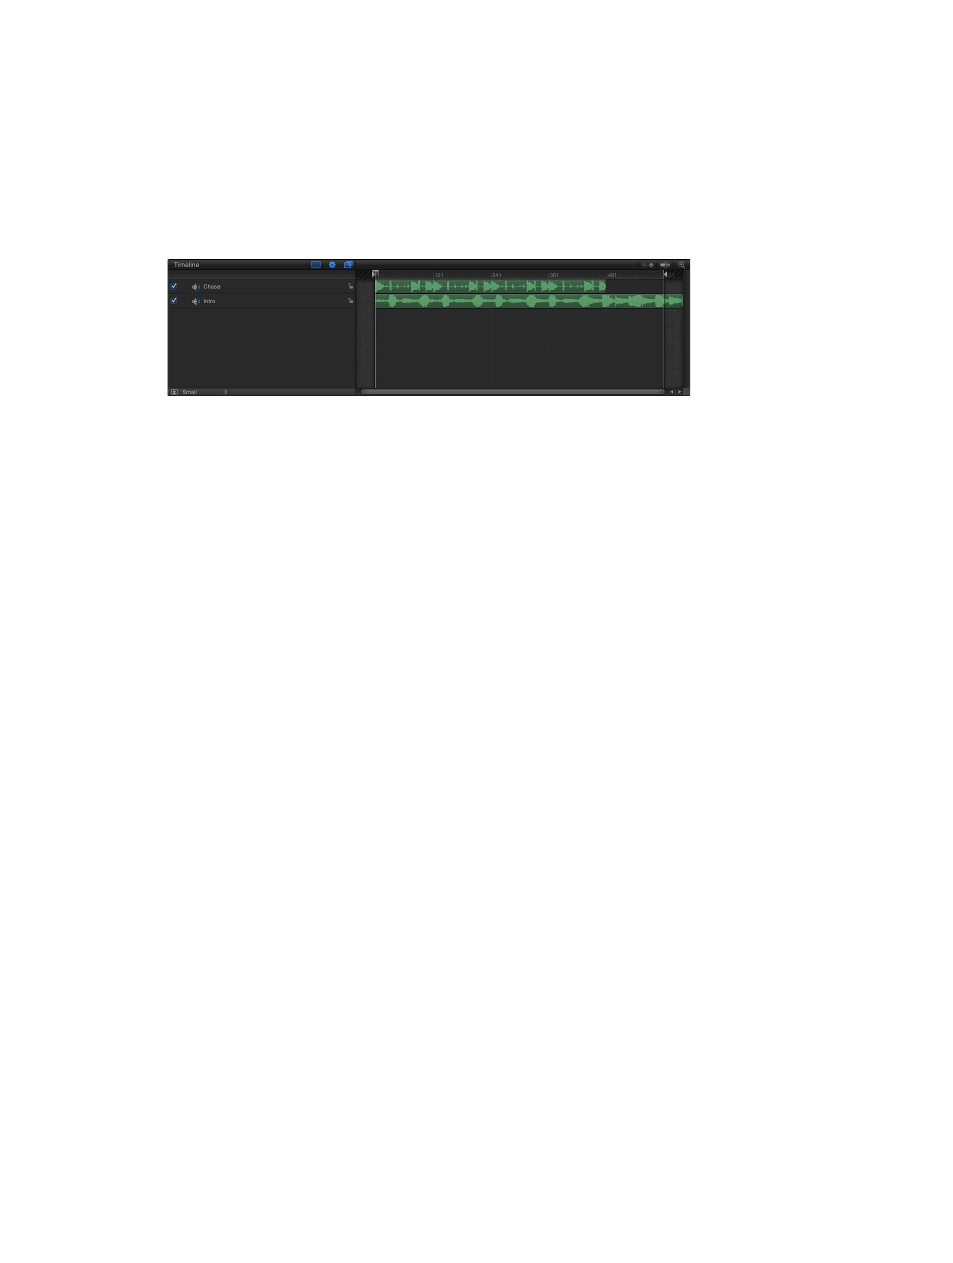
The Audio Timeline provides a view of audio elements over time. The audio tracks appear as
green bars with the audio waveform on top of the bar, and can be edited like other objects in
the Timeline.
The Audio Timeline uses the same ruler, buttons, and other controls as the Timeline. For more
information on the Timeline interface, see
on page 84.
The green bar in the mini-Timeline also shows the duration of the audio file.
Audio behaviors applied to tracks appear as purple bars in the Audio Timeline and mini-Timeline.
Audio level and pan parameters can be animated. When an audio track is selected, its keyframes
can be modified in the Keyframe Editor. Keyframes appear as diamonds, and curves appear
as solid lines. Areas before the first keyframe and after the last keyframe are represented with
dotted lines. For more information, see
Animate audio level and pan settings
on page 1021.
For complete information on using audio, see
on page 1010.
Display the Audio Timeline
Do one of the following:
m
Choose Window > Audio Timeline (or press Command-9).
m
Click the Show/Hide Audio Timeline button in the lower-right corner of the workspace.
Note: If you have a Multi-Touch device, and the Audio Timeline (or Timeline and Audio Timeline)
is visible, swipe up or down with three fingers to show or hide the Audio Timeline.
Play audio
m
Click the Play button in the transport controls.
Keyframe Editor
Keyframe Editor overview
You animate an object by creating at least two keyframes for a parameter, such as Opacity,
at different points in a project. A keyframe is a point that records a change in the value of a
parameter. For example, to create an animation in which an object is transparent at frame 1 and
becomes opaque at frame 120, you create two keyframes: an Opacity keyframe set to a value
of 0% at frame 1 and an Opacity keyframe set to a value of 100% at frame 120. The image fades
in from 0% to 100% over the 120 frames. The opacity keyframes are positioned on a line over
time; values for the keyframes change the shape of that line and create an animation curve. The
smooth, fade-in transition between the adjacent keyframed values is called interpolation.
There are two keyframing methods available to suit your preferred workflow:
•
Record Button: After the Record button is turned on, any adjustment to any parameter in the
Canvas, Inspector, or HUD adds a keyframe.
67% resize factor