Create, edit, and delete presets – Apple Motion 5.1.1 User Manual
Page 151
Chapter 6
Create and manage projects
151
3
In the For New Documents setting, click Use Project.
Note: If you haven’t assigned a preset project, the setting reads: Use Project: Nothing Selected.
When you choose a project, the text updates to reflect the name of the selected project.
4
Click Choose.
A window opens containing the contents of the Project Browser.
5
In the Project Browser window, select a category in the sidebar and a project type from the
center stack, then choose a preset from the right column.
6
Click Open.
The selected project is assigned to the Use Project option in the Project pane of the Preferences
window. From now on, the Project Browser does not appear when you choose File > New (or
press Command-N). Instead, a new project opens in the format set in Motion Preferences.
Create, edit, and delete presets
If you commonly create projects using custom settings that don’t match any available preset, you
can create a preset with these settings for future use. Presets are created, modified, and deleted
in the Presets pane of Motion Preferences. For a detailed description of the options and settings
available in the Project Presets Editor, see
on page 125.
Note: The Default checkbox in the Presets pane of Motion preferences has no effect. To set a
default project preset, see
on page 150.
Create a custom preset
1
Choose Motion > Preferences (or press Command-Comma).
2
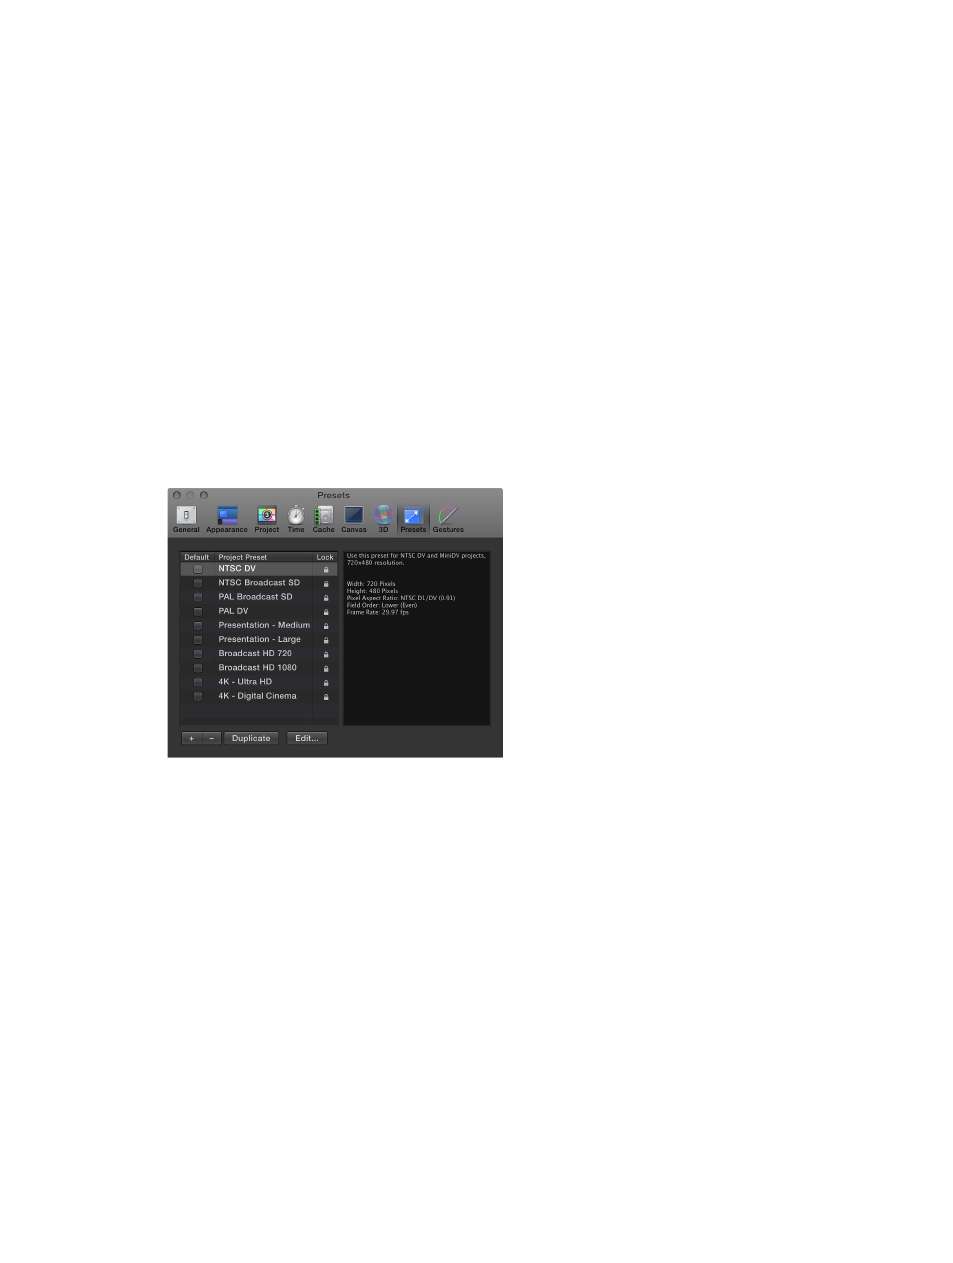
Open the Presets pane.
3
Click the Add button (+) beneath the presets list.
67% resize factor