Add, select, and delete keyframes – Adobe Premiere Pro CS6 User Manual
Page 450
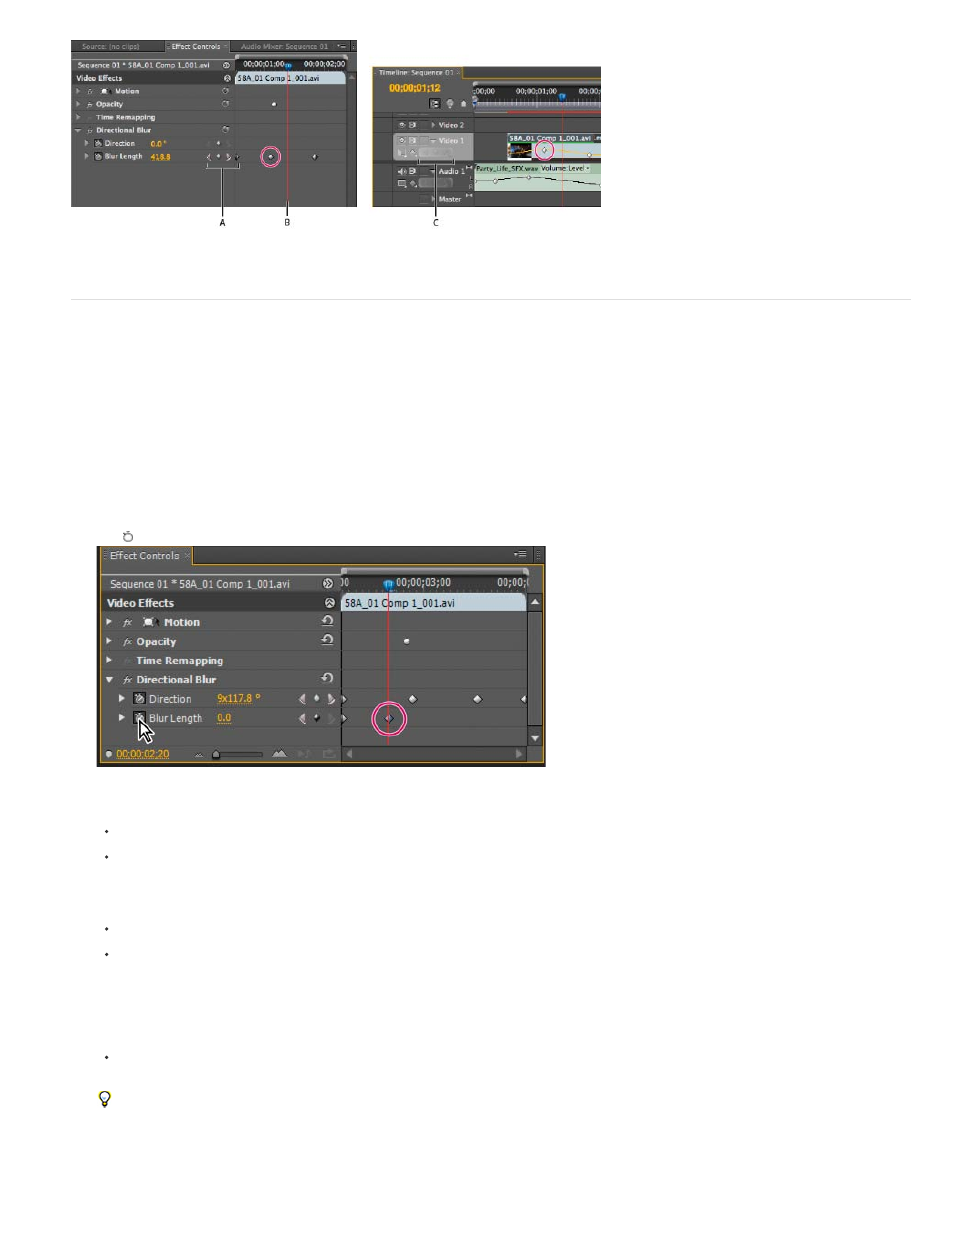
Keyframe navigator
A. Keyframe navigator in Effect Controls panel B. Current-time indicator C. Keyframe navigator in Timeline panel
Add, select, and delete keyframes
Add keyframes
You can add keyframes in the Timeline or the Effect Controls panel at the current time. Use the Toggle Animation button in the Effect Controls
panel to activate the keyframing process. In Premiere Pro CS5, keyframe display must be enabled for a track or clip before you can view or add
keyframes in a Timeline panel. In Premiere Pro CS5.5 and later, it is not necessary to enable keyframe display to create keyframes in a track or on
a clip.
1. In a Timeline panel, select the clip that contains the effect you want to animate.
2. If you want to add and adjust keyframes in a Timeline panel, make keyframes visible for the video or audio track.
Note: If you are adding keyframes to a Fixed effect (Motion, Opacity, or Volume) in a Timeline panel, you can skip step 3.
3. In the Effect Controls panel, click the triangle to expand the effect that you want to add keyframes to, and then click the Toggle Animation
icon to activate keyframes for an effect property.
Clicking the Toggle Animation button activates keyframing for an effect property at the current time.
4. Do one of the following to display the effect property’s graph:
(Effect Controls panel) Click the triangle to expand the effect property and display its Value and Velocity graphs.
(Timeline panel) Choose the effect property from the effect menu next to the clip or track name.
5. Move the current-time indicator to the point in time where you want to add a keyframe.
6. Do any of the following:
Click the Add/Remove Keyframe button in the Effect Controls panel and then adjust the effect property’s value.
Ctrl-click (Windows) or Command-click (Mac OS) a keyframe graph using the Selection or Pen tool, and then adjust the effect property’s
value. You can add a keyframe anywhere on a graph using the Selection or Pen tool. It’s not necessary to position the current-time
indicator.
Note: To add keyframes in Premiere Pro CS5.5 and later, it is not necessary to use a modifier key with the Pen tool. However, the
modifier key is needed with the Selection tool.
(Effect Controls panel only) Adjust the controls for an effect’s property. This automatically creates a keyframe at the current time.
7. Repeat steps 5 and 6 as needed to add keyframes and adjust the effect property.
Use the keyframe navigator arrow in the Effect Controls panel to navigate to an existing keyframe if you want to make further
adjustments. It’s also a good technique for setting up keyframes for other effects.
Select keyframes
446