Reposition the center of a transition, Change transition settings – Adobe Premiere Pro CS6 User Manual
Page 436
Lengthening a transition’s duration requires that one or both clips have enough trimmed frames to accommodate a longer transition. (See Clip
handles and transitions.)
Change transition duration in a Timeline panel
In a Timeline panel, position the pointer over the end of the transition until the Trim-In icon
or the Trim-Out icon
appears; then drag.
Change transition duration in the Effect Controls panel
1. Double-click the transition in a Timeline panel to open the Effect Controls panel.
2. Do one of the following:
In the Effect Controls time ruler, position the pointer over the transition until the Trim-In icon
or the Trim-Out icon
appears; then
drag. (If the Effect Controls time ruler is not visible, click the Show/Hide Timeline View button in the Effect Controls panel. If
necessary, widen the panel to make this button visible and active.)
Drag the Duration value, or select it and type a new value. How the transition changes length depends on the alignment option currently
selected:
Center At Cut or Custom Start The transition’s start and end points move equally in opposite directions.
Start At Cut Only the end of the transition moves.
End At Cut Only the beginning of the transition moves.
Set the default duration for transitions
If you change the default, the new setting has no affect on transitions already placed.
1. Choose Edit > Preferences > General.
2. Change the value for the Video Transition Default Duration or Audio Transition Default Duration; then click OK.
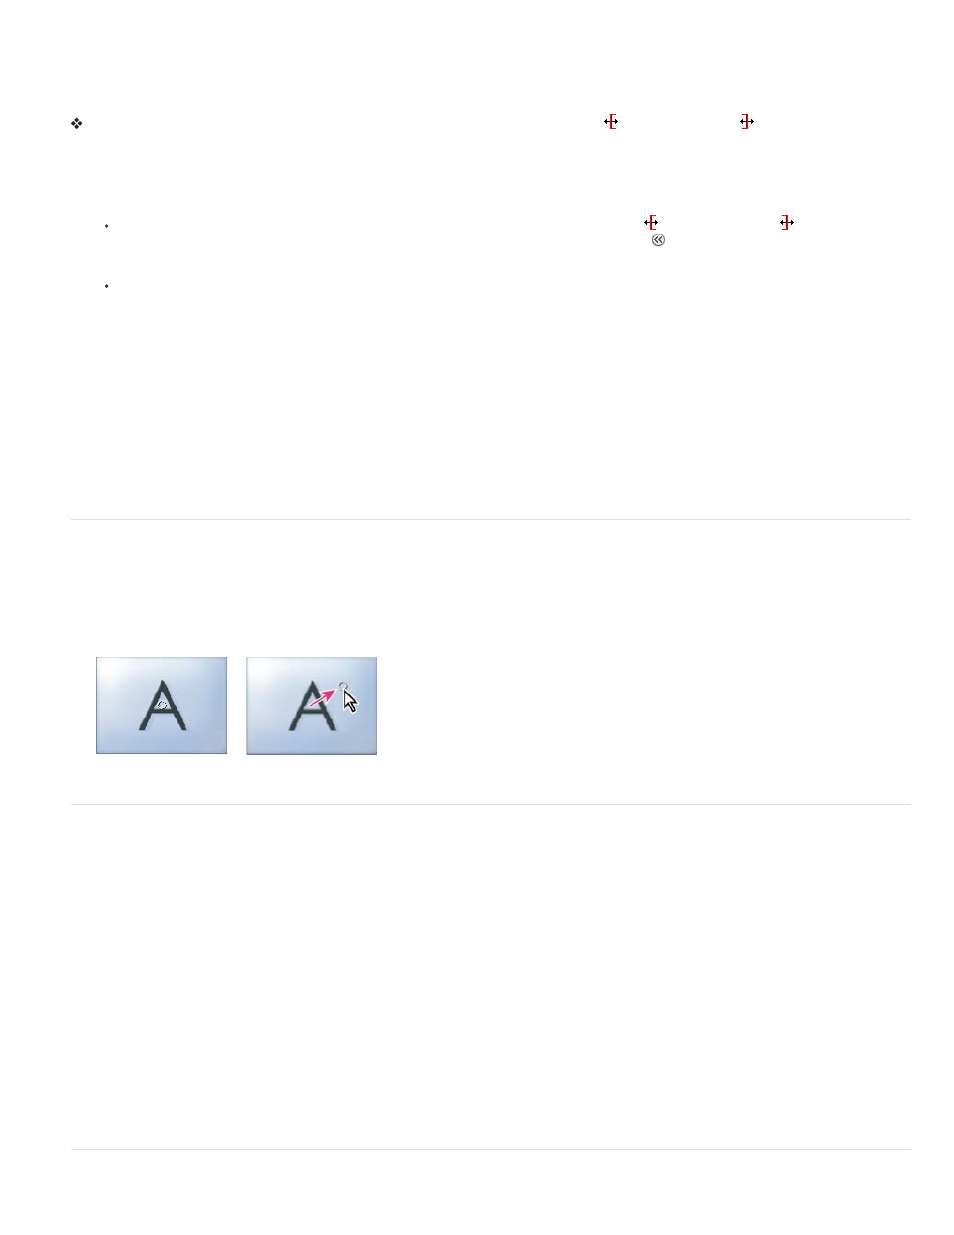
Reposition the center of a transition
Some transitions, such as Iris Round, are positioned around a center. When a transition has a center that can be repositioned, you can drag a
small circle in the A preview area in the Effects Control panel.
1. Click the transition in a Timeline panel to open the Effect Controls panel.
2. In the A preview area in the Effect Controls panel, drag the small circle to reposition the transition center. (Not all transitions have an
adjustable center point.)
Default center (left) and repositioned center (right)
Change transition settings
1. In a Timeline panel, click a transition to select it.
2. In the Effect Controls panel, adjust settings:
Edge selectors Change the orientation or direction of the transition. Click an Edge selector arrow on the transition’s thumbnail. For
example, the Barn Doors transition can be oriented vertically or horizontally. A transition doesn’t have Edge selectors if it has one orientation
or if orientation isn’t applicable.
Start and End sliders Set the percentage of the transition that is complete at the start and end of the transition. Hold down the Shift key to
move the start and end sliders together.
Show Actual Sources Displays the starting and ending frames of the clips.
Border Width Adjusts the width of the optional border on the transition. The default Border is None. Some transitions do not have borders.
Border Color Specifies the color of the transition’s border. Double-click the color swatch or use the eyedropper to choose the color.
Reverse Plays the transition backward. For example, the Clock Wipe transition plays counterclockwise.
Anti-Aliasing Quality Adjusts the smoothness of the transition’s edges.
Custom Changes settings specific to the transition. Most transitions don’t have custom settings.
432