Noise & grain effects – Adobe Premiere Pro CS6 User Manual
Page 420
Add an opacity key to the superimposed image,
Insert the still image into another sequence, and superimpose the sequence containing the still image over the track containing the
background clip.
3. Add the track matte clip to a third track above the tracks with the background and superimposed clips.
If you need to add a new track to the sequence, drag the track matte clip to the empty area above the highest video track in a Timeline
panel. A new track is created automatically.
4. In the Effects panel, click the triangle to expand the Video Effects bin and then click the triangle to expand the Keying bin.
5. Drag the Track Matte Key to the superimposed clip.
6. In the Effect Controls panel, click the triangle next to the Track Matte Key name to expand its settings.
7. Click the Matte setting menu with the down-pointing triangle and choose the video track containing the track matte clip.
8. (Optional) If you’re animating the Track Matte Key over time, make sure that the current-time indicator is in the position you want. Click the
Toggle Animation icons of the settings you want to adjust.
9. Click the Composite Using menu and choose one of the following:
Matte Alpha Composites using the track matte clip’s alpha channel values.
Matte Luma Composites using the track matte clip’s luminance values.
10. (Optional) Select the Reverse option to invert the values of the track matte clip.
To retain the original colors in the superimposed clip, use a grayscale image for the matte. Any color in the matte removes the same level
of color from the superimposed clip.
11. (Optional) If you’re animating the Track Matte, move the current-time indicator either in the Effect Controls panel or Timeline panel and
change the Track Matte Key settings.
A new keyframe appears in the Effect Controls timeline when you change the settings. You can also adjust the interpolation between
keyframes by editing the keyframe graph. Repeat this step as needed.
Noise & Grain effects
Dust & Scratches effect
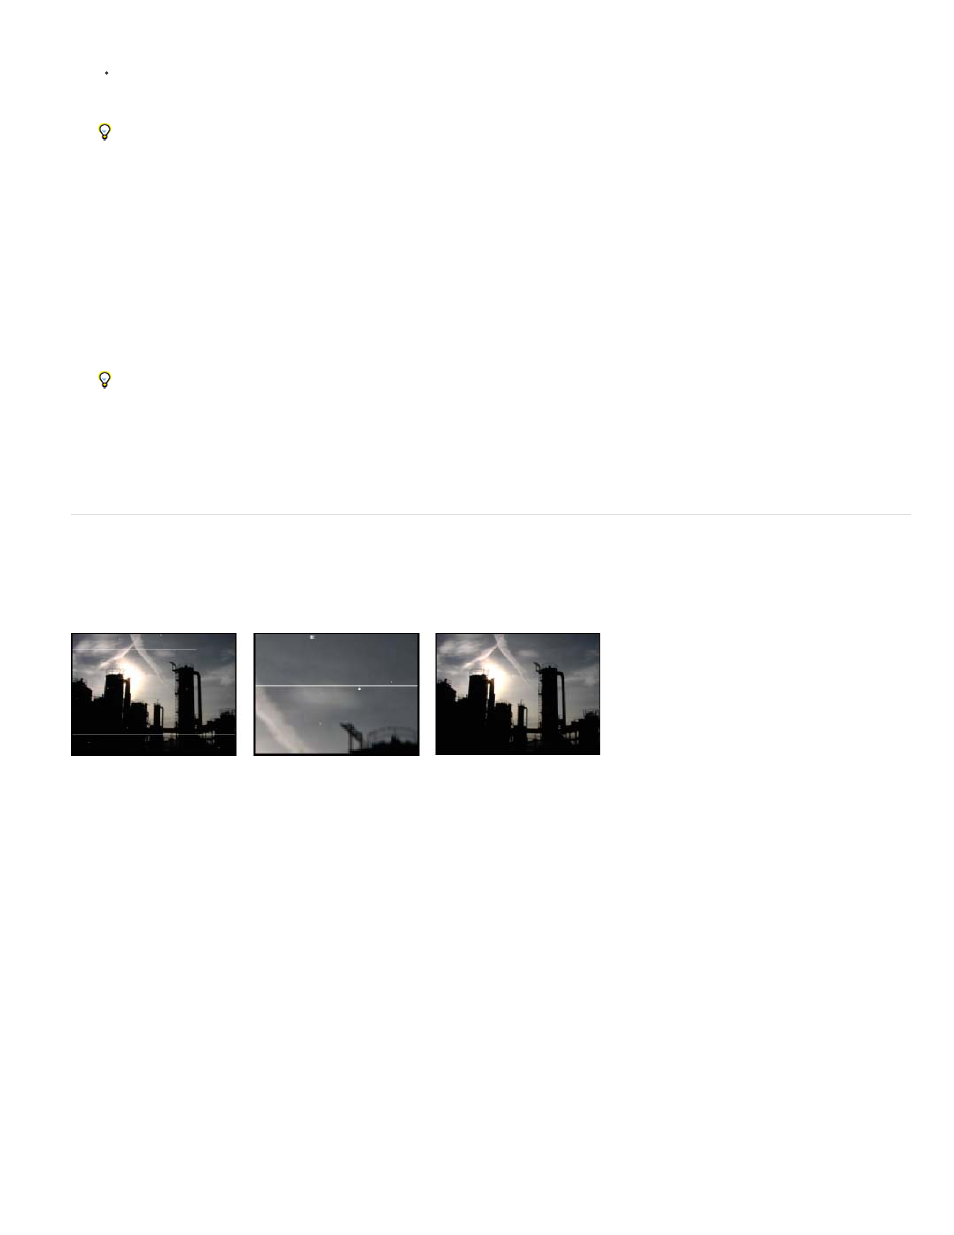
The Dust & Scratches effect reduces noise and defects by changing dissimilar pixels within a specified radius to be more like their neighboring
pixels. To achieve a balance between sharpness of the image and hiding defects, try various combinations of radius and threshold settings.
Original image with scratches (left), enlarged view of scratches (center), and scratches removed with loss of clarity (right)
Radius How far the effect searches for differences among pixels. High values make the image blurry. Use the smallest value that eliminates the
defects.
Threshold How different pixels can be from their neighbors without being changed by the effect. Use the highest value that eliminates the
defects.
Median effect
The Median effect replaces each pixel with a pixel that has the median color value of neighboring pixels with the specified Radius. At low Radius
values, this effect is useful for reducing some types of noise. At higher Radius values, this effect gives an image a painterly appearance.
Noise effect
The Noise effect randomly changes pixel values throughout the image.
Amount Of Noise The amount of noise to add. Noise Type Use Color Noise to add random values to the red, green, and blue channels
individually. Otherwise, the same random value is added to all channels for each pixel. Clipping Clips color channel values. Deselecting this
option causes more apparent noise.
Noise Alpha effect
The Noise Alpha effect adds noise to the alpha channel.
Noise The type of noise. Unique Random creates equal amounts of black and white noise. Squared Random creates high-contrast noise. Uniform
Animation creates animated noise, and Squared Animation creates animated high-contrast noise.
Amount The magnitude of the noise.
416