Jog or shuttle playback – Adobe Premiere Pro CS6 User Manual
Page 179

not stop playback:
Keyframing of effects
Interface items
Timeline items
Metadata entry
Audio parameters
Titling
Zooming in and out of the timeline
Switching away from the application
by Todd Kopriva and video2brain, see how to quickly apply effects to adjustment layers and how to modify effect properties while a
sequence continues to play.
Play a sequence or clip with preroll and postroll pauses
You can preview a clip or sequence with preroll and postroll pauses.
1. Do one of the following:
Click on a Sequence tab to make a sequence active, and preview it in the Program monitor.
Double-click a clip in the Source panel or in a Timeline to preview it in the Source monitor.
2. Press Shift+spacebar.
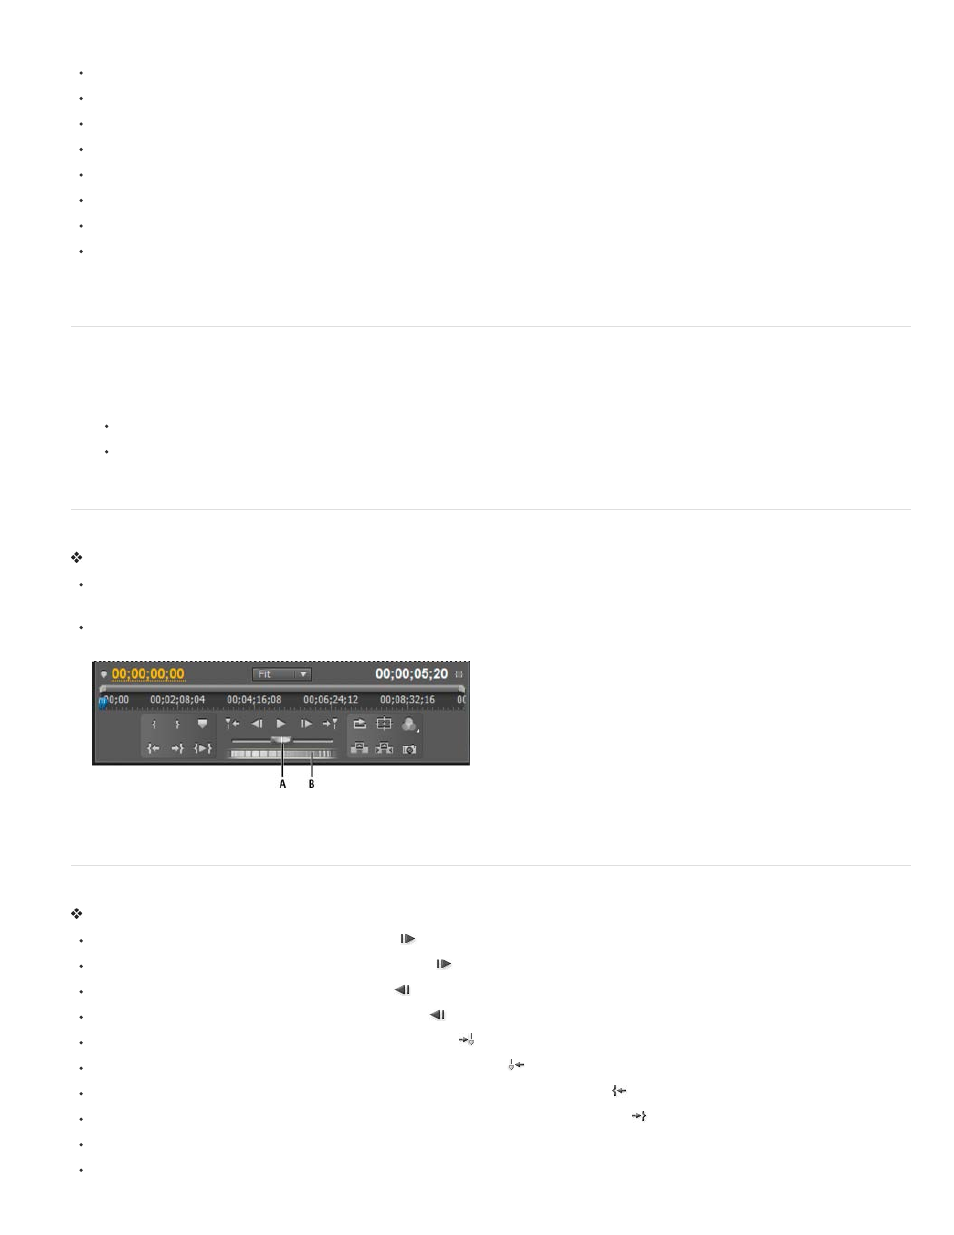
Jog or shuttle playback
Do one of the following:
Drag the shuttle slider left to play backward, or right to play forward. Playback speed increases as you drag the slider farther from its center
position. Releasing the slider returns it to the center position and stops playback.
Drag the jog disk left or right, past the edge of the controller if necessary. If you drag to the edge of the screen without reaching the end of
the clip or sequence, you can continue from the same time position by dragging from the jog disk again.
Shuttle and jog controls
A. Shuttle Slider B. Jog Disk
Move to a different frame in the Source Monitor and Program Monitor
Do any of the following:
To advance one frame, click the Step Forward button
, or hold down the K key and tap the L key, or press the Right Arrow key.
To advance five frames, Shift-click the Step Forward button
, or press Shift+ the Right Arrow key.
To jump back one frame, click the Step Back button
, or hold down the K key and tap the J key, or press the Left Arrow key.
To jump back five frames, Shift-click the Step Back button
, or press Shift+ the Left Arrow key.
To jump to the next marker, click the Go To Next Marker button
in the Source Monitor.
To jump to the previous marker, click the Go To Previous Marker button
in the Source Monitor.
To jump to a clip’s In point, select the Source Monitor, then click the Go To In Point button
.
To jump to a clip’s Out point, select the Source Monitor, then click the Go To Out Point button
.
Hover the mouse pointer over the Source Monitor, or Program Monitor. Turn the mouse wheel to move frame by frame forward or backward.
Click the current time display of the monitor you want to cue, and type the new time. You don’t need to type colons or semicolons. Numbers
175
