Adobe Premiere Pro CS6 User Manual
Page 238

Note:
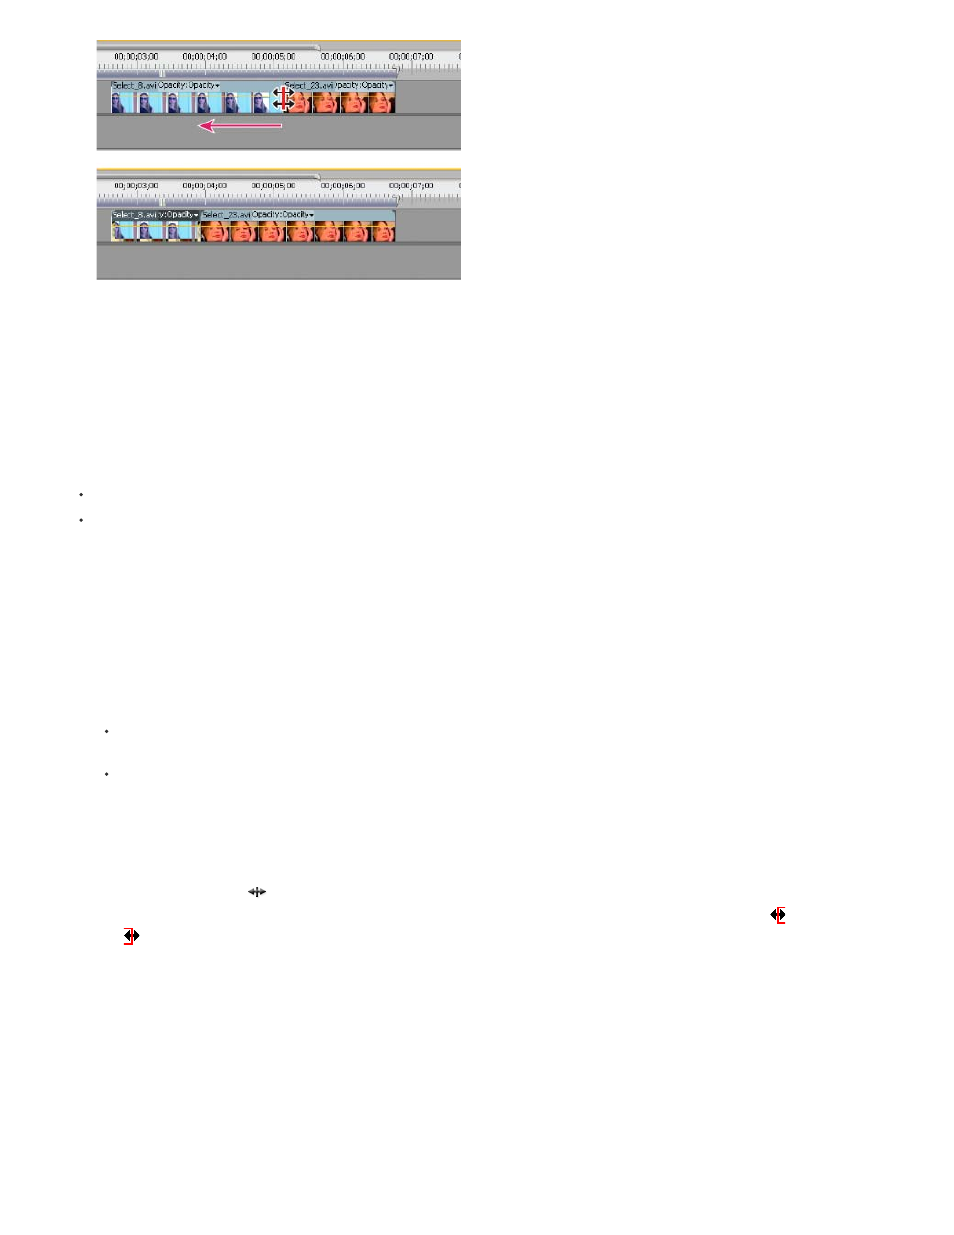
Timeline panel during (above) and after (below) a roll edit
Make rolling edits (extend edits) with the playhead
You can move the In point or Out point of a clip in a sequence to the playhead, without leaving gaps in the sequence. This type of editing is
sometimes called extending an edit, or using extend edit commands.
Setting up an extend edit
In Premiere Pro CS5, you first assign keyboard shortcuts in the Keyboard Customization dialog box. Then use the designated keyboard commands
to extend edits as rolling edits. The commands in the Keyboard customization are as follows:
Roll Previous Edit to CTI
Roll Next Edit to CTI
These commands are available after you assign shortcuts to them from the Keyboard Customization dialog.
In Premiere Pro CS5.5, the names of the commands have been renamed to match the common industry nomenclature, from “Roll Previous/Next
Edit to CTI” to “Extend Previous/Next Edit to the Playhead”. The extend edit commands are also in the Sequence menu by default.
Make a rolling (extend) edit to the playhead
1. Click a track header to target the track containing the clip you want to trim.
2. Drag the playhead to the location in the sequence to which you want to extend the clip In point or Out point.
3. In Premiere Pro CS5 or CS5.5, do one of the following:
To extend the clip’s In point to the playhead, press the keyboard command you assigned to Roll Previous Edit to CTI in Premiere Pro
CS5. For Premiere Pro CS5.5, choose Sequence > Extend Previous Edit to Playhead or press E.
To extend the clip’s Out point at the playhead, press the keyboard command you assigned to Roll Next Edit to CTI for Premiere Pro
CS5. For Premiere Pro CS5.5, choose Sequence > Extend Next Edit to Playhead or press Shift+E.
If there is not enough media to extend to the playhead, Premiere Pro extends the clip to the end of the available media.
Make a ripple edit using the Ripple Edit tool
1. Select the Ripple Edit tool
.
2. In a Timeline panel, position the pointer over the In or Out point of the clip you want to change until the Ripple-in icon
or the Ripple-out
icon
appears, and drag left or right. Subsequent clips in the track shift in time to compensate for the edit, but their durations remain
unchanged. Alt-drag (Windows) or Option-drag (Mac OS) to affect only the video or audio portion of a linked clip.
234
