Adobe Premiere Pro CS6 User Manual
Page 428
The Gradient Wipe effect causes pixels in the clip to become transparent based on the luminance values of corresponding pixels in another video
track, called the gradient layer. Dark pixels in the gradient layer cause the corresponding pixels to become transparent at a lower Transition
Completion value. For example, a simple grayscale gradient layer that goes from black on the left to white on the right causes the underlying clip to
be revealed from left to right as Transition Completion increases.
For more information about using and creating a Gradient Wipe transition,
Dennis Radeke.
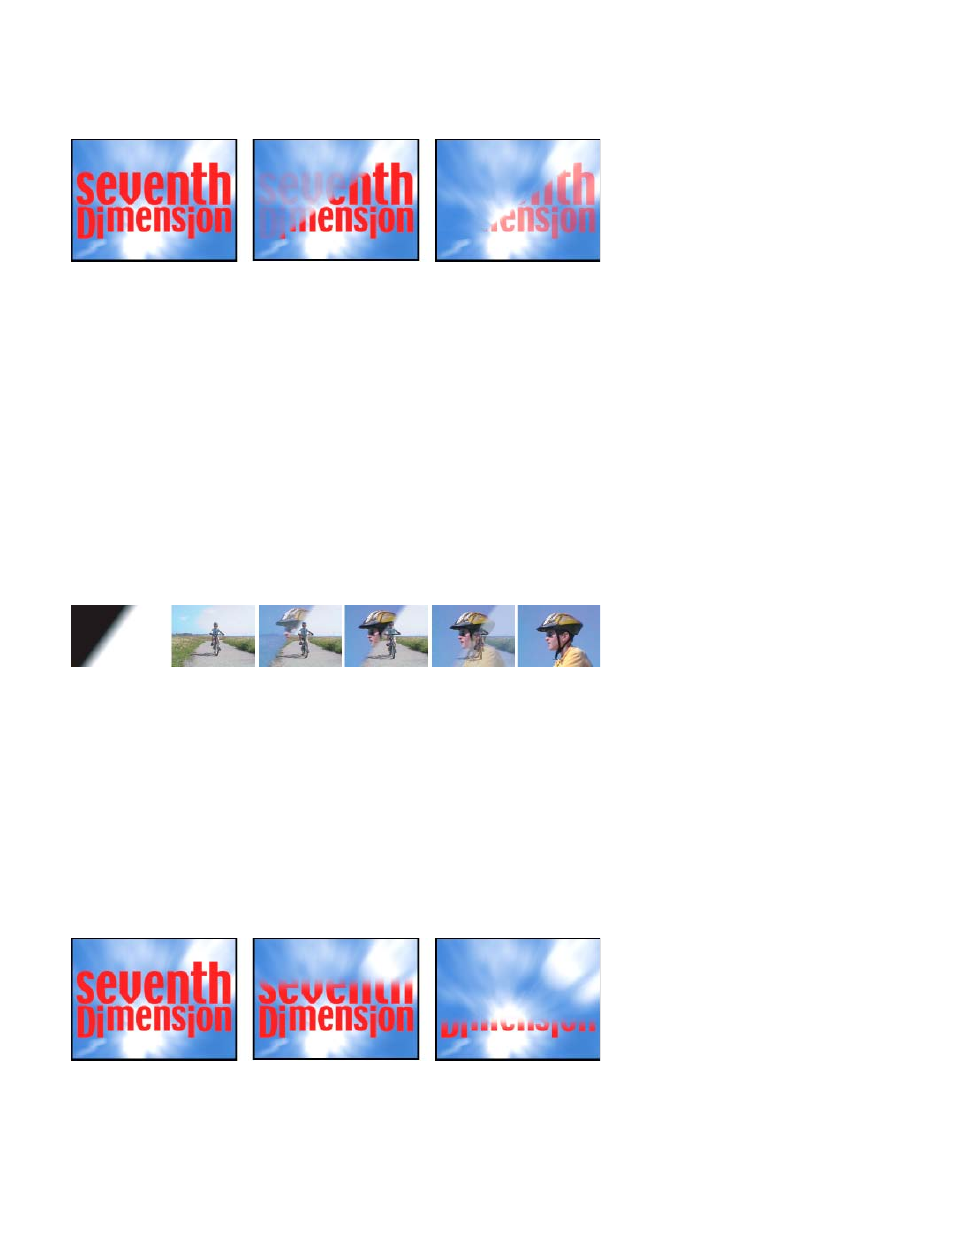
Original image (left), and with effect applied (center and right)
The gradient layer can be a still image or a moving image. The gradient layer must be in the same sequence as the clip to which you apply
Gradient Wipe.
You can create gradient layers in many ways, such as using the Ramp effect or creating them in Photoshop or Illustrator.
Transition Softness The degree to which the transition is gradual for each pixel. If this value is 0%, pixels in the clip to which the effect is applied
are either completely opaque or completely transparent. If this value is greater than 0%, pixels are semitransparent at the intermediate stages of
the transition.
Gradient Placement How the gradient layer’s pixels are mapped to the pixels of the clip to which the effect is applied:
Tile Gradient Uses multiple tiled copies of the gradient layer.
Center Gradient Uses a single instance of the gradient layer in the center of the clip.
Stretch Gradient To Fit Resizes the gradient layer horizontally and vertically to fit the entire area of the clip.
Invert Gradient Inverts the gradient layer’s influence; lighter pixels in the gradient layer create transparency at a lower Transition Completion value
than do darker pixels.
Customize a Gradient Wipe transition
You can use a grayscale image as a gradient wipe. In a gradient wipe, image B fills the black area of the grayscale image and then shows through
each level of gray as the transition progresses until the white area becomes transparent.
Gradient wipe source image (far left) and resulting transition
1. In the Effects panel, expand the Video Transitions bin and the Wipe bin inside it.
2. Drag the Gradient Wipe transition from the Wipe bin to an edit point between clips in a Timeline panel.
3. Click Select Image, and then double-click the file you want to use as the gradient wipe. The image appears in the Gradient Wipe Settings
dialog box.
4. Adjust the softness of the transition’s edges by dragging the Softness slider. As you drag the slider to the right, image A increasingly shows
through image B. Click OK.
Note: To change the gradient image or the softness, click Custom in the Effect Controls panel.
To preview the transition, drag the current-time indicator through the transition in a Timeline panel.
Linear Wipe effect
The Linear Wipe effect performs a simple linear wipe of a clip in a specified direction.
Wipe Angle The direction that the wipe travels. For example, at 90° the wipe travels from left to right.
Original image (left), and with effect applied (center and right)
Radial Wipe effect
The Radial Wipe effect reveals an underlying clip using a wipe that circles around a specified point.
Start Angle The angle at which the transition starts. With a start angle of 0°, the transition starts at the top.
424