Image control effects – Adobe Premiere Pro CS6 User Manual
Page 412

effect fills.
View Threshold Shows what pixels match—that is, which pixels are within the Tolerance value of the color values of the Fill Point pixel. This
option is especially useful in tracking leaks. If there is a small gap, the color can flow over and fill areas not intended to be filled.
Stroke How the effect treats the edges of the filled area:
Antialias Anti-aliases the edges of the filled area.
Feather Creates a feathered edge for the filled area. Feather Softness values create a more gradually disappearing edge.
Spread Expands the area of the fill color. The Spread Radius value indicates the number of pixels the fill color extends beyond the edge
of the fill area.
Choke Contracts the area of the fill color. The Spread Radius value indicates the number of pixels the fill color shrinks from the edge of
the fill area.
Stroke Confines the fill to just the border of the selected area. The Stroke Width value indicates the width of the stroke, in pixels.
Color The fill color.
Opacity Opacity of the filled area.
Blending Mode The blend mode to use to composite the result of effect on top of the original clip. Use Fill Only to show only the fill.
Note: If you apply multiple instances of Paint Bucket to a clip, be sure not to set more than one to use the Fill Only blend mode. If you set more
than one instance to use this blend mode, only the first application of the effect is shown.
Ramp effect
The Ramp effect creates a color gradient. You can create linear or radial ramps and vary the position and colors of the ramp over time. Use the
Start Of Ramp and End Of Ramp properties to specify the start and end positions. Use the Ramp Scatter control to disperse the ramp colors and
eliminate banding. For a video tutorial on using the Ramp effect and the Calculations effect, see
Jeff Schell on his Digital Media Net blog.
Note: Ramps often don’t broadcast well; serious banding occurs because the broadcast chrominance signal doesn’t contain sufficient resolution
to reproduce the ramp smoothly. The Ramp Scatter control dithers the ramp colors, eliminating the banding apparent to the human eye.
Write-on effect
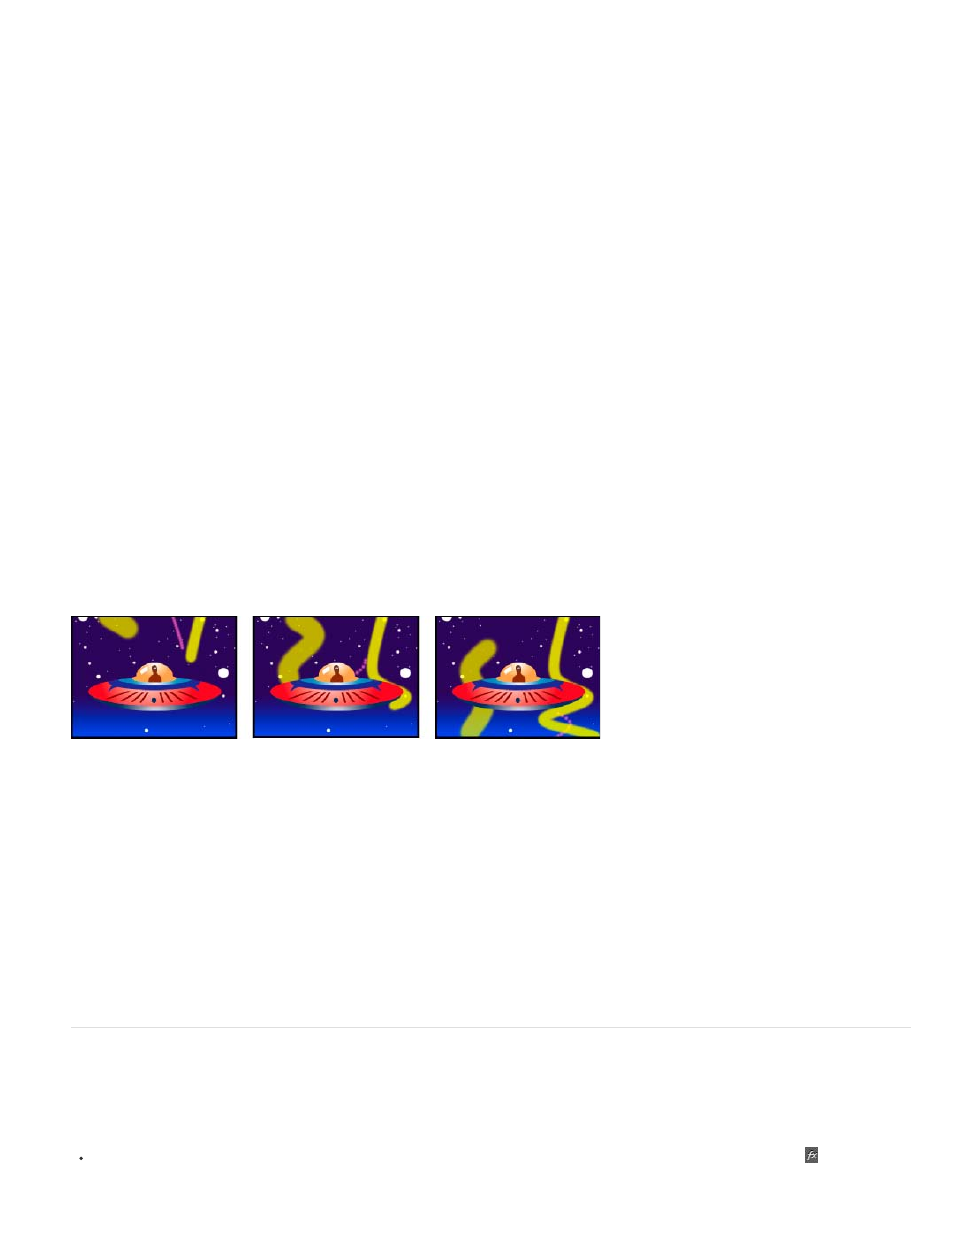
See an example of the Write-on effect
The Write-on effect animates strokes on a clip. For example, you can simulate the action of hand-writing of cursive text or signatures.
For instruction on how to use the Write-on effect, see the video tutorial
and
on the Digital Media Net website.
Write-on effect: Animating strokes
Brush Position The position of the brush. Animate this property to create a stroke.
Stroke Length (Secs) The duration, in seconds, of each brush mark. If this value is 0, the brush mark has unlimited duration. Use a single,
constant, non-zero value to create a snakelike movement of the stroke. Animate this value to make the stroke expand and contract.
Brush Spacing (Secs) The time interval, in seconds, between brush marks. Smaller values produce smoother paint strokes but take more time to
render.
Paint Time Properties and Brush Time Properties Specifies whether paint properties and brush properties are applied to each brush mark or to
the entire stroke. Choose None to apply values at each time to all brush marks in the stroke. Choose a property name for each brush mark to
retain the value for that property at the time that the brush mark was drawn. For example, if you choose Color, then each brush mark keeps the
color specified by the Color value at the time that the mark was drawn.
Paint Style How the paint stroke interacts with the original image:
On Original Image Paint stroke appears over original image.
On Transparent Paint stroke appears over transparency; the original image doesn’t appear.
Reveal Original Image The original image is revealed by the paint stroke.
Image Control effects
Black & White effect
The Black & White effect converts any color clip to grayscale; that is, colors appear as shades of gray. You cannot animate this effect with
keyframes.
In the Effect Controls panel, click the box to the left of Black & White, if necessary, to turn on the Black & White effect. Click
that appears
408
